
Bridging assets from Solana to Base has become a core workflow for DeFi users in 2025. With the proliferation of cross-chain bridges and the growing demand for fast, low-cost asset transfers, understanding how to bridge to Base from Solana is essential for anyone looking to tap into Base’s thriving ecosystem. This step-by-step guide will walk you through the most reliable process, with a focus on security and efficiency.
Why Bridge from Solana to Base?
Solana and Base represent two of the most dynamic blockchain ecosystems today. Solana is renowned for its blazing-fast transactions and robust NFT scene, while Base (an Ethereum Layer 2) offers ultra-low fees and seamless integration with Ethereum dApps. By using a Base Solana bridge in 2025, users can move assets like SOL or USDC between these networks, unlocking new yield opportunities, liquidity pools, and DeFi protocols.
The direct link-up between these chains means you no longer have to rely on clunky multi-hop transfers or centralized exchanges. Instead, modern cross-chain bridges offer secure, transparent transactions that settle in minutes.
Step 1: Choose a Reliable Cross-Chain Bridge
Your first decision is crucial: choose a reliable cross-chain bridge that supports Solana ⇄ Base transfers. The leading options in 2025 include deBridge, Portal (formerly Wormhole), and Wormhole itself. Each has earned trust through uptime records and rigorous audits.
- deBridge: Known for its reliability (100% uptime) and flat fee structure (0.001 ETH per transaction).
- Portal/Wormhole: Popular for supporting a wide range of tokens and fast bridging times.
- Rhino. fi and Synapse: Alternatives if you require specific assets or deeper liquidity pools.
If you’re new to bridging or want visuals for each step, check out our detailed walkthrough at How to Bridge Tokens from Solana to Base Chain in 2025: Step-by-Step Guide.
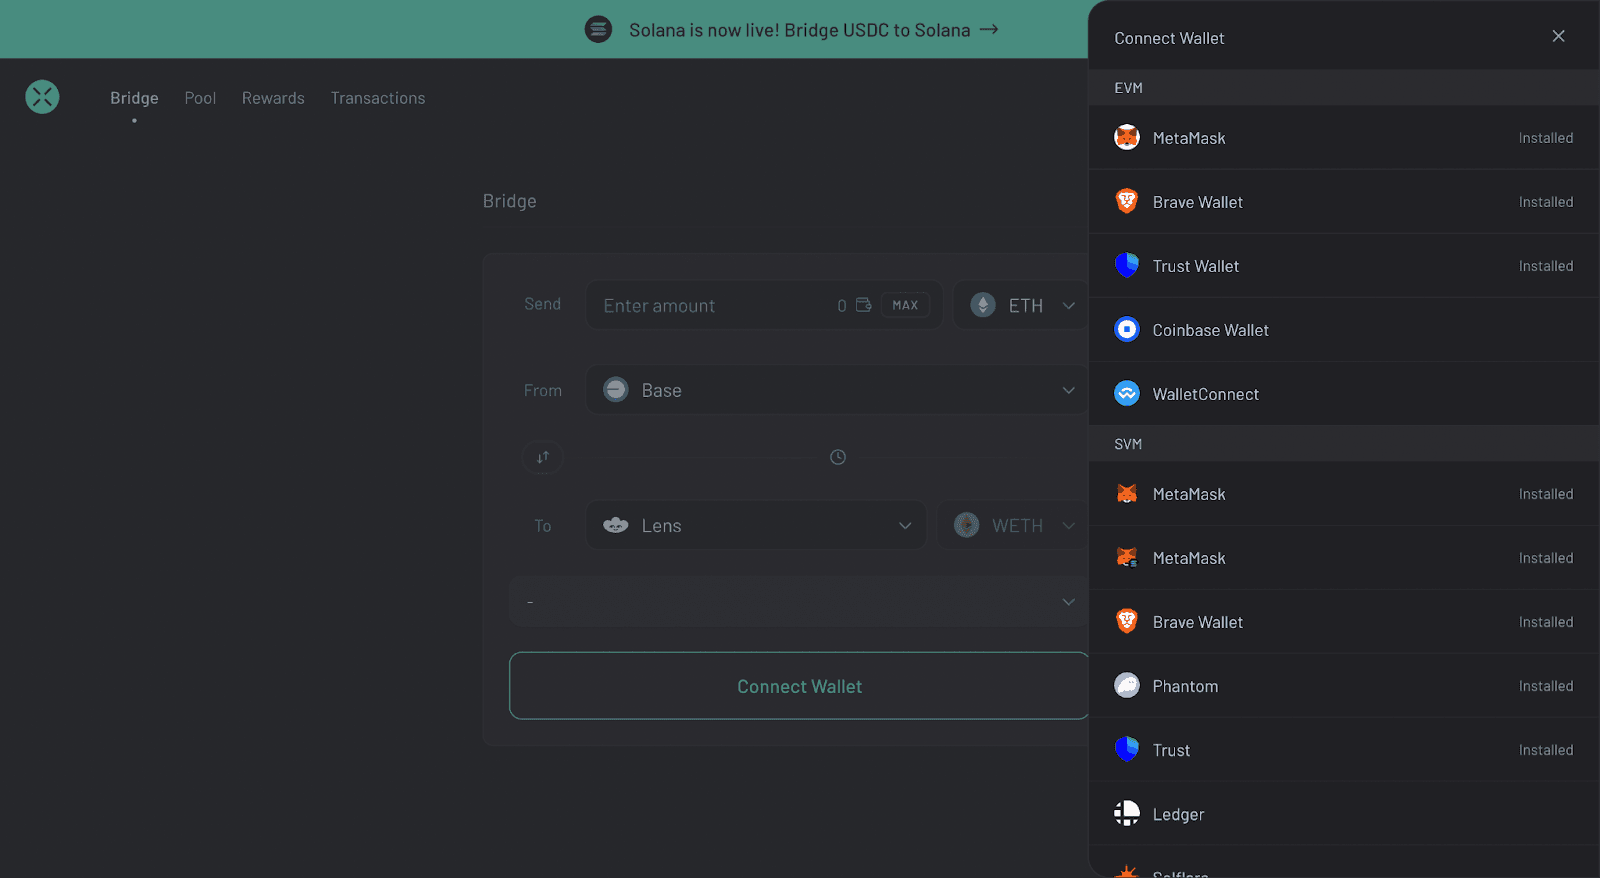
Step 2: Connect Your Wallets and Select the Asset
Once you’ve picked your bridge platform, it’s time to connect both wallets:
- Connect your Solana wallet, such as Phantom or Solflare. This wallet will hold your source tokens (e. g. , SOL, USDC, or supported SPL tokens).
- Select the asset you wish to bridge. Most bridges support major tokens like SOL and USDC; some also allow popular SPL tokens.
If you’re not sure which tokens are supported or want tips on choosing the best asset for bridging, see our comparison guide at How to Bridge Tokens Between Solana and Base: Step-by-Step Guide for 2025.
Step 3: Enter Your Destination Address on Base Chain
This step connects your journey between chains:
- Enter your destination address on the Base chain.
- This should be an Ethereum-compatible wallet address, such as MetaMask or Coinbase Wallet, where you’ll receive your bridged funds after transfer completion.
Avoid copy-paste mistakes here - double-check your address before proceeding! If unsure about compatible wallets on Base, refer to our resource at How to Bridge To Base From Ethereum, Solana and Arbitrum: Step-by-Step Guide.
Step 4: Review Fees, Transfer Time, and Security Warnings
Before you hit confirm, take a moment to review the estimated fees, transfer time, and security warnings provided by your chosen bridge. These details are critical for safe cross-chain transfers:
- Bridge Fee: For example, deBridge charges a flat fee of 0.001 ETH per transaction. Other bridges may use a percentage-based fee (e. g. , Rhino. fi’s 0.19% or Synapse’s 0.2%).
- Gas Fees: Solana’s transaction fees remain under $0.01, while Base is designed for minimal costs as an Ethereum Layer 2.
- Transfer Time: Most transfers settle within minutes, but network congestion can cause occasional delays.
- Security Warnings: Always use official links and double-check all transaction details to prevent errors or phishing attempts.
This review step is your last line of defense against costly mistakes or scams. If anything looks off, pause and investigate further before proceeding.
Step 5: Approve and Initiate the Transfer; Monitor Progress
Once you’re confident in the details, it’s time to approve and initiate the transfer. Here’s how to finalize the process:
- Approve the transaction in your Solana wallet.
- The bridge will lock your tokens on Solana and trigger validators to process the cross-chain message.
- Monitor progress in real-time: Most bridges display a step-by-step status bar so you know exactly when funds are released on Base.
Your assets should arrive in your Base wallet shortly, usually within minutes during normal network conditions. If there are any delays or issues, consult the bridge’s support center or community channels for troubleshooting tips.
Comparison of Leading Solana ⇄ Base Bridges (2025)
| Bridge Name | Fee Structure | Supported Tokens (SOL/USDC/SPL) | Average Transfer Time ⏱️ | Security Features 🛡️ |
|---|---|---|---|---|
| deBridge | Flat 0.001 ETH per transaction + minimal gas fees | SOL, USDC, most SPL tokens | ~2-5 minutes | Audited contracts, 100% uptime, official site access |
| Portal/Wormhole | Varies (typically network gas fees only) | SOL, USDC, wide SPL token support | ~5-10 minutes | Multi-sig guardians, open-source, regular audits |
| Rhino.fi | 0.19% per transaction + network fees | SOL, USDC, select SPL tokens | ~3-6 minutes | Audited, non-custodial, official links |
| Synapse | 0.2% swap fee + network fees | USDC, select SPL tokens (no direct SOL) | ~3-8 minutes | Audited, open-source, security advisories |
The Future of Base ⇄ Solana Cross-Chain Transfers
The landscape for bridging between Solana and Base is only getting better. As more protocols integrate direct bridging support, and as validators enhance their infrastructure, users can expect even faster settlement times and broader token support throughout 2025.
If you want to stay ahead of new developments or compare updated bridge options as they launch, bookmark our ongoing coverage at How to Use the New Base Solana Bridge: Step-by-Step Guide with Live App Demo.
Your Next Steps: DeFi Opportunities Await
You’ve now mastered how to bridge assets from Solana to Base using today’s most reliable protocols, whether you’re moving SOL for liquidity farming or USDC for stablecoin strategies. Remember these essentials:
- Select a trusted bridge supporting both chains
- Connect your wallets securely and double-check addresses
- Review all fees and warnings before confirming any transactions
- Monitor progress until your funds arrive safely on Base
This workflow ensures you can confidently unlock new DeFi opportunities across both ecosystems without unnecessary risk or friction. As always provides knowledge is the best bridge!




No comments yet. Be the first to share your thoughts!