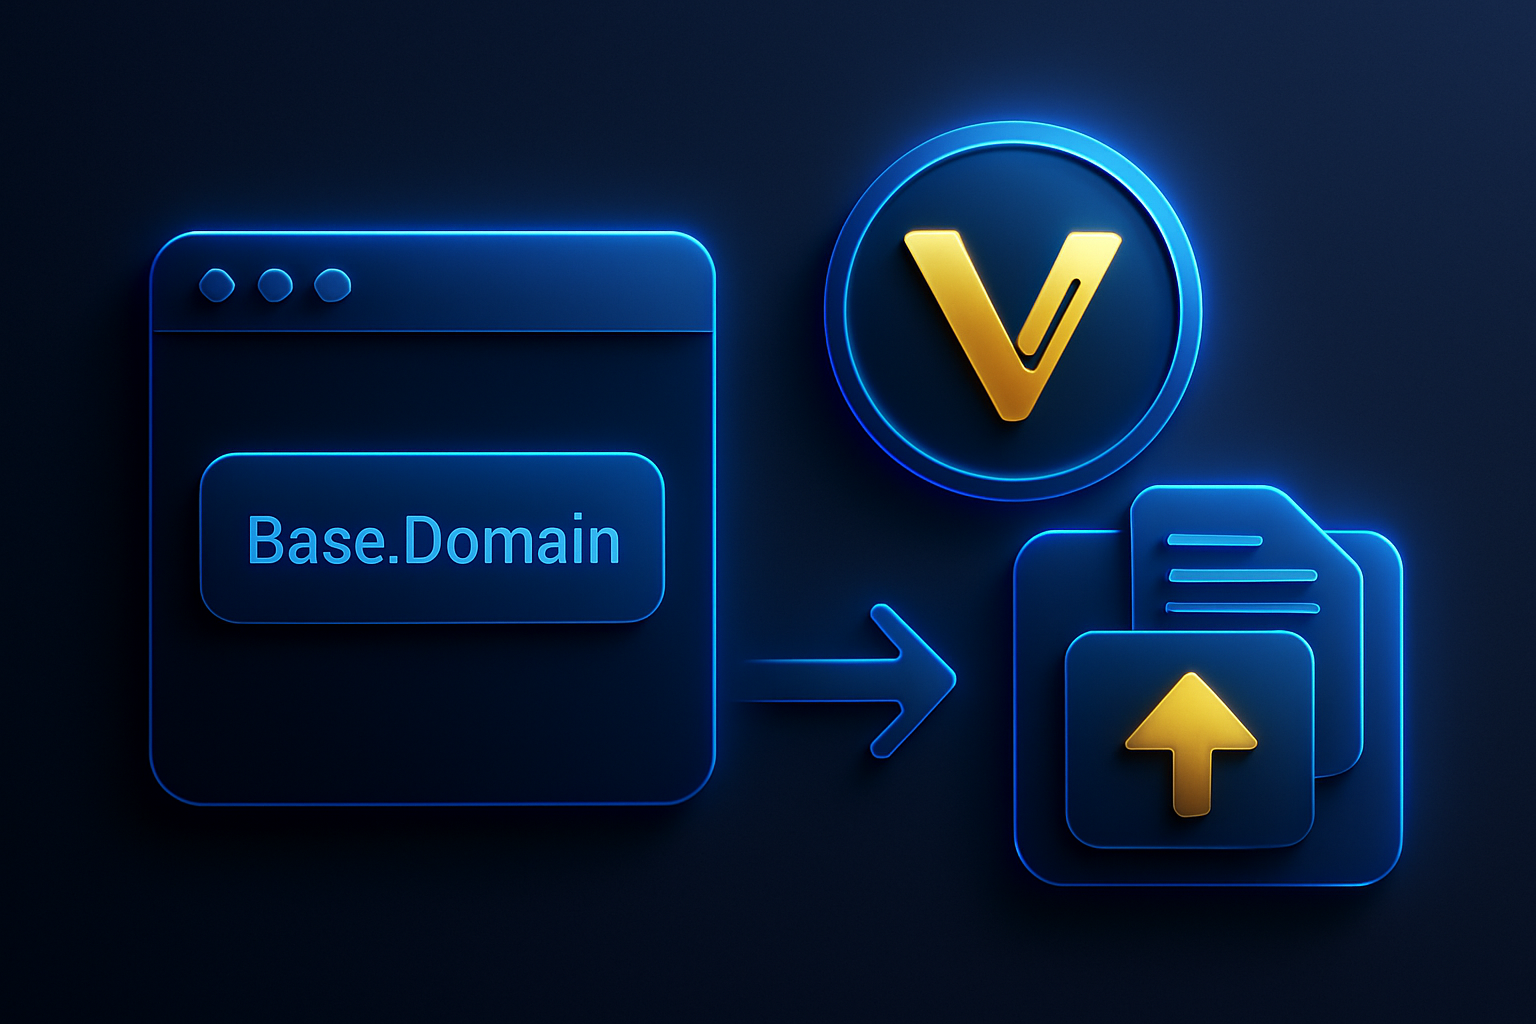
As the Base chain ecosystem expands, users are eager to simplify their crypto transactions with human-readable addresses. Base Domains integration is at the forefront of this movement, allowing you to replace long wallet addresses with easy-to-remember. base names. But how do you leverage these domains for seamless transfers on emerging platforms like Vibemarket? This visual guide breaks down the process, step by step, so you can confidently send and receive assets using your Base Domain.
Why Use. Base Domains for Vibemarket Transfers?
Traditional crypto transfers rely on lengthy hexadecimal wallet addresses that are error-prone and intimidating for newcomers. By integrating . base domains, you streamline transfers on platforms like Vibemarket, making your transactions more secure and user-friendly. Instead of copying and pasting complex strings, you can simply enter a memorable name such as yourname. base.
"Human-readable domains are the missing link for mainstream crypto adoption. "
Prerequisites: What You Need Before Getting Started
Essential Requirements for Using Base Domains with Vibemarket
- Compatible Crypto Wallet: Ensure you have a supported wallet (such as MetaMask, Coinbase Wallet, or Rabby Wallet) that can connect to the Base network and interact with Vibemarket.
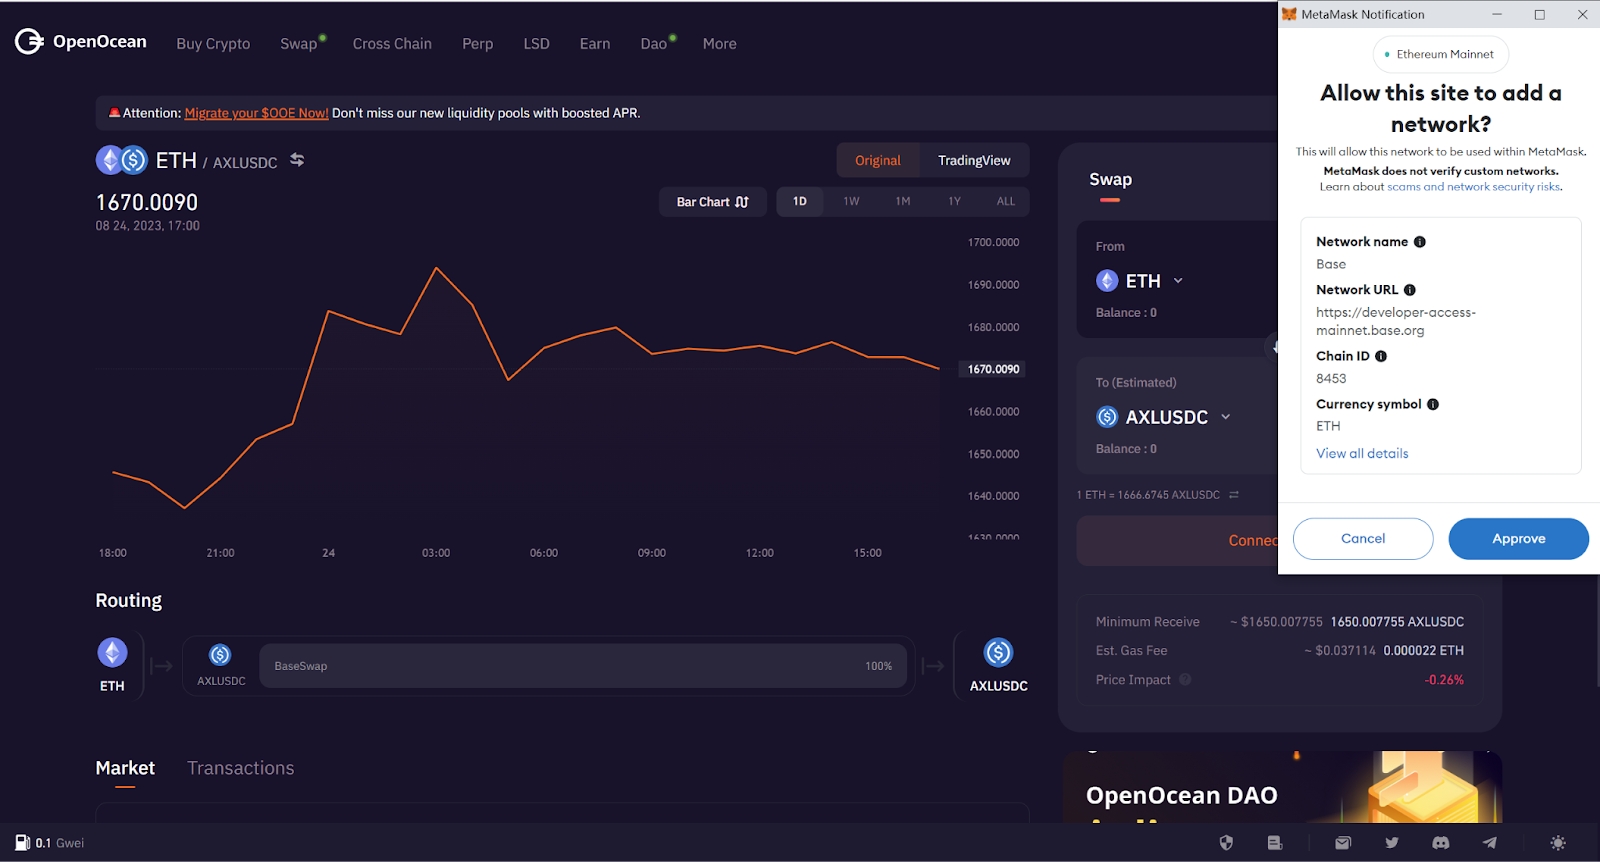
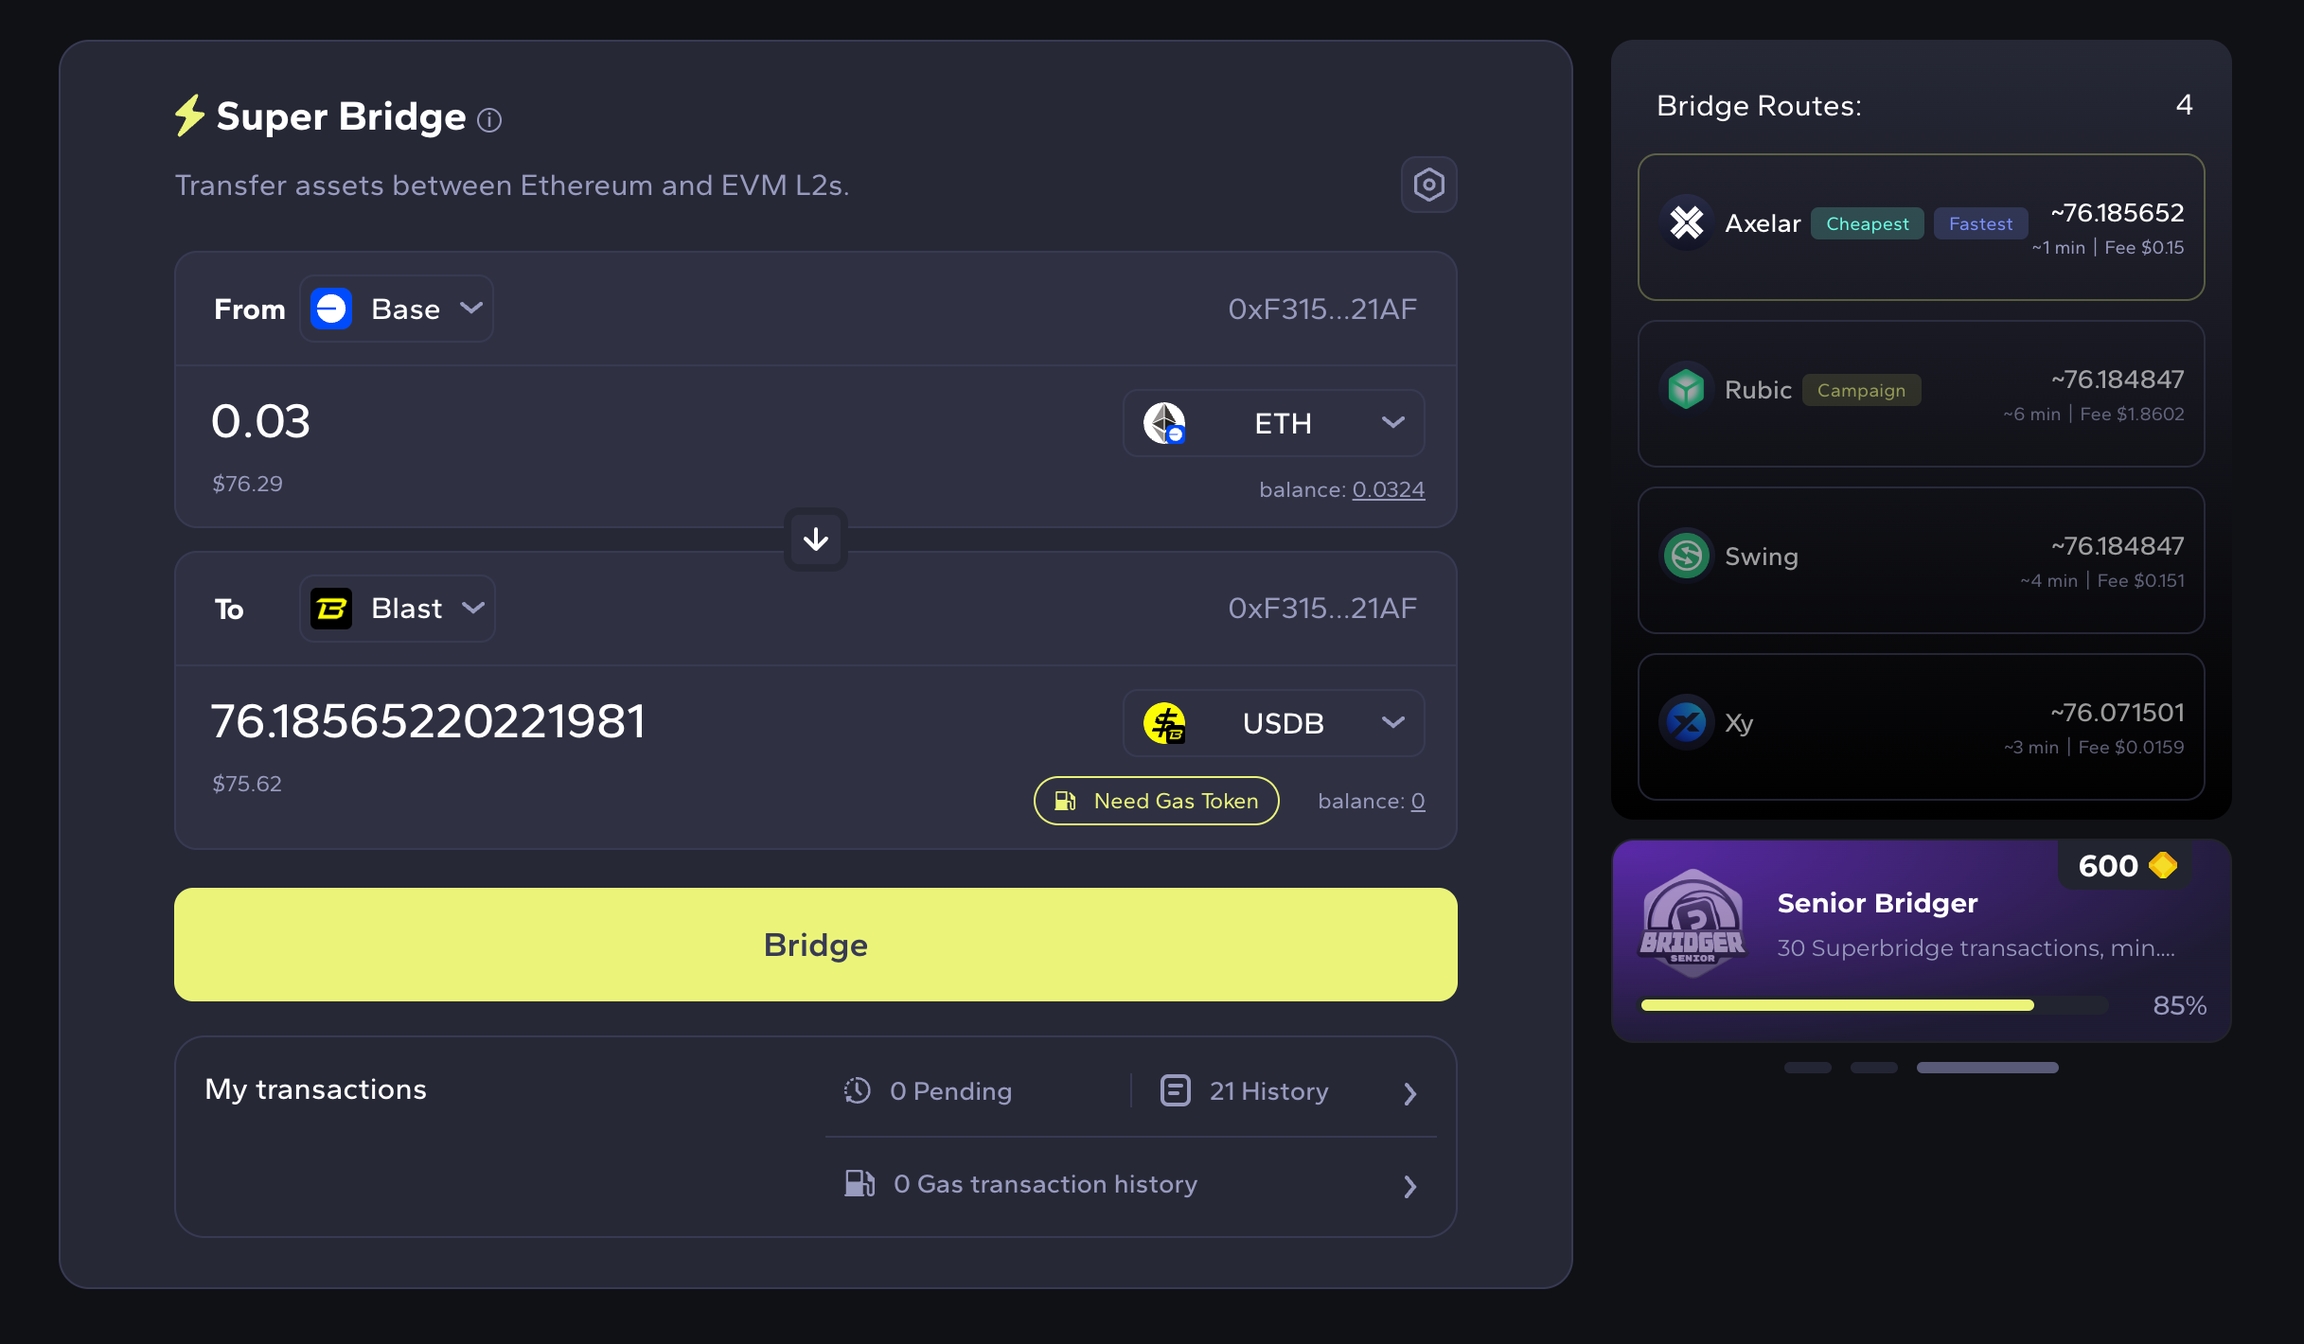
- Base ETH on Mainnet: Acquire Base ETH on the Base mainnet for transaction fees. You can bridge ETH to Base using the official Base Bridge, or use exchanges like Binance, OKX, or KuCoin.
- Registered .base Domain: Secure a registered .base domain via platforms such as Masa or other official domain registrars that support Base domains.
- Early Access Eligibility (if applicable): If you registered your .base domain on the Base testnet, confirm your eligibility for mainnet allowlist and early access as outlined by Masa.
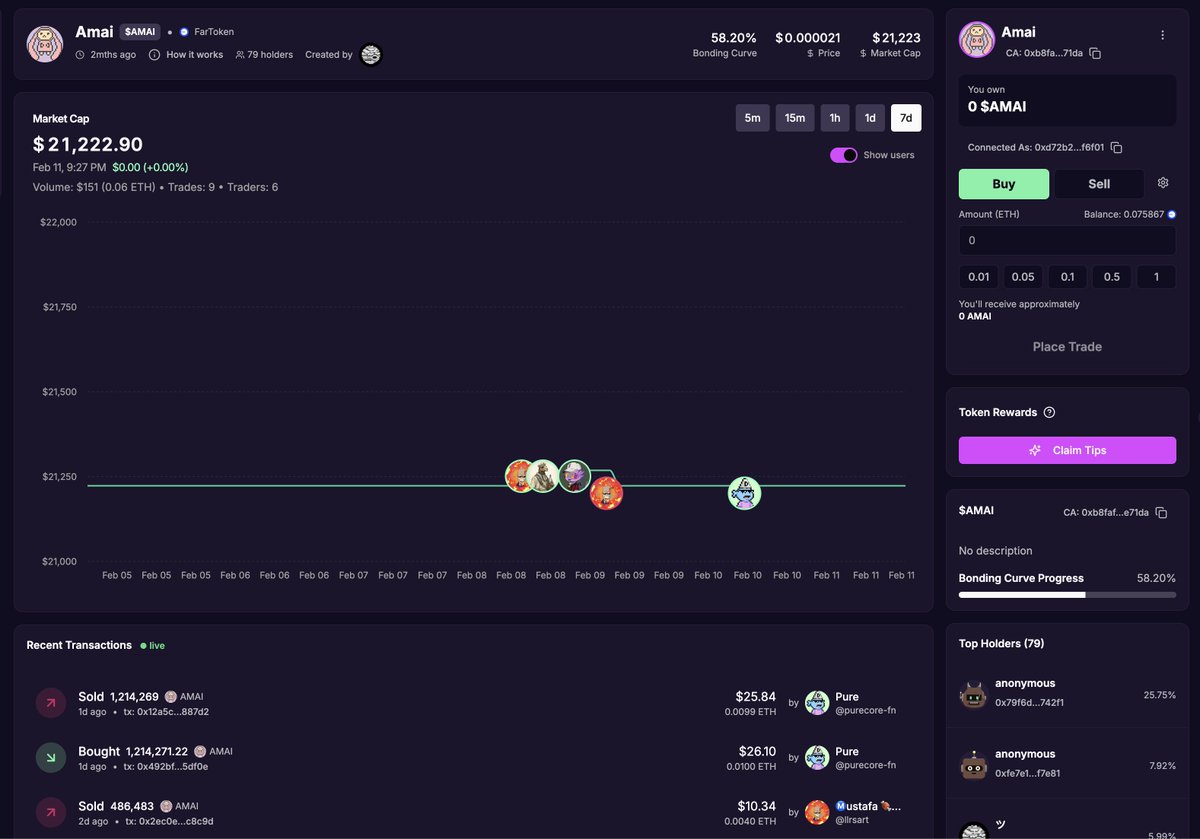
- Familiarity with Vibemarket: Review Vibemarket’s official documentation or community forums for the latest transfer guidelines and support resources.
Before diving into the transfer process, make sure you have:
- A compatible crypto wallet (such as MetaMask or Coinbase Wallet) connected to the Base network
- Sufficient Base ETH in your wallet to cover transaction fees (see how to bridge ETH in the Pontem Network guide)
- An active. base domain registered and mapped to your wallet address (early testers on testnet may have priority access as described in this Medium guide by Masa)
- An active account on Vibemarket with access to its transfer features
Step-by-Step Visual Guide: Linking Your. Base Domain to Vibemarket Transfers
The following steps will walk you through connecting your Base Domain and executing a transfer on Vibemarket. Each stage is illustrated for clarity:
Connect Your .base Domain & Transfer Assets on Vibemarket: A Visual Guide
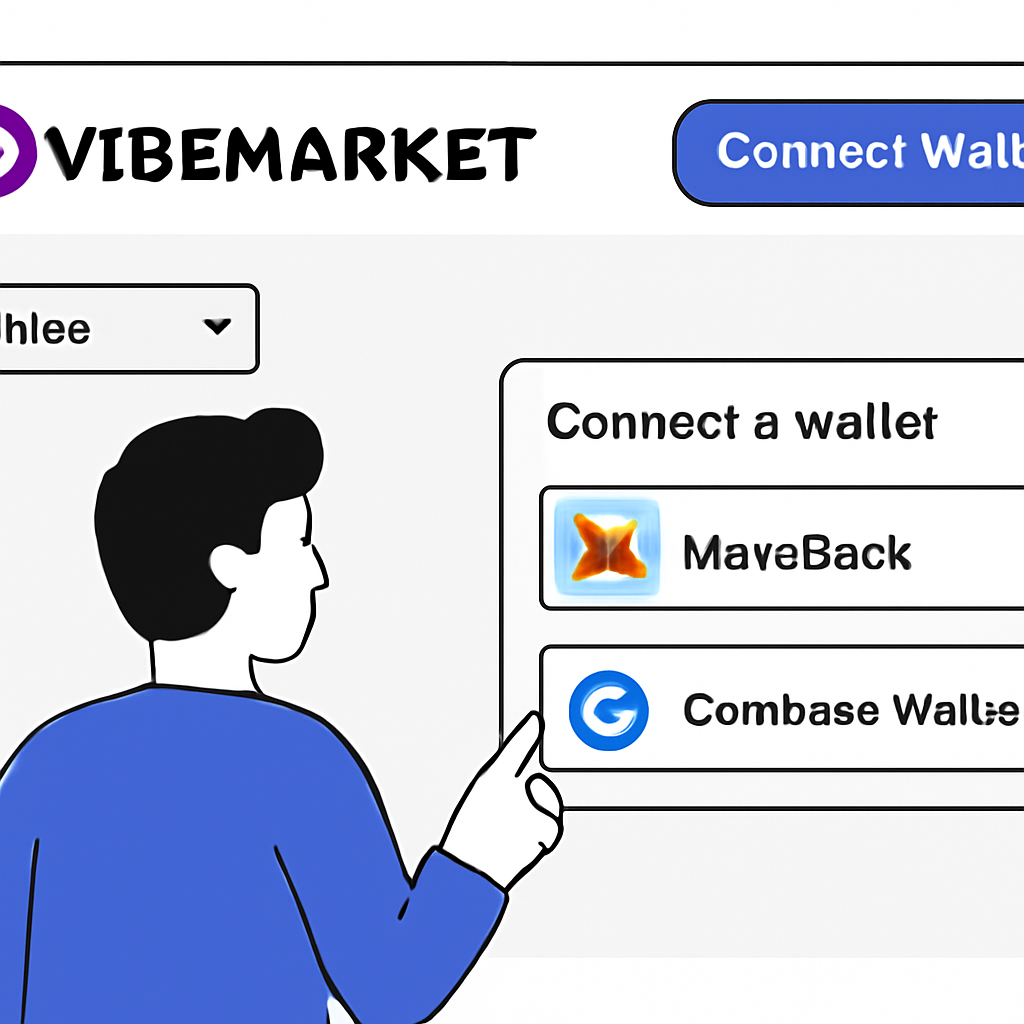
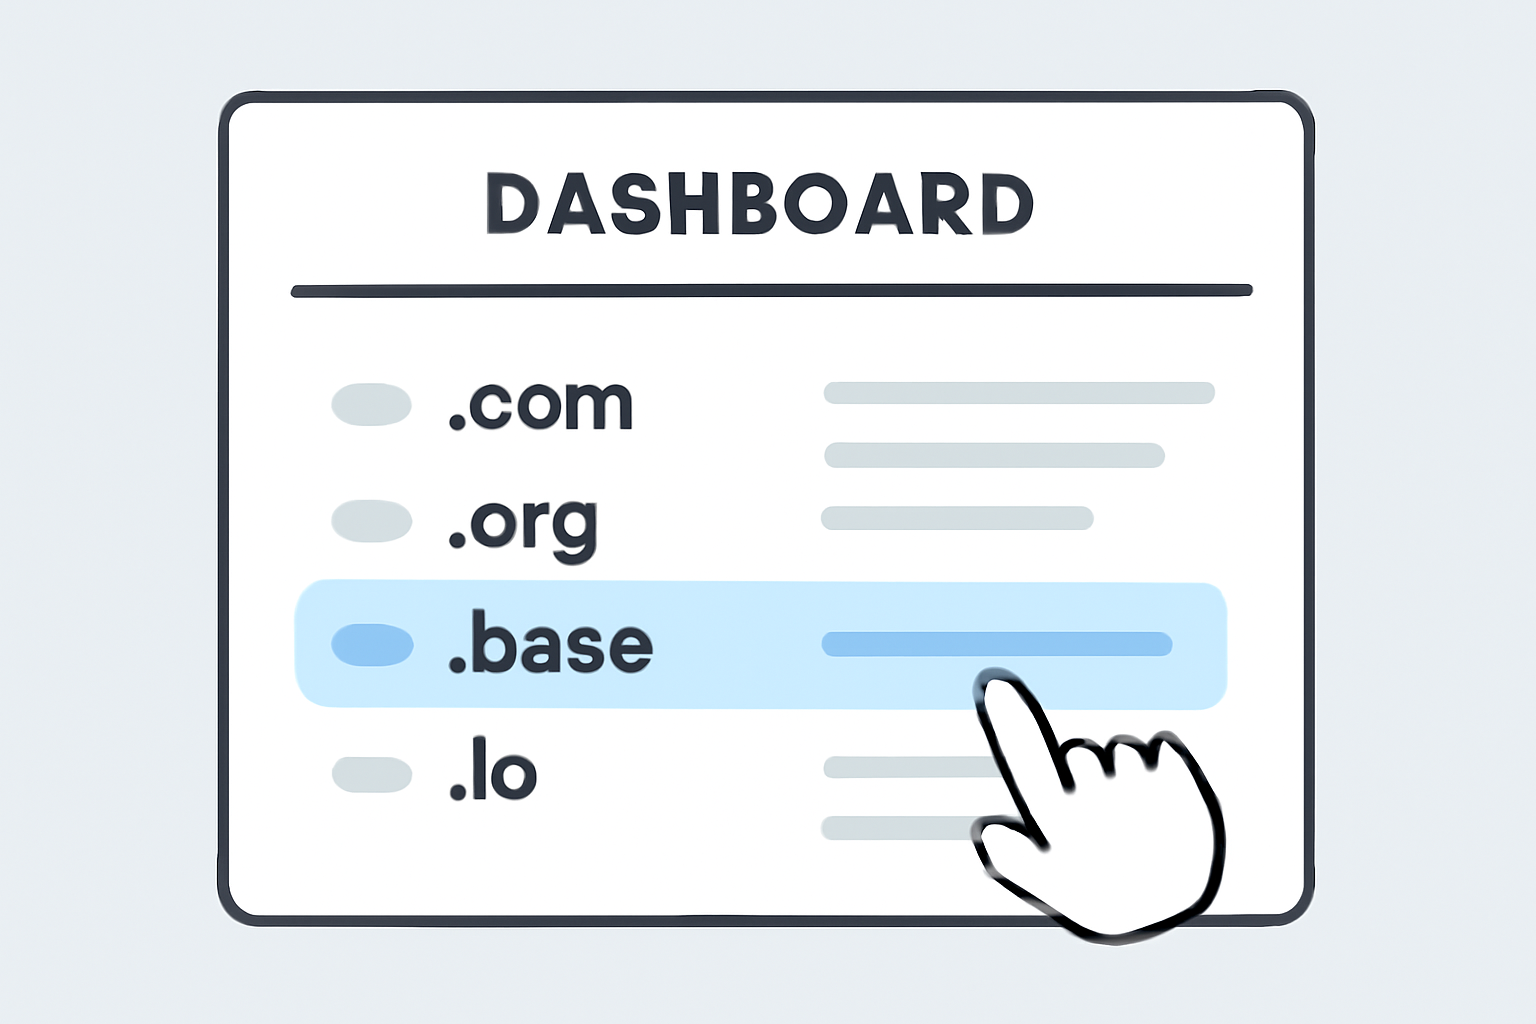
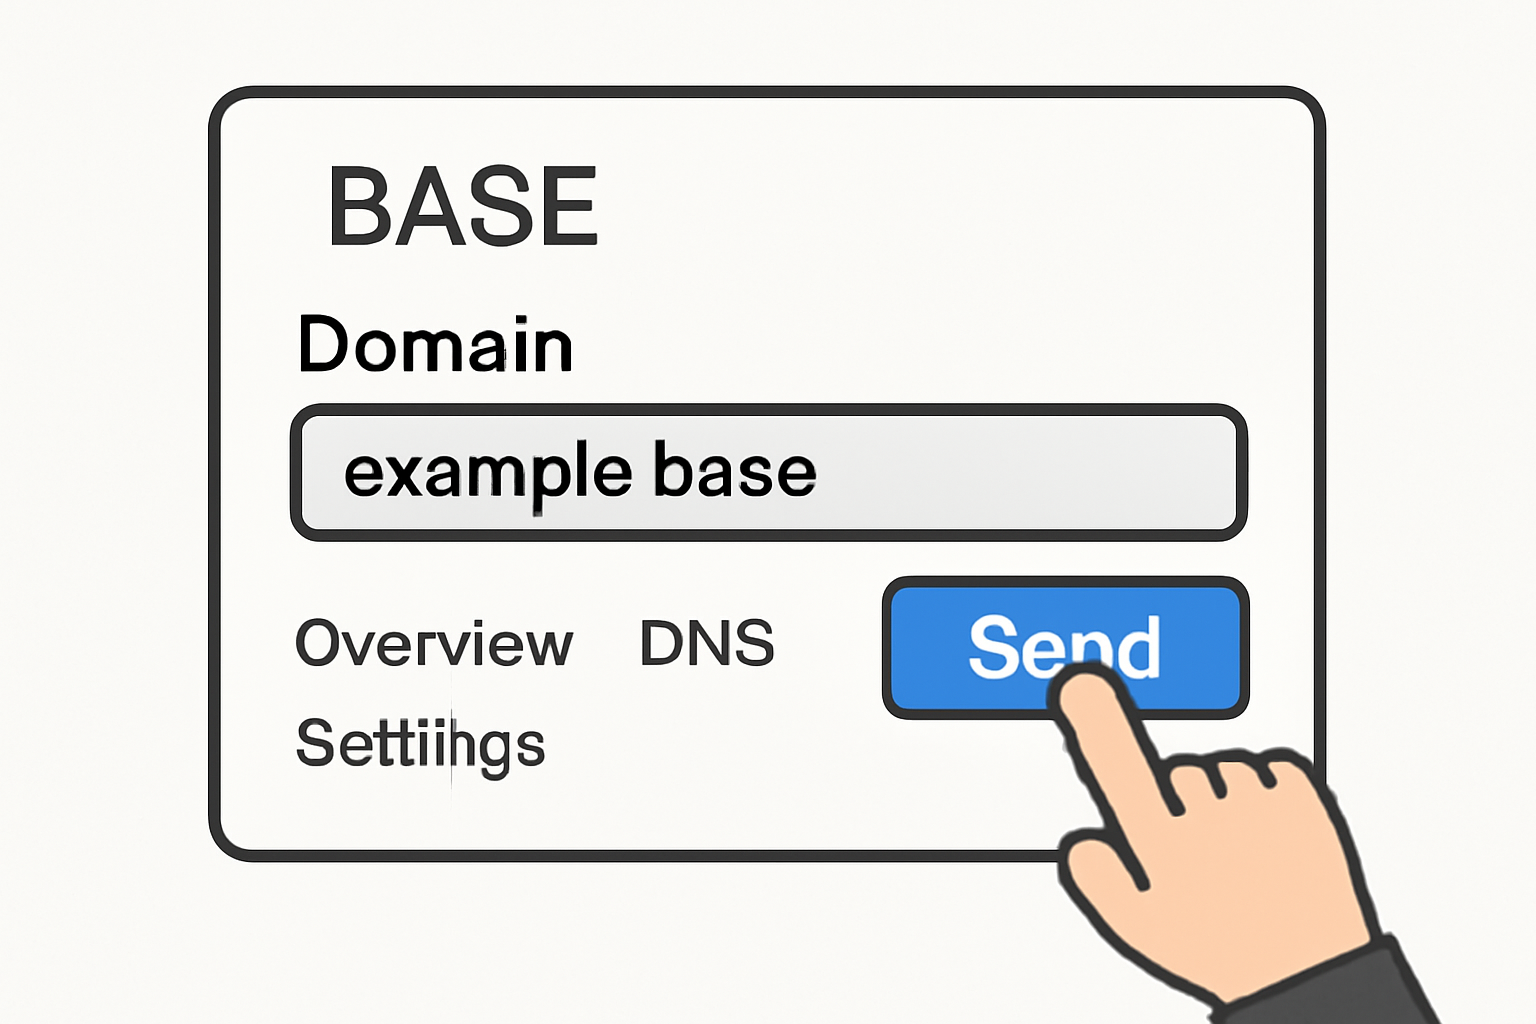
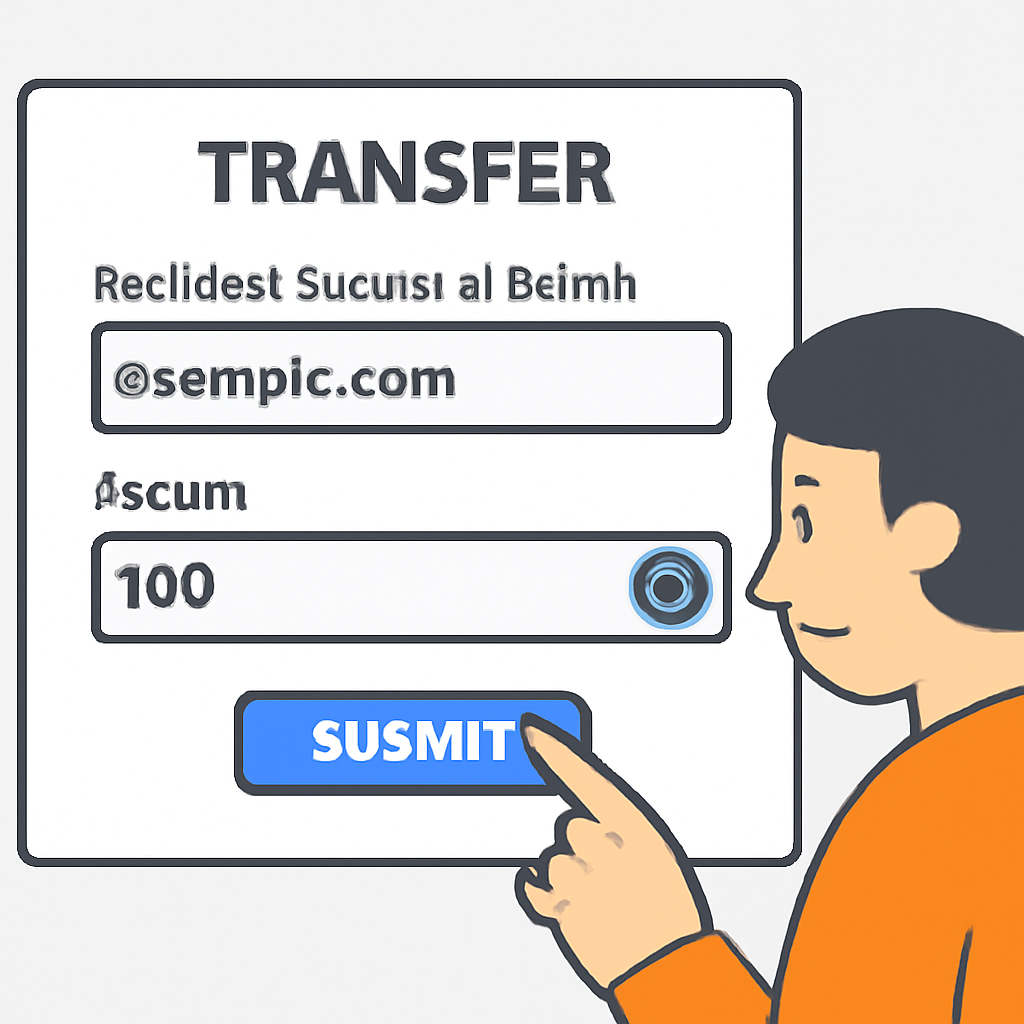
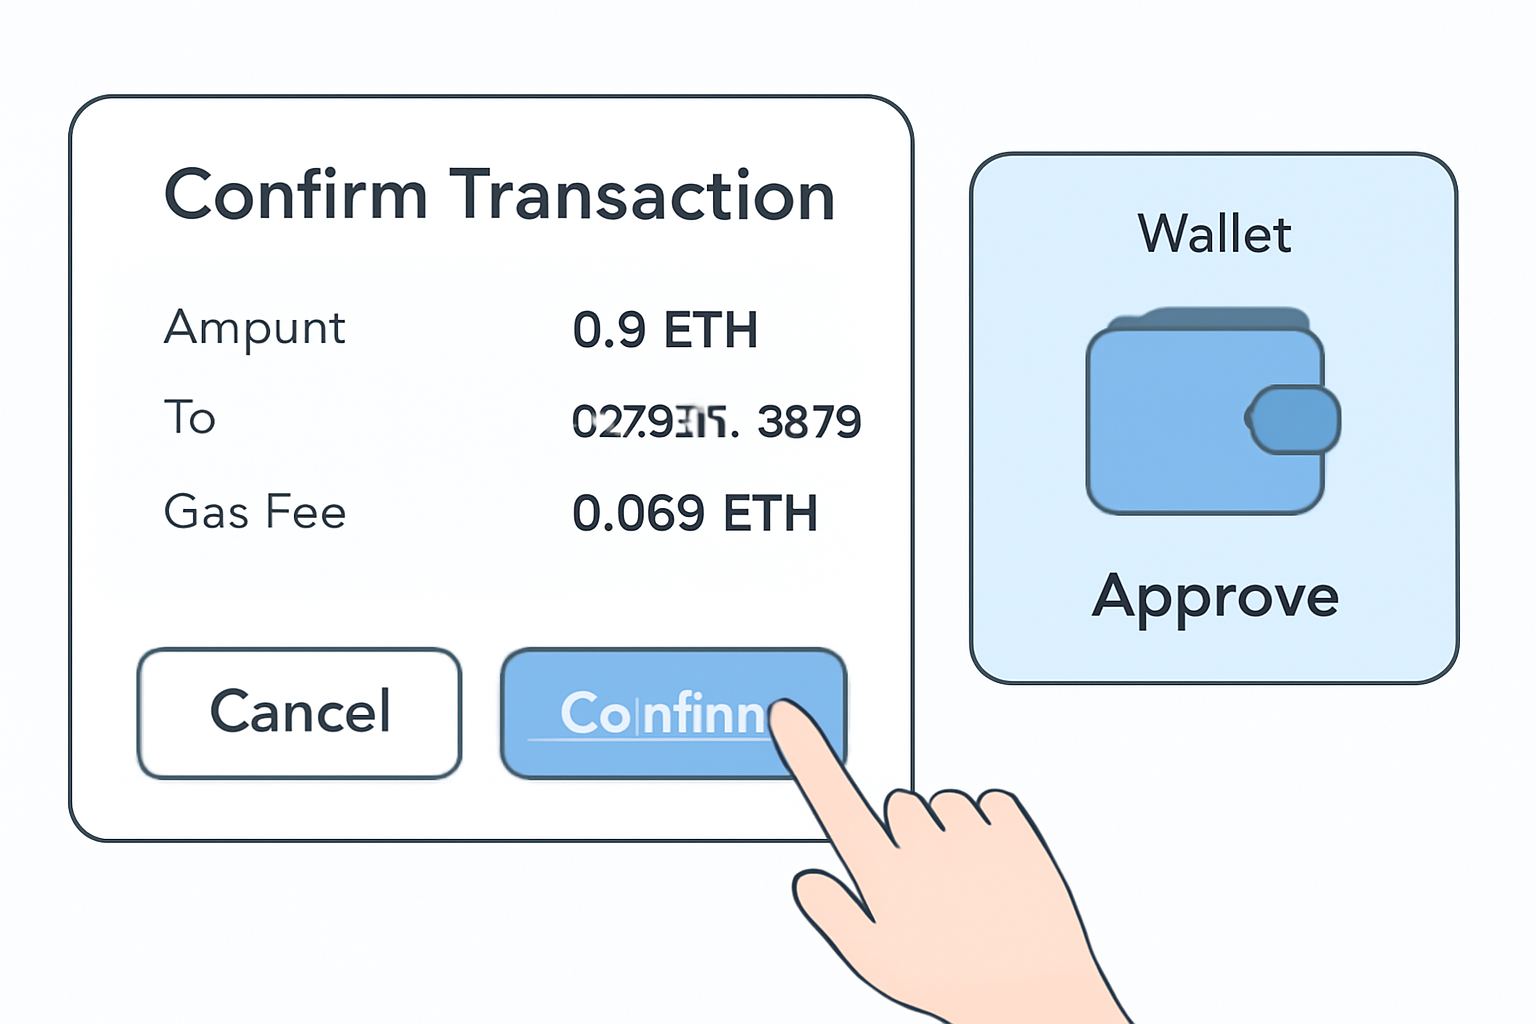
The integration process is designed for ease of use, but always double-check that your domain is correctly mapped to your intended receiving address before confirming any transaction.




No comments yet. Be the first to share your thoughts!