
Bridging assets to Base - Coinbase’s Layer 2 network - is a critical workflow for traders, NFT collectors, and DeFi users seeking fast and low-cost transactions in 2025. With cross-chain interoperability now a baseline expectation, understanding exactly how to bridge to Base is essential for navigating the evolving crypto landscape efficiently and securely.
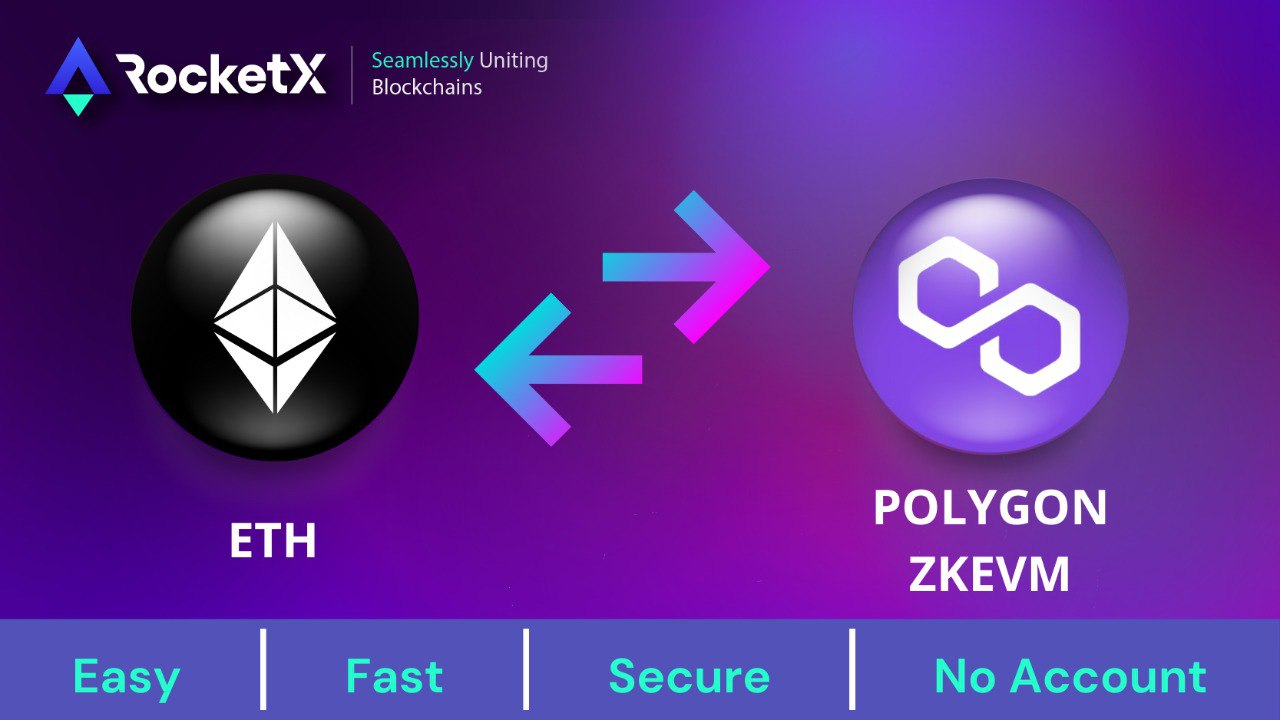
The process has become dramatically more streamlined this year. Users can move ETH or ERC-20 tokens from Ethereum and other networks to Base using multiple reputable bridges, each with distinct advantages in speed, fees, and security. This guide delivers a step-by-step breakdown of the top methods, practical wallet setup tips, and key considerations for minimizing risk.
Why Move Assets to Base in 2025?
The surge in activity on Base is driven by its ultra-low fees, rapid transaction finality, and native integration with Coinbase’s ecosystem. For power users chasing yield opportunities or memecoin rotations across chains, being able to bridge funds quickly can be the difference between capturing alpha or missing an opportunity entirely.
Key benefits of bridging to Base include:
- Accessing exclusive DeFi protocols and new token launches on Base
- Avoiding high Ethereum gas costs during periods of congestion
- Simplified fiat onramps via Coinbase with direct transfers to Base
- Participating in airdrops and incentive programs unique to the Base ecosystem
The Most Reliable Bridges for 2025
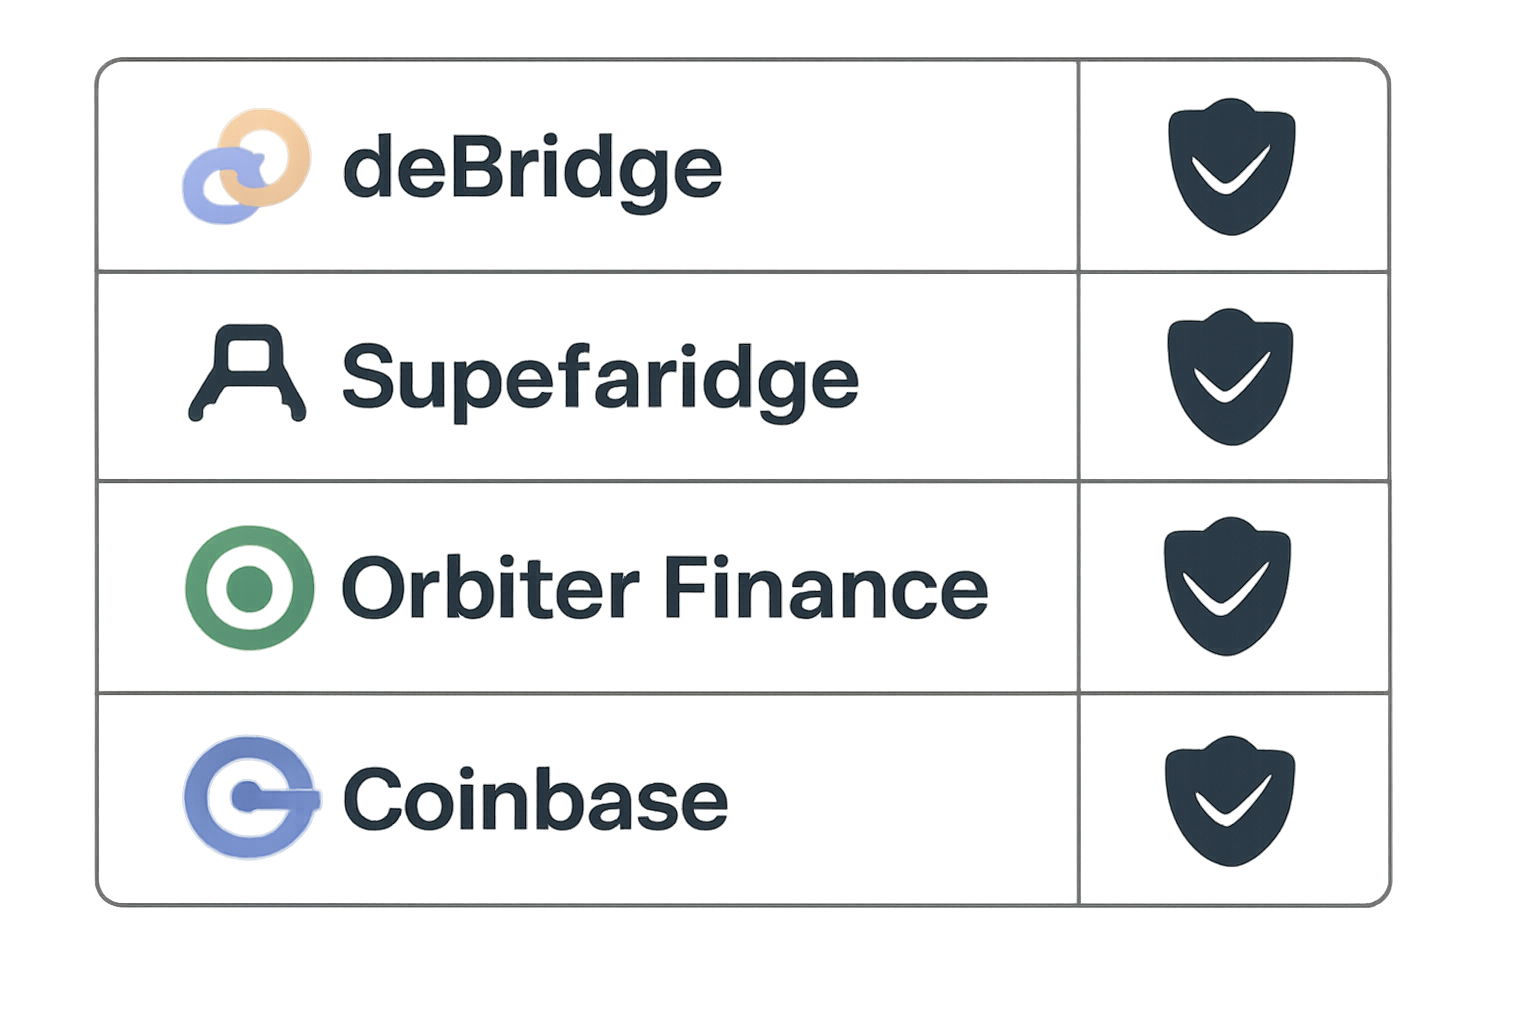
The cross-chain infrastructure market matured significantly this year. Leading options now aggregate liquidity across networks while maintaining robust security standards. Here are the most trusted ways to move assets onto Base:
- deBridge: Supports over 25 chains with a fixed fee of 0.001 ETH per transfer. Transfers typically finalize within seconds.
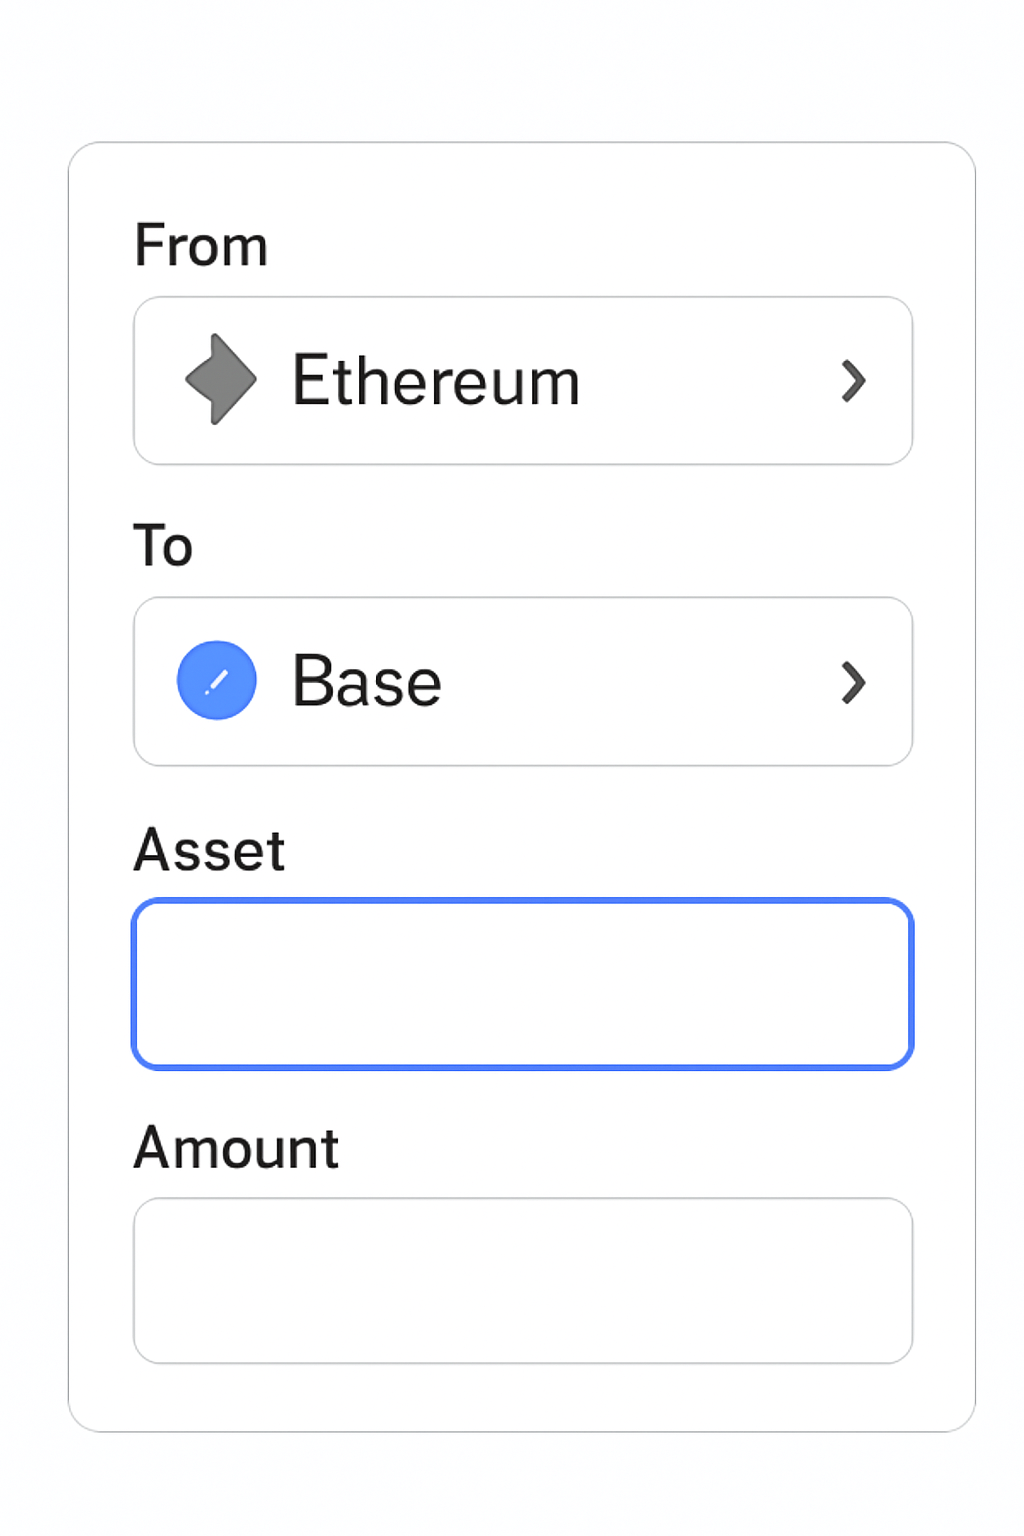
- Superbridge: Aggregates routes for optimal cost and speed. Utilizes the OP Standard Bridge under the hood.
- Orbiter Finance: Specializes in fast Layer 2-to-Layer 2 transfers including direct moves from Ethereum or Arbitrum to Base.
- Coinbase Direct: Allows instant ETH transfers from your Coinbase account directly onto Base without additional bridge fees.
Add the Base Network to Your Wallet First
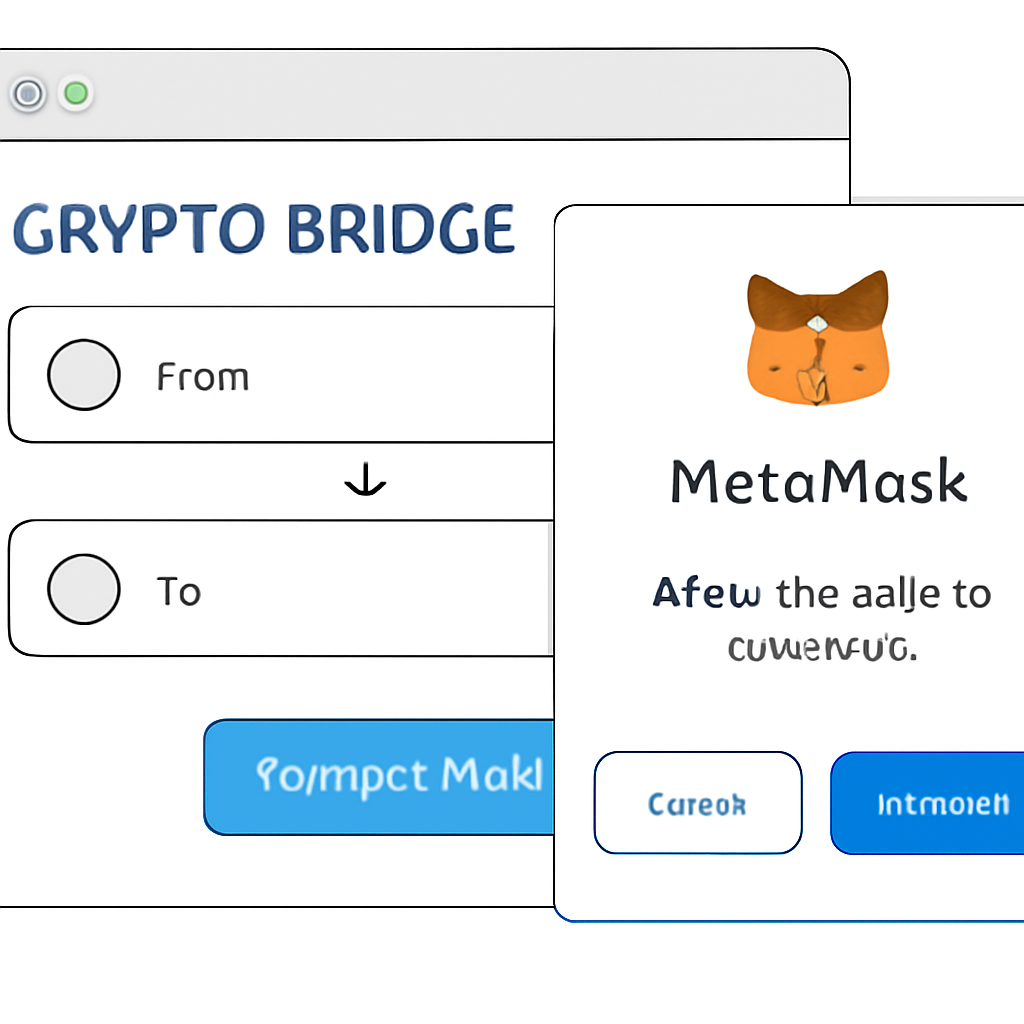
If you haven’t already added Base Mainnet support to your wallet (such as MetaMask), do this before attempting any bridge transaction. This ensures you can receive bridged funds without delay or confusion.
How to Add the Base Network to MetaMask (2025)
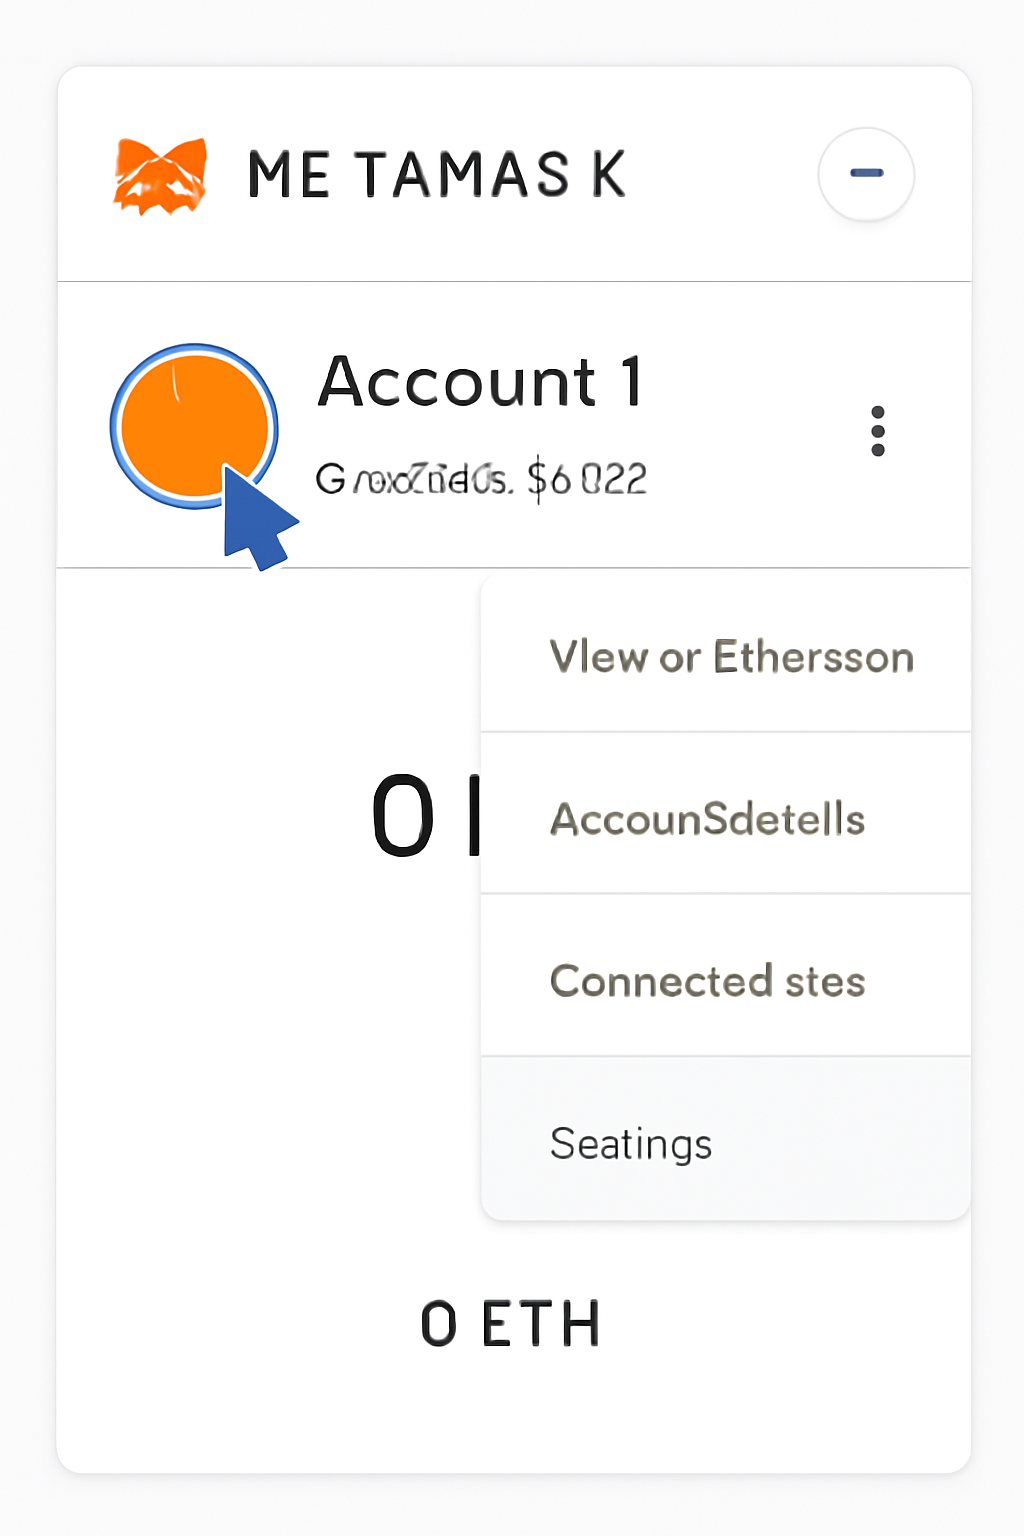
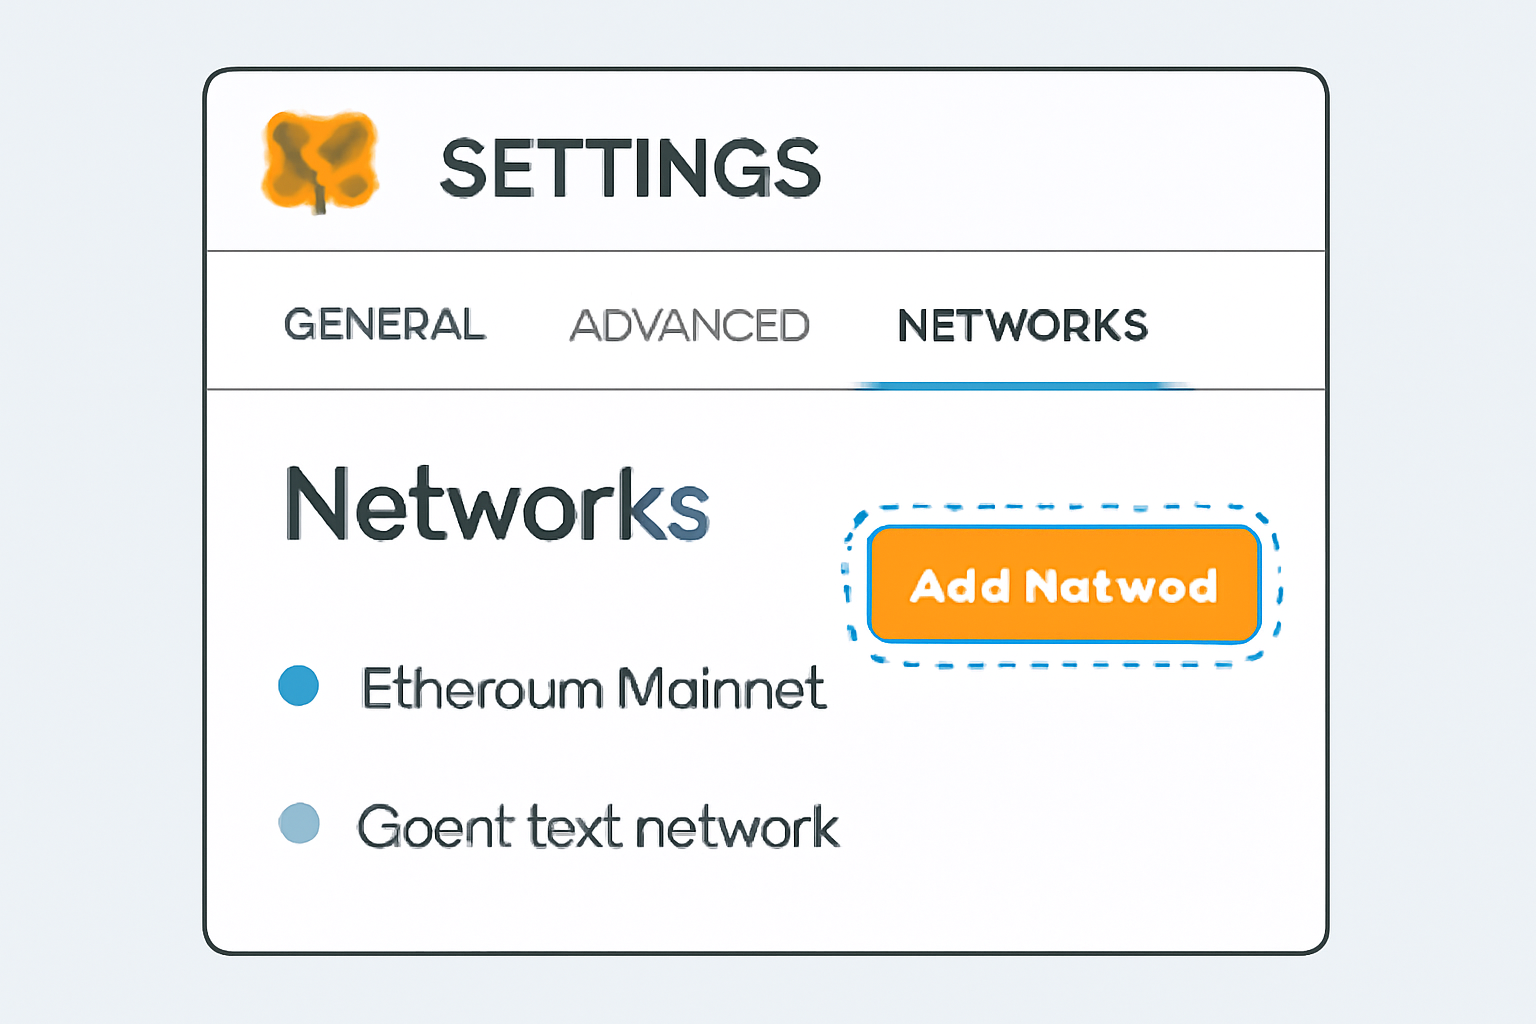
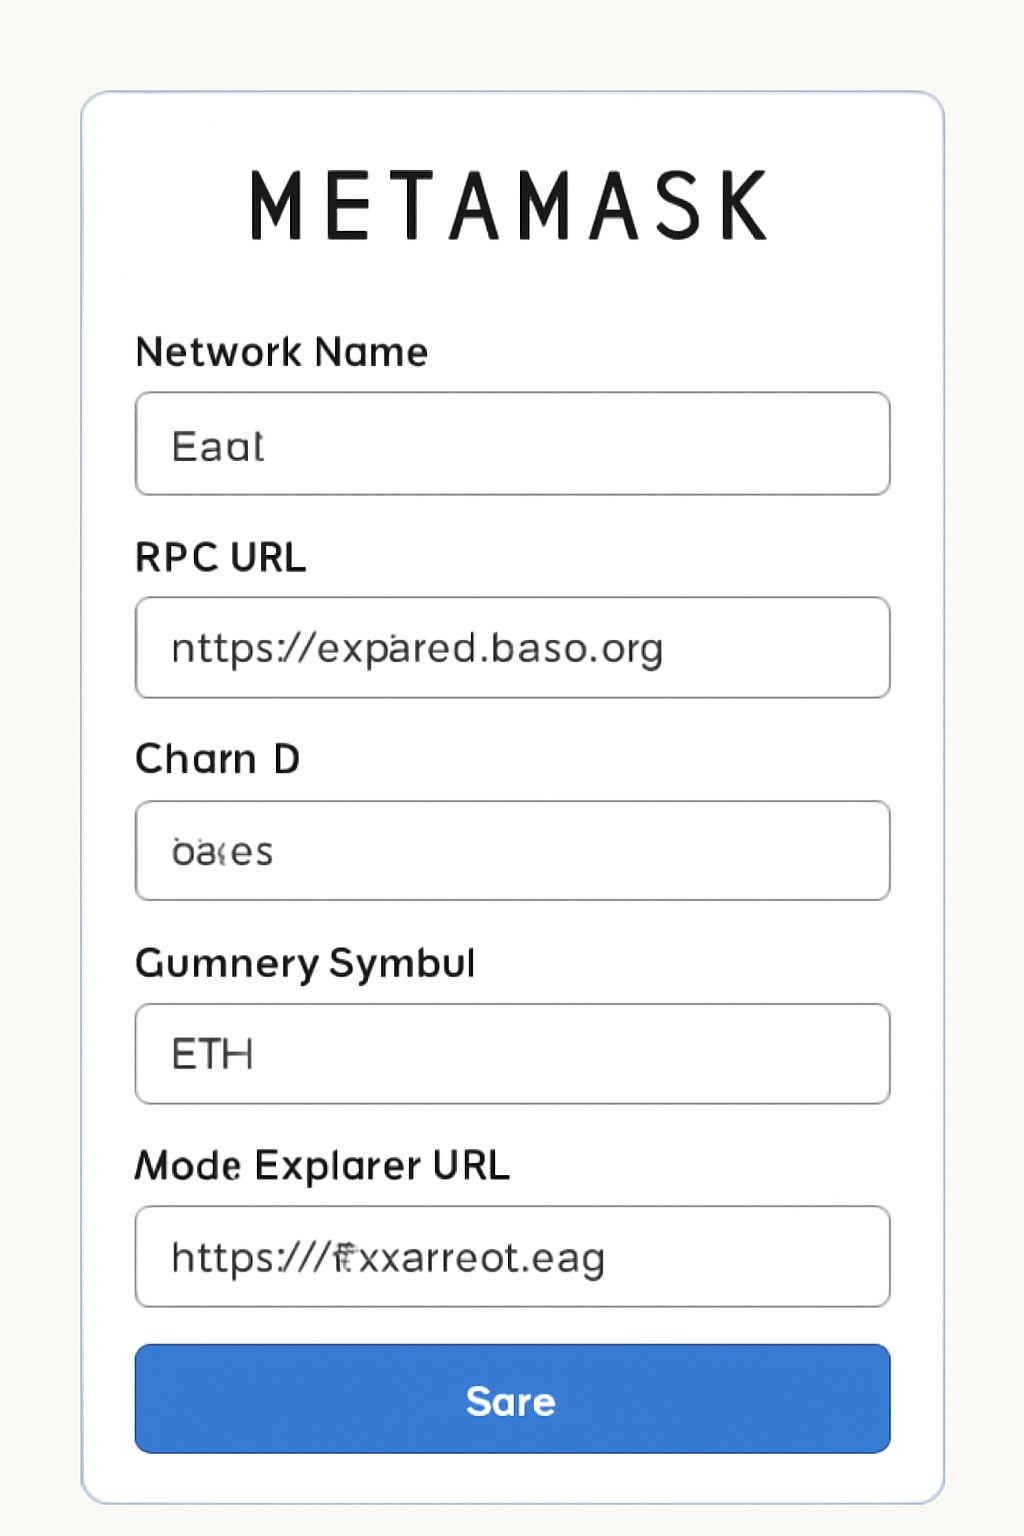
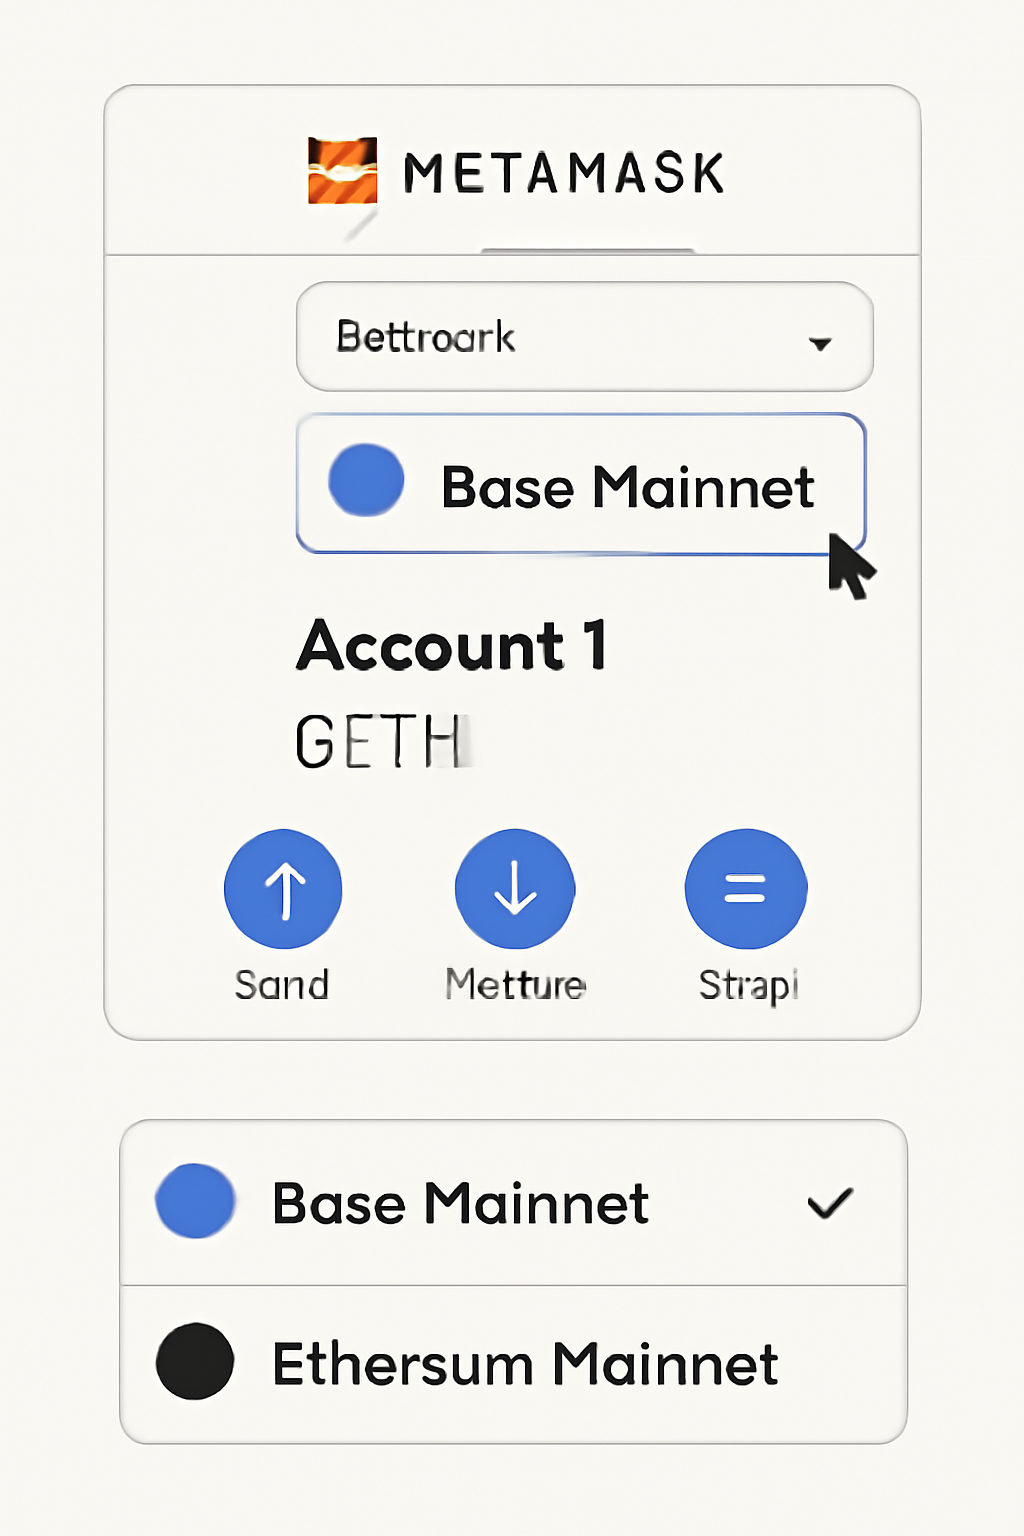
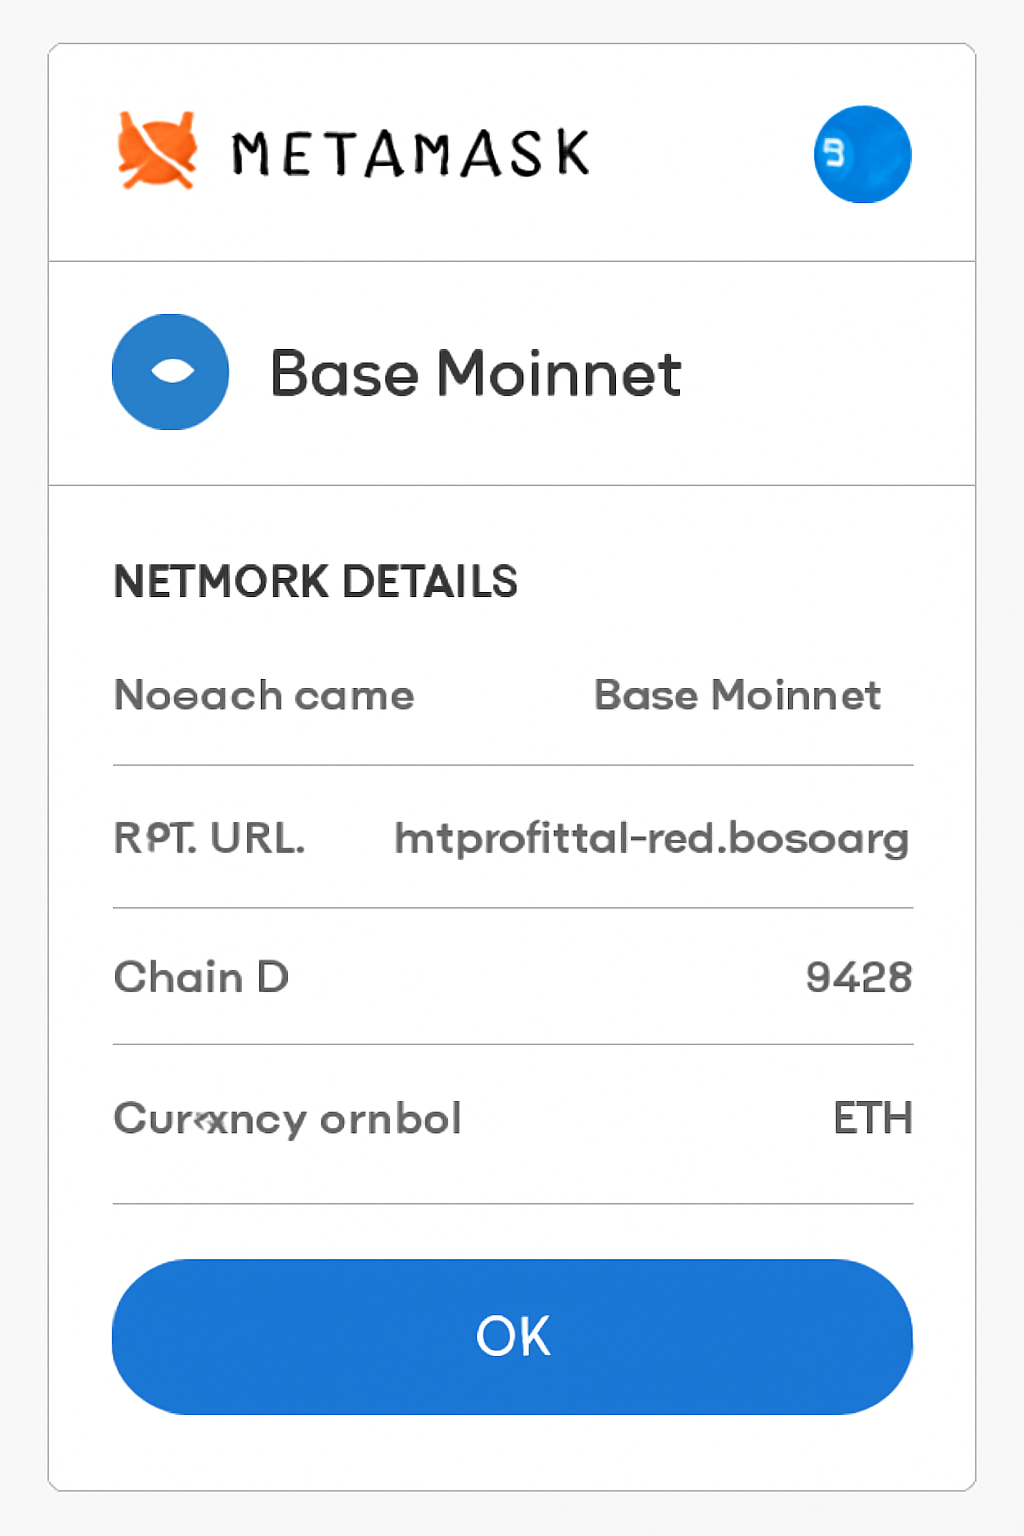
You’ll need these parameters:
- Network Name: Base Mainnet
- New RPC URL: https://mainnet.base.org
- Chain ID: 8453
- Currency Symbol: ETH
- Block Explorer URL: https://basescan.org
A Comparative Look at Bridging Methods and Fees
This year’s advances mean most bridges now offer near-instant transfers with transparent fee structures - but subtle differences remain that can impact your bottom line, especially if you’re moving large amounts or bridging frequently. For example, deBridge charges a flat 0.001 ETH per transfer, while Coinbase direct transfers incur no bridge fee but may have standard withdrawal costs depending on your region and account tier.
Superbridge and Orbiter Finance, meanwhile, dynamically calculate fees based on network congestion and liquidity availability. These platforms often provide real-time estimates before you commit, so it’s wise to compare projected costs across all major bridges for high-value transfers. For traders optimizing yield or rotating between chains, these incremental savings can accumulate quickly.
Security Considerations When Bridging to Base
Bridge security remains a non-negotiable priority in 2025. While the largest protocols have undergone multiple audits and implemented robust monitoring, users should still exercise caution. Always verify you’re interacting with the official bridge interface, phishing attacks targeting popular bridge UIs are still prevalent. Double-check contract addresses, confirm URLs, and consider using browser wallet security features that flag suspicious transactions.
Another best practice: transfer a small test amount first before bridging your full balance. This simple step can help you catch configuration errors or unexpected delays without risking significant capital. If using an aggregator like Superbridge, review which underlying bridge is being selected for your transfer; not all routes offer identical guarantees or recourse in the event of issues.
Timing Your Bridge: Volatility and Gas Fee Optimization
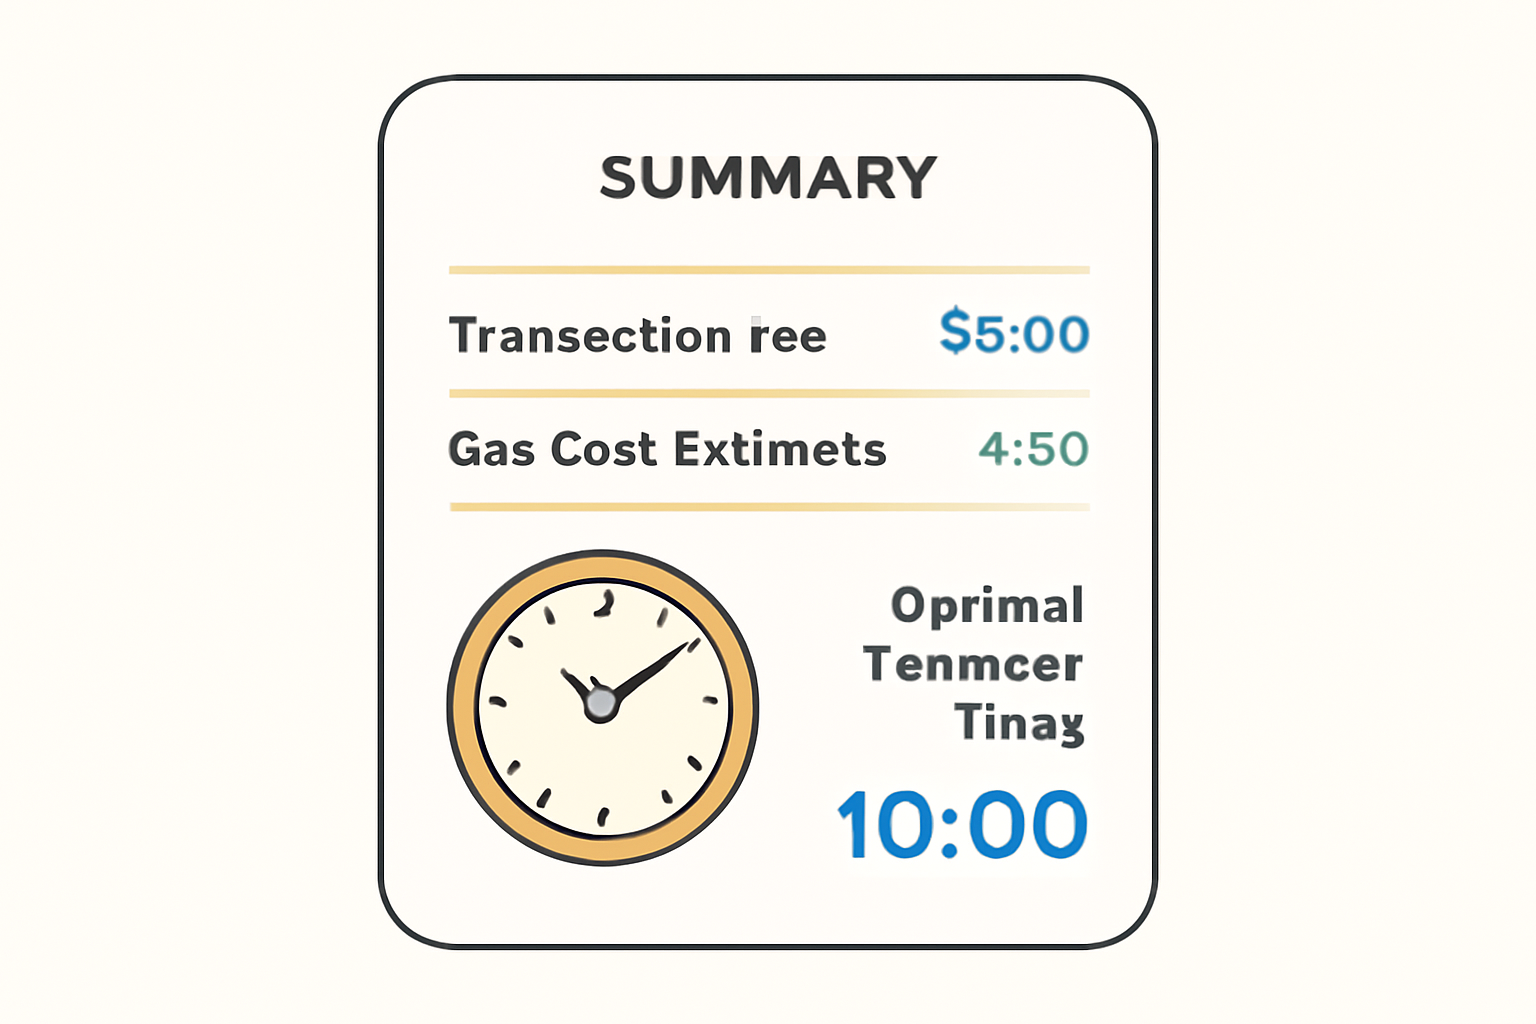
Even with Base’s low fees, Ethereum mainnet congestion can spike gas costs during peak volatility or major token launches. If minimizing cost is critical, monitor network conditions before initiating a bridge transaction. Many wallets now display live gas estimates and historical charts, use these tools to time your move for quieter periods when possible.
Pro tip: Some bridges batch transactions or use Layer 2 rollups to further compress fees during off-peak hours. For power users moving large sums or bridging frequently as part of trading strategies, setting up alerts for optimal fee windows can yield meaningful savings over time.
What Happens After You Bridge?
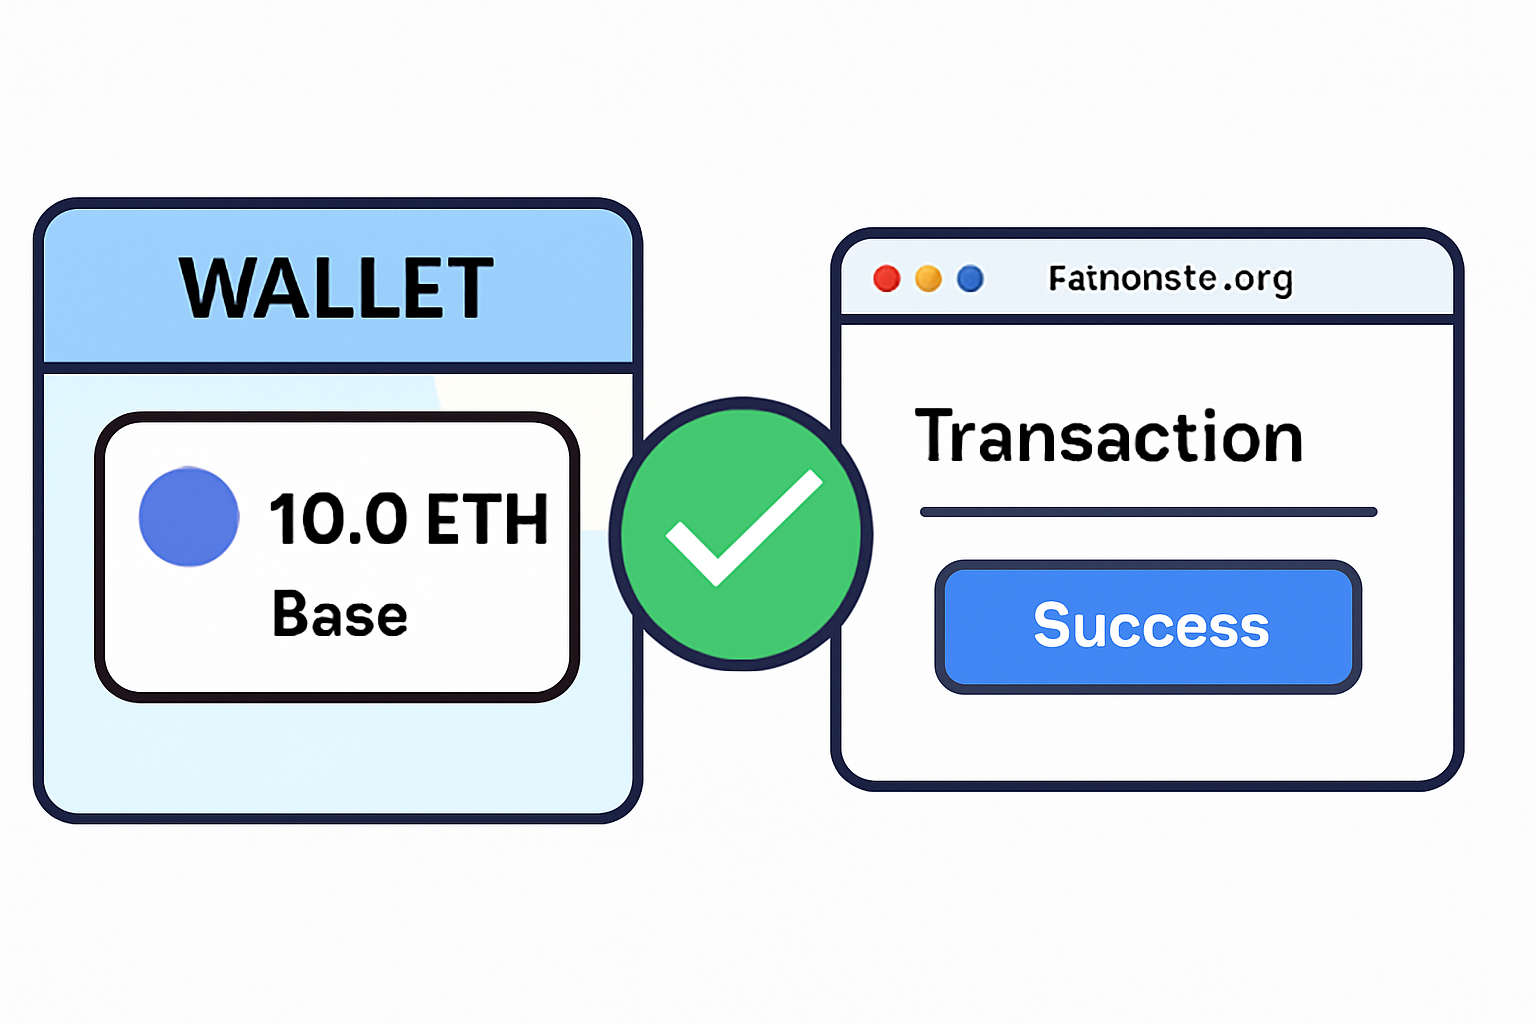
Once your assets arrive on Base Mainnet, they’re immediately available for use across DeFi protocols, NFT marketplaces, and DEXs native to the Base ecosystem. Most wallets will display your updated balance automatically if you’ve added the correct network parameters. If not, manually refresh your wallet or re-import the asset contract address to ensure visibility.
If you encounter delays (rare but possible during extreme network congestion), check the transaction hash on basescan. org for real-time status updates. Funds typically arrive within seconds to minutes depending on the bridge used; persistent issues may require reaching out to the bridge’s official support channels.
How to Bridge Assets to Base in 2025: Illustrated Step-by-Step Guide
The evolution of cross-chain infrastructure has made it easier than ever to move assets onto Base, unlocking new DeFi opportunities with minimal friction. As always in crypto: vigilance pays dividends. Stay informed about protocol updates and emerging risks so you can move fast when opportunity knocks while keeping your capital secure.



No comments yet. Be the first to share your thoughts!