
Ready to unlock the speed and savings of Base chain? You’re not alone. Since its launch, Base has become a magnet for traders and DeFi fans who want Ethereum security without the eye-watering gas fees. If you’re wondering how to bridge to Base in 2024, this guide is your one-stop playbook. Whether you’re eyeing the next memecoin or just want cheaper swaps, let’s get you set up step by step.
Why Bridge to Base? The 2025 Edge
Base is built on Ethereum’s OP Stack, making it a Layer 2 solution that delivers faster transactions and dramatically lower fees. That means more trades, more yield farming, and more NFT mints for less ETH spent on gas. In 2025, with Ethereum mainnet fees still unpredictable, bridging to Base is a no-brainer for active users. Plus, with Coinbase’s backing and growing ecosystem, there’s real momentum behind this chain.
Step 1: Add Base Network to Your Wallet
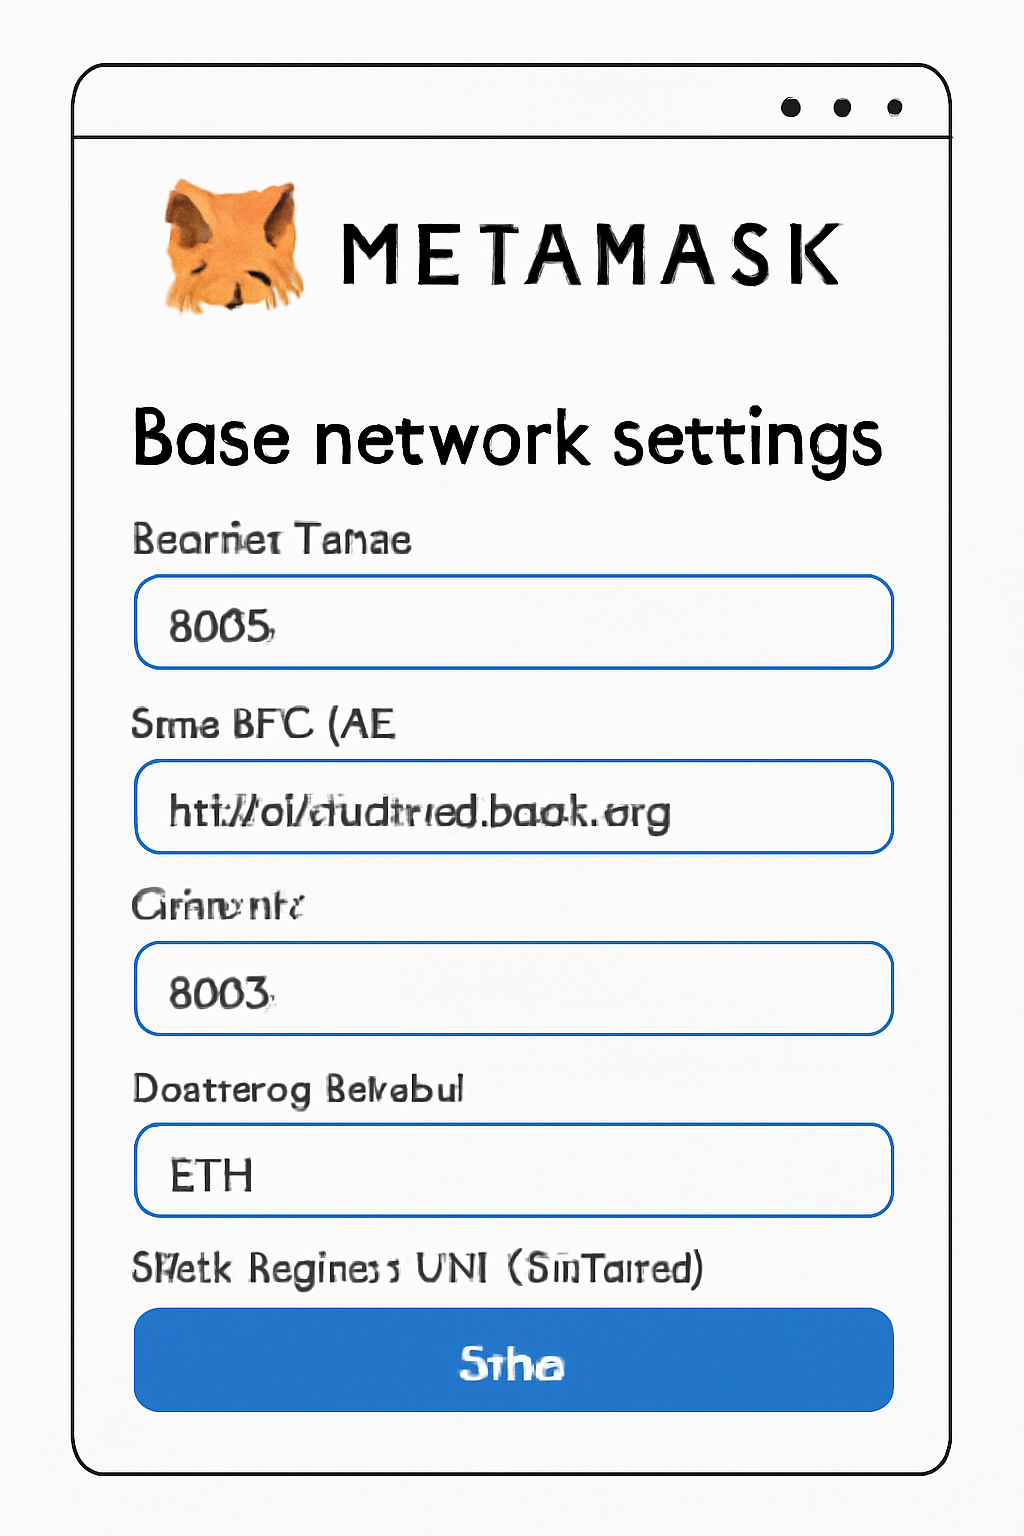
Before you can move assets over, your wallet needs to know about Base. Most people use MetaMask or another EVM-compatible wallet. Here’s what you do:
- Open MetaMask, then hit Settings and gt; Networks and gt; Add Network.
- Punch in these details:
- Network Name: Base
- RPC URL: https://mainnet.base.org
- Chain ID: 8453
- Currency Symbol: ETH
- Block Explorer URL: https://basescan.org
- Save it, then switch your wallet network to Base.
If you skip this step, your assets might be stuck in limbo after bridging - so double-check that network setup!
The Best Bridges: Fastest Routes with Minimum Gas Fees
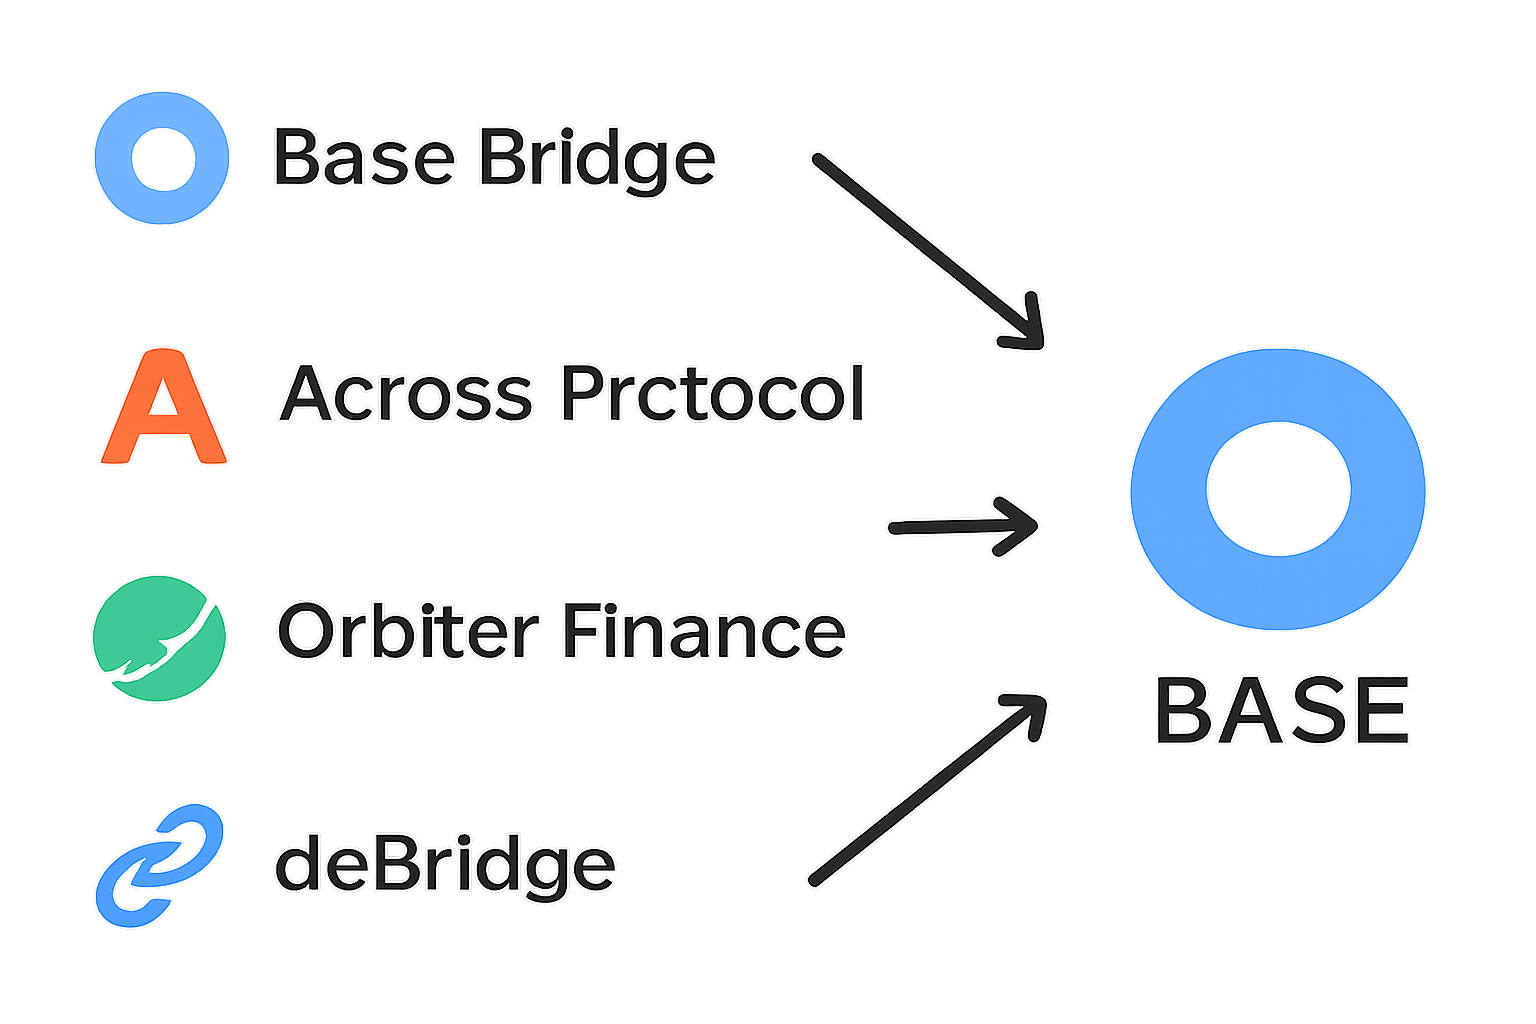
You’ve got options when it comes to moving tokens onto Base. Each bridge has its own pros - some are lightning fast, others focus on saving you every possible gwei. Here are the top picks for 2024-2025:
- Official Base Bridge: The gold standard for security and simplicity if you’re moving from Ethereum mainnet.
- Across Protocol: Known for low fees and speedy transfers between major chains like Optimism and Arbitrum.
- Orbiter Finance: Supports over a dozen L2s - great if you’re coming from somewhere besides Ethereum.
- deBridge: Popular for instant swaps and multi-asset support.
The right choice depends on what tokens you’re moving (ETH vs ERC-20s), your tolerance for fees, and which networks you’re starting from. Power users often check multiple bridges for the cheapest route before pulling the trigger!
Your Step-by-Step Guide: Bridging Assets Like a Pro
No matter which bridge you pick, the process is pretty similar (and easier than most people expect):
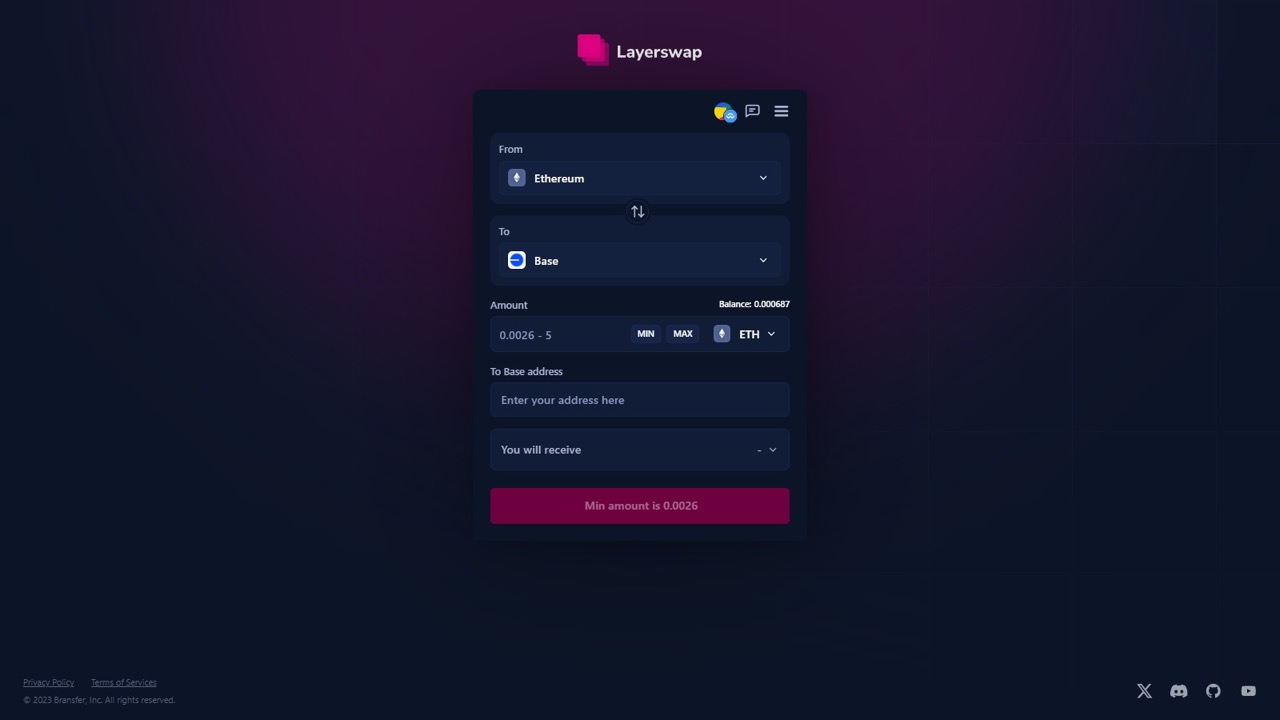
Bridge ETH or ERC-20 Tokens from Ethereum to Base: A Simple Step-by-Step Guide
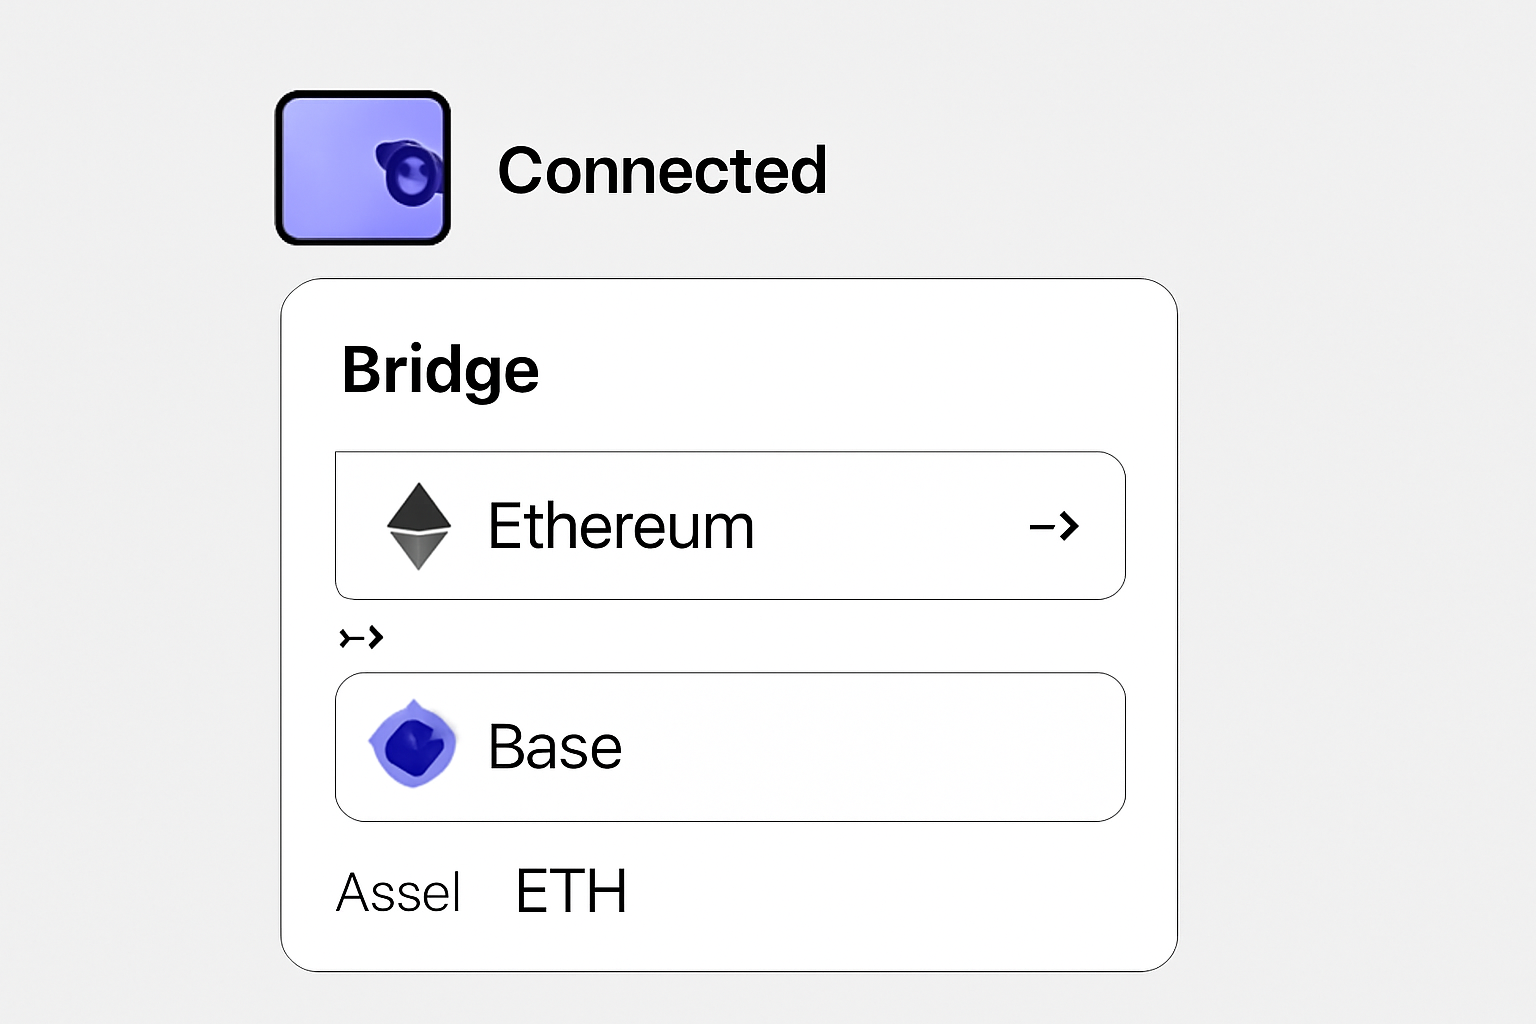
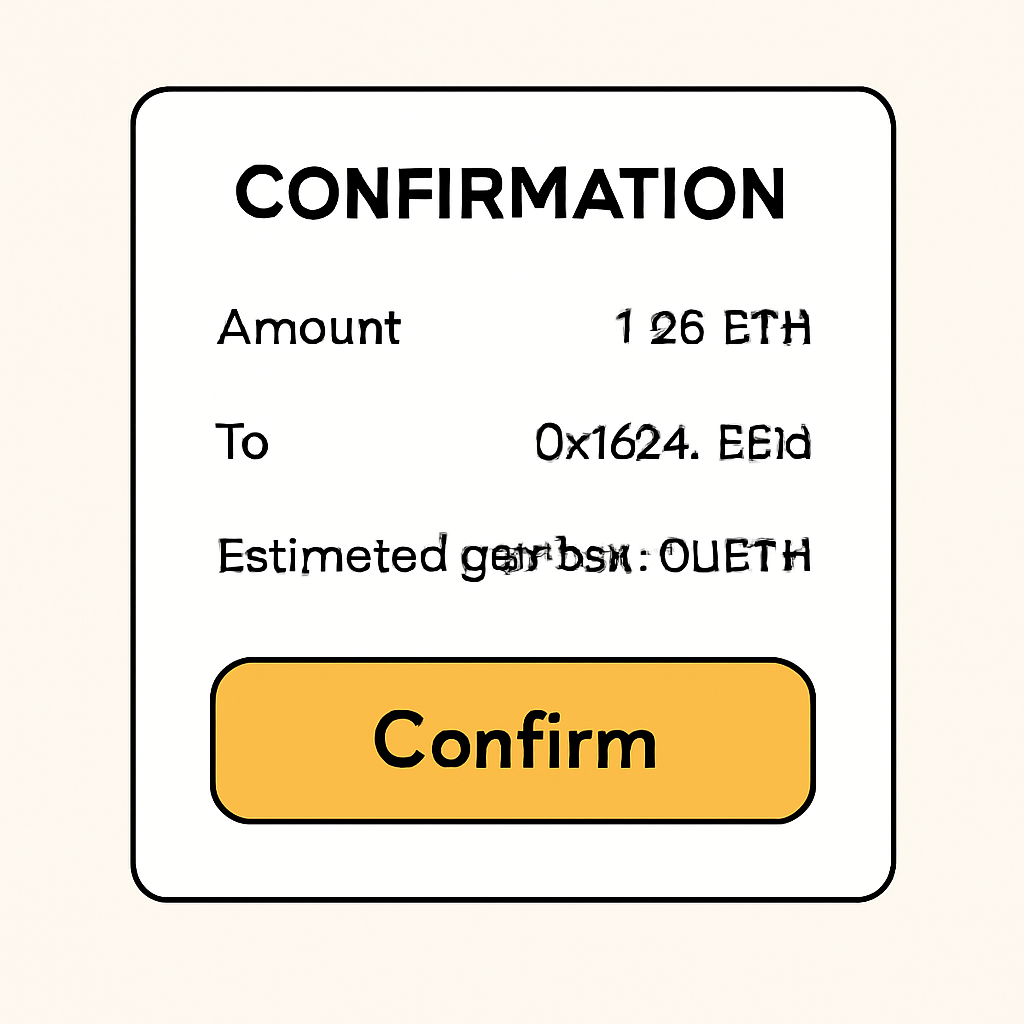
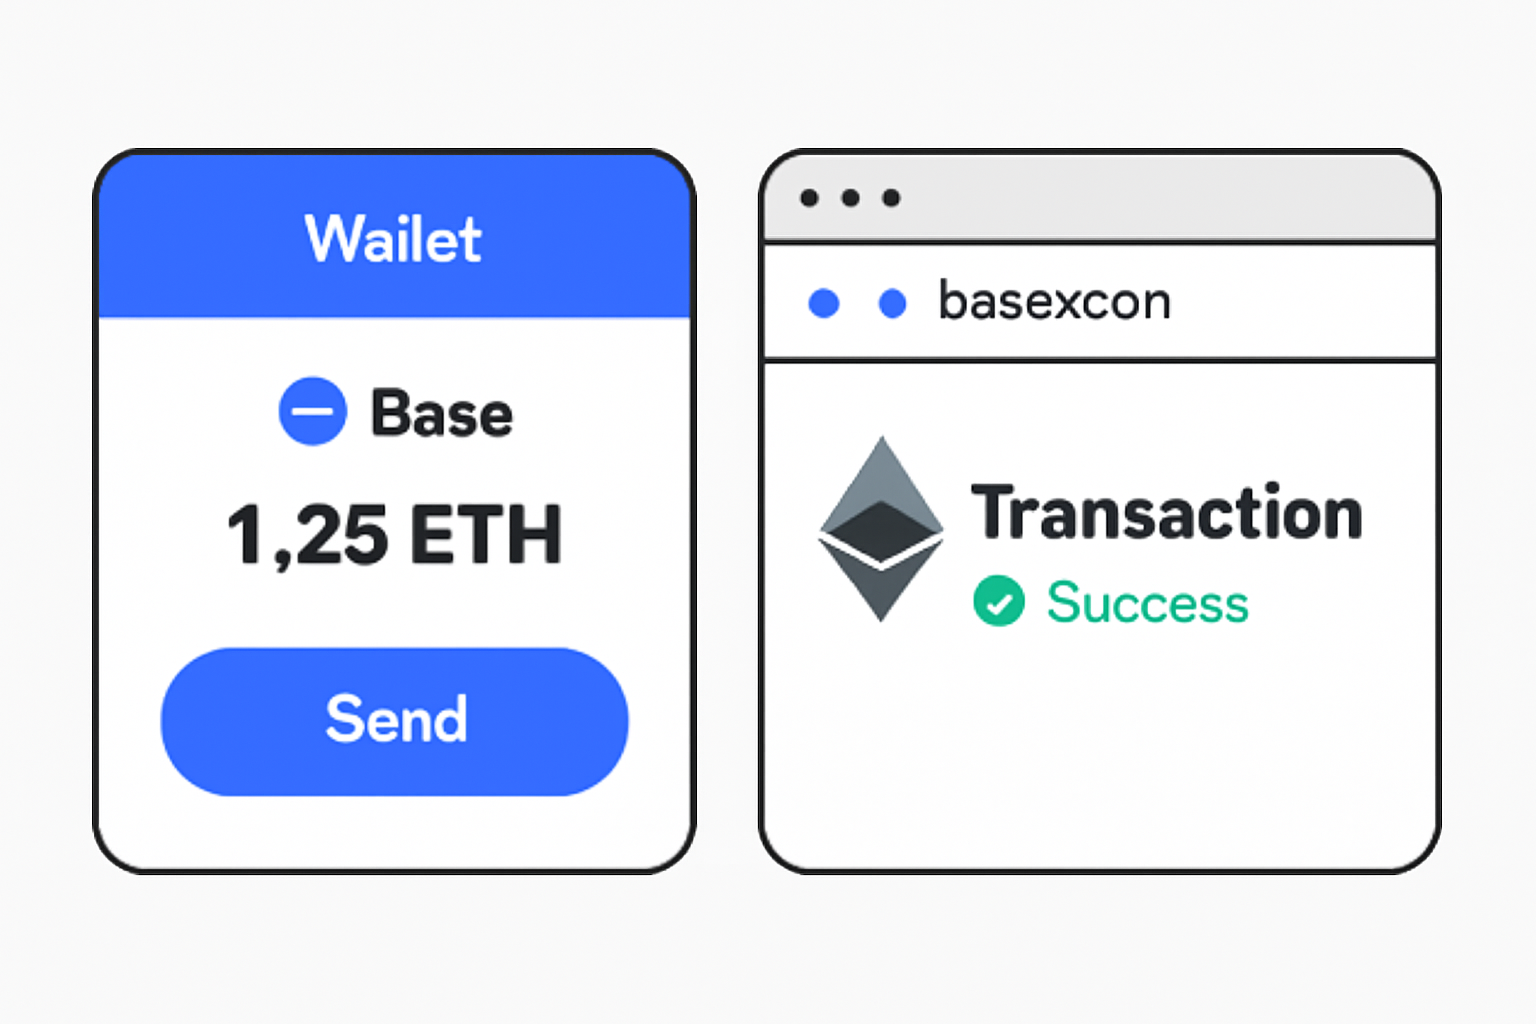

You’ll connect your wallet (make sure it’s on the right network), select your token and amount, confirm all details including fee estimates, then sign off in your wallet. Once done, just wait - most transfers land on Base within minutes these days!
After you’ve confirmed the transaction, it’s time for the most satisfying part: seeing your assets arrive on Base. Don’t be alarmed if you don’t see them instantly, bridging times can vary, especially during periods of network congestion. But with Base’s OP Stack efficiency and the advancements in bridging protocols, most transfers are far quicker than old-school L1 to L2 moves.
How to Confirm Your Funds Landed on Base
First, switch your wallet network to Base and check your token balances. If you’re not seeing your funds yet, don’t panic! Sometimes it takes a few extra blocks for everything to sync up, especially if you used a third-party bridge or bridged less common tokens.
- Check BaseScan: Head over to basescan. org and paste in your wallet address. You’ll get a full breakdown of recent transactions and can confirm that your assets are safely on Base.
- Review Transaction Receipts: Most bridges provide a transaction hash or receipt, keep this handy in case you need support.
If something seems off or you’re still waiting after an hour, check for network updates from the bridge provider’s official channels or Discord. Patience pays!
Pro Tips: Fees, Timing and Security When Bridging to Base
Let’s talk about what separates successful bridges from rookie mistakes. Here are some actionable tips I wish someone had told me before my first cross-chain adventure:
- Always have extra ETH on the source chain for gas fees, bridges will fail if you run out mid-transaction.
- Avoid peak hours: Gas fees spike when Ethereum is busy (think NFT mint events or big airdrops). Use tools like Etherscan’s gas tracker to time your move.
- Double-check URLs: Only use official bridge sites; phishing attempts are rampant in crypto. Bookmark trusted links and never click random DMs.
- Start small: Bridge a tiny test amount first if it’s your first time with a new protocol.
- Track everything: Save transaction hashes and receipts until funds hit your Base wallet.
What Can You Do on Base After Bridging?
This is where the fun begins! Once your funds arrive, the entire Base ecosystem opens up. Here are some of the hottest moves right now:
- Snipe new memecoins: With lower fees and fast finality, memecoin trading is exploding on Base, just DYOR before aping in!
- Dive into DeFi yields: Protocols like Aerodrome and Compound V3 offer juicy rates with minimal friction compared to mainnet.
- Mint NFTs for pennies: Artists love low-cost mints; collectors love fast reveals. Win-win!
- Airdrop hunting? Many projects reward early adopters who bridge and interact on-chain, don’t sleep on potential future drops.
Common Questions About Bridging to Base (2025 Edition)
The bottom line? Bridging to Base in late 2025 is faster, cheaper, and safer than ever before, but only if you follow best practices. Double-check every step, use reputable bridges, and keep an eye out for new opportunities once you’re live on-chain. The next big play could be just one bridge away!




No comments yet. Be the first to share your thoughts!