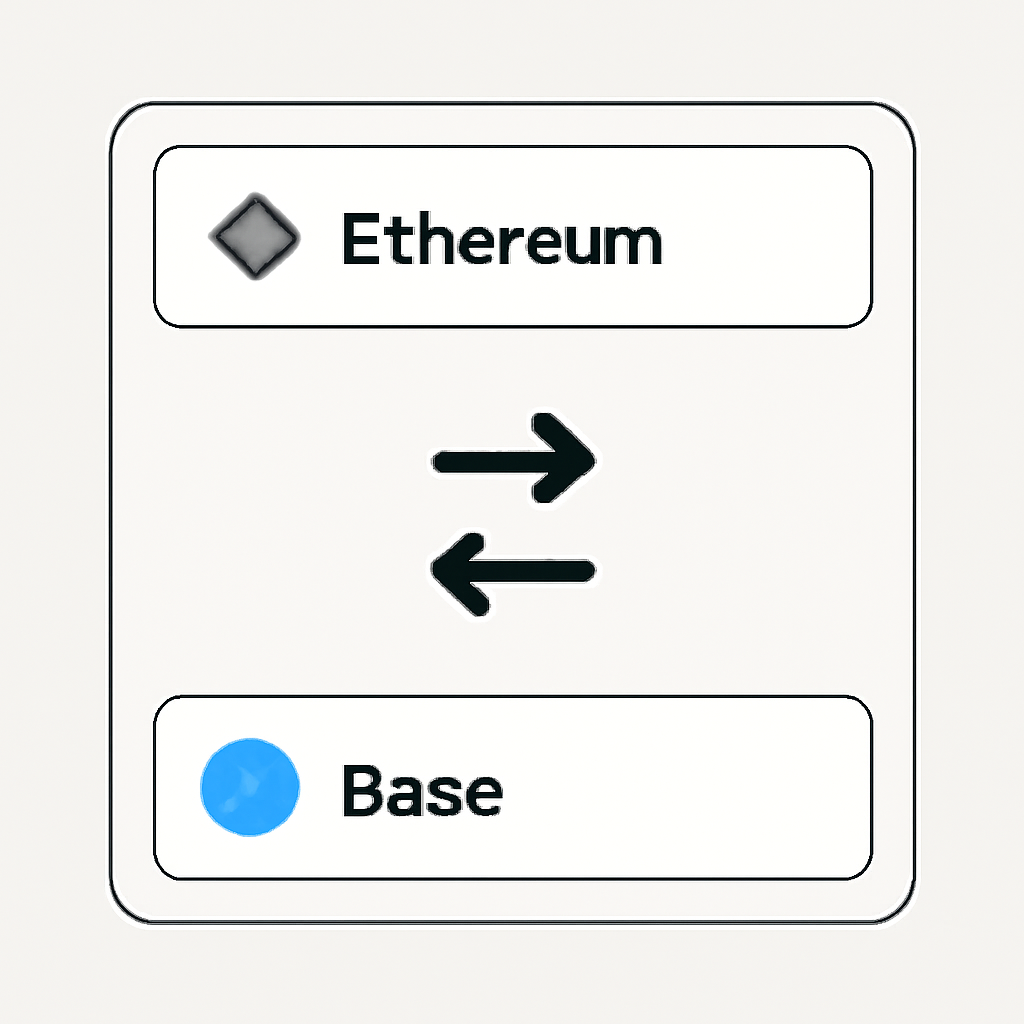
Bridging your crypto assets to Base: Coinbase’s Layer 2 blockchain, has become an essential step for users seeking lower fees and faster transactions compared to the Ethereum mainnet. As Base’s ecosystem rapidly expands, knowing how to bridge safely and efficiently is crucial for both seasoned DeFi users and those onboarding in 2025. In this guide, we’ll break down the process using trusted protocols, share real user insights, and provide visual aids to ensure you avoid common pitfalls.
Why Bridge to Base? Key Benefits and User Insights
Base is designed for speed and affordability, making it an attractive option for everyday transactions, NFT trading, and DeFi participation. Users consistently report that bridging to Base unlocks a smoother experience with:
- Lower Gas Fees: Drastically reduced compared to Ethereum mainnet.
- Faster Transaction Settlements: Transfers typically complete in seconds rather than minutes.
- Diverse Application Ecosystem: Access new dApps exclusive to Base or optimized for its environment.
The process is straightforward but requires attention to detail, especially regarding gas fees, network congestion, and platform security. Many users recommend starting with small test transfers before moving significant amounts.
The Step-by-Step Guide: Bridging Crypto Assets to Base
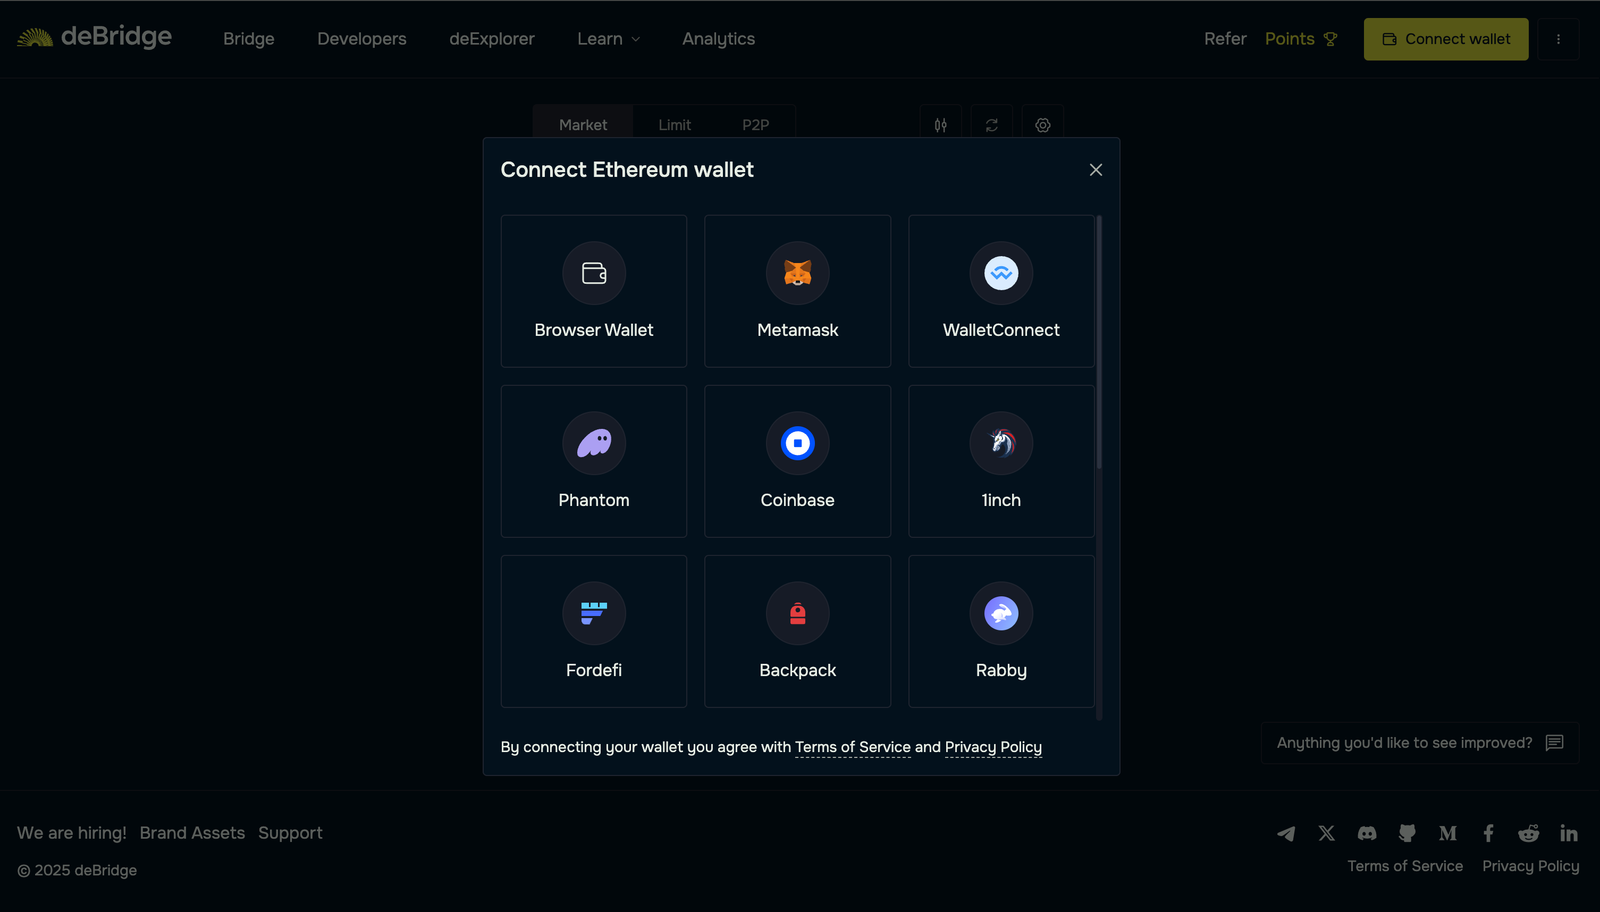
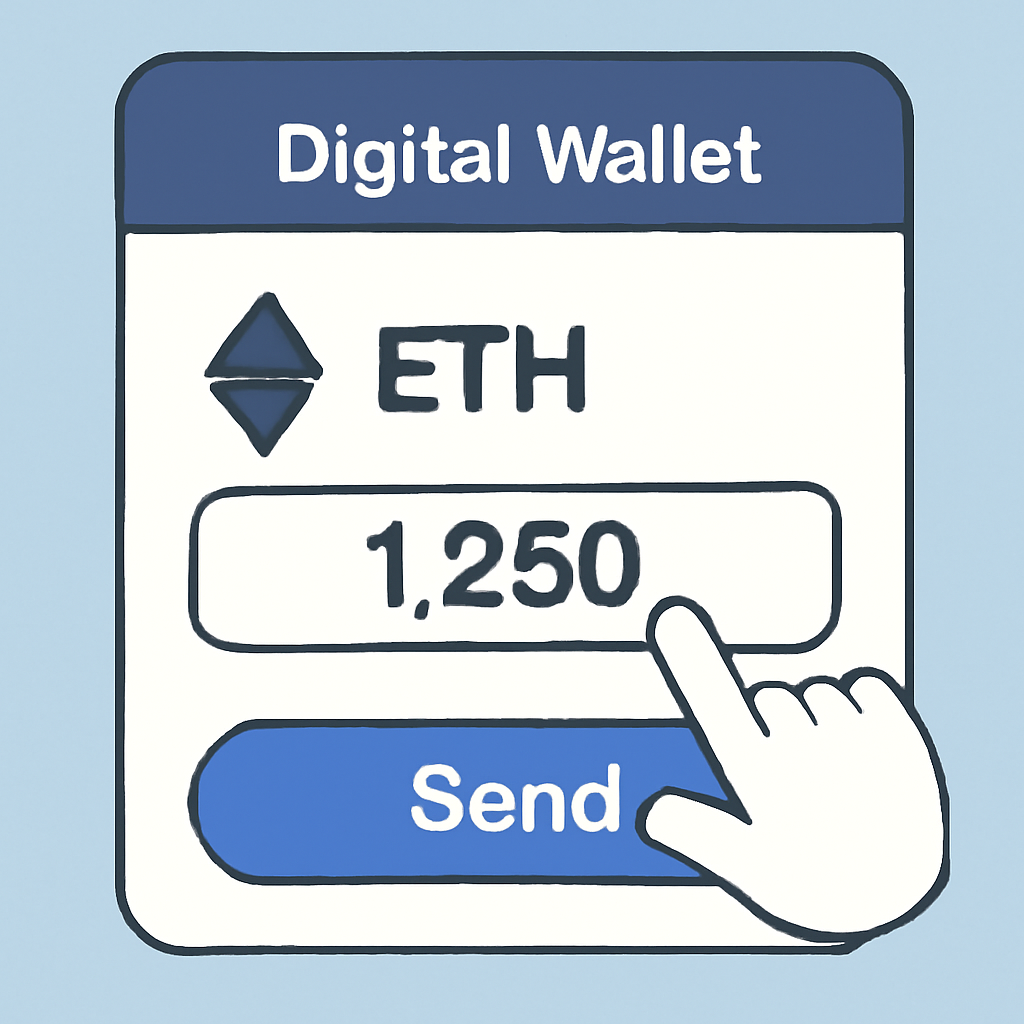
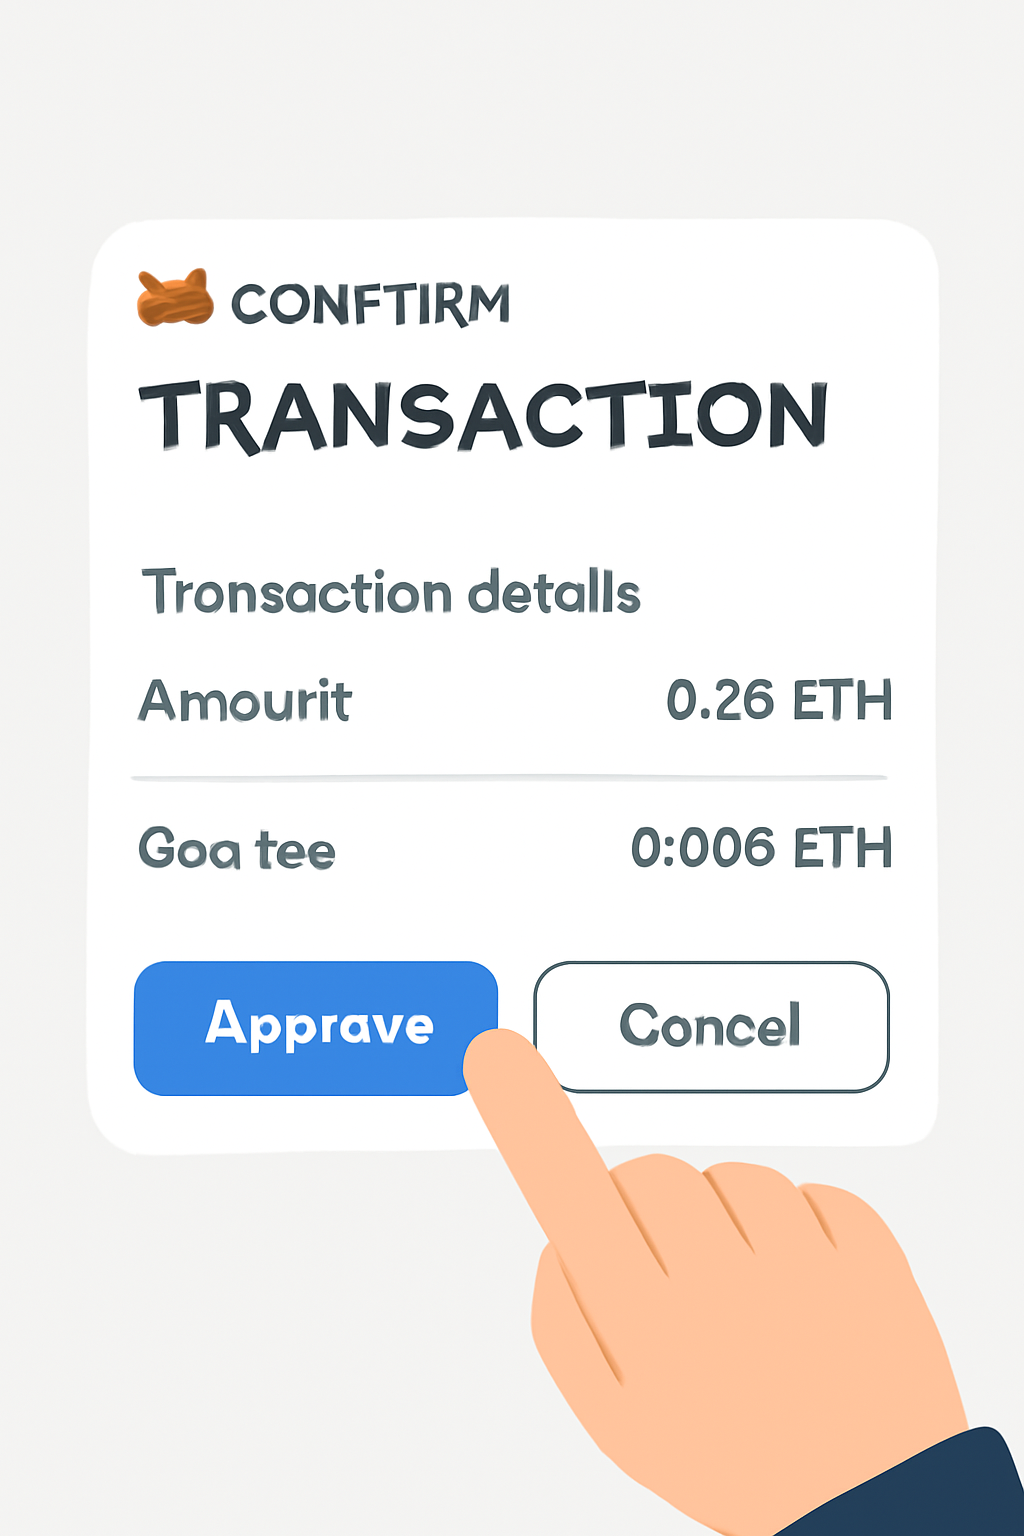
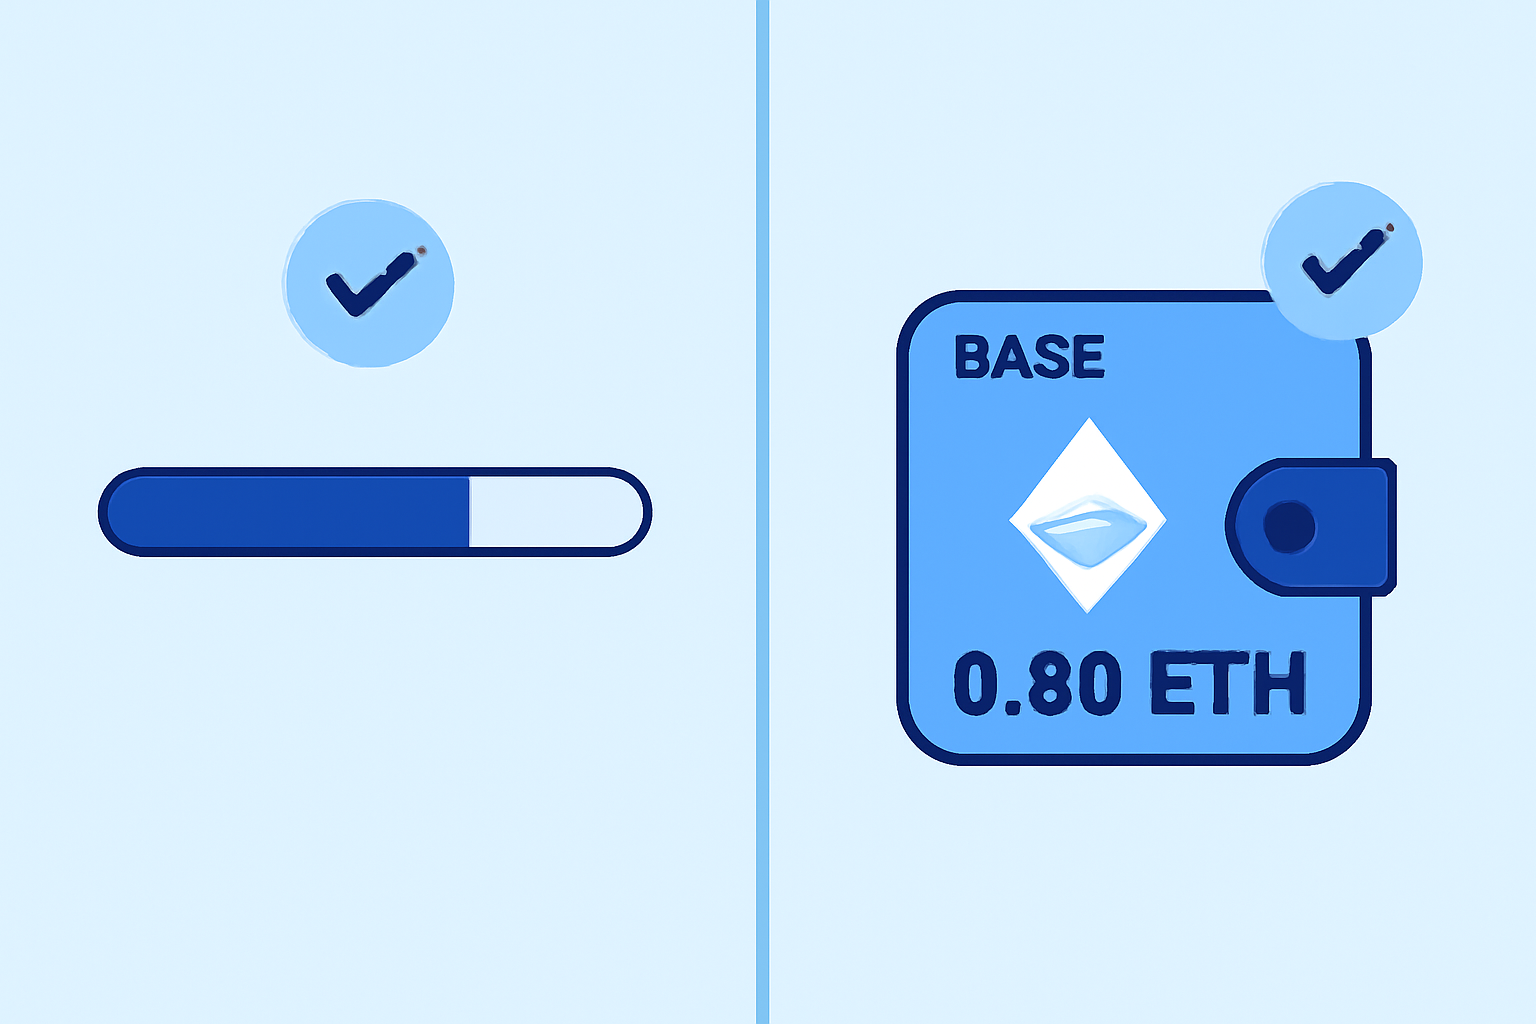
The most popular method involves bridging via deBridge, which supports a wide range of assets including ETH and stablecoins. Below is a visual walkthrough tailored for MetaMask users (the process is similar on other wallets):
How to Bridge ETH from Ethereum Mainnet to Base with deBridge and MetaMask
If you prefer alternatives or want redundancy in your approach, consider the following:
- Official Base Bridge by Coinbase: Direct transfers between Ethereum and Base; reliable but sometimes slower during peak hours.
- Celer cBridge: Especially useful if you’re transferring assets from BNB Chain or other supported networks.
- Orbiter Finance: Supports multiple Layer 2 networks including Base for quick swaps (see CoinMarketCap’s guide above).
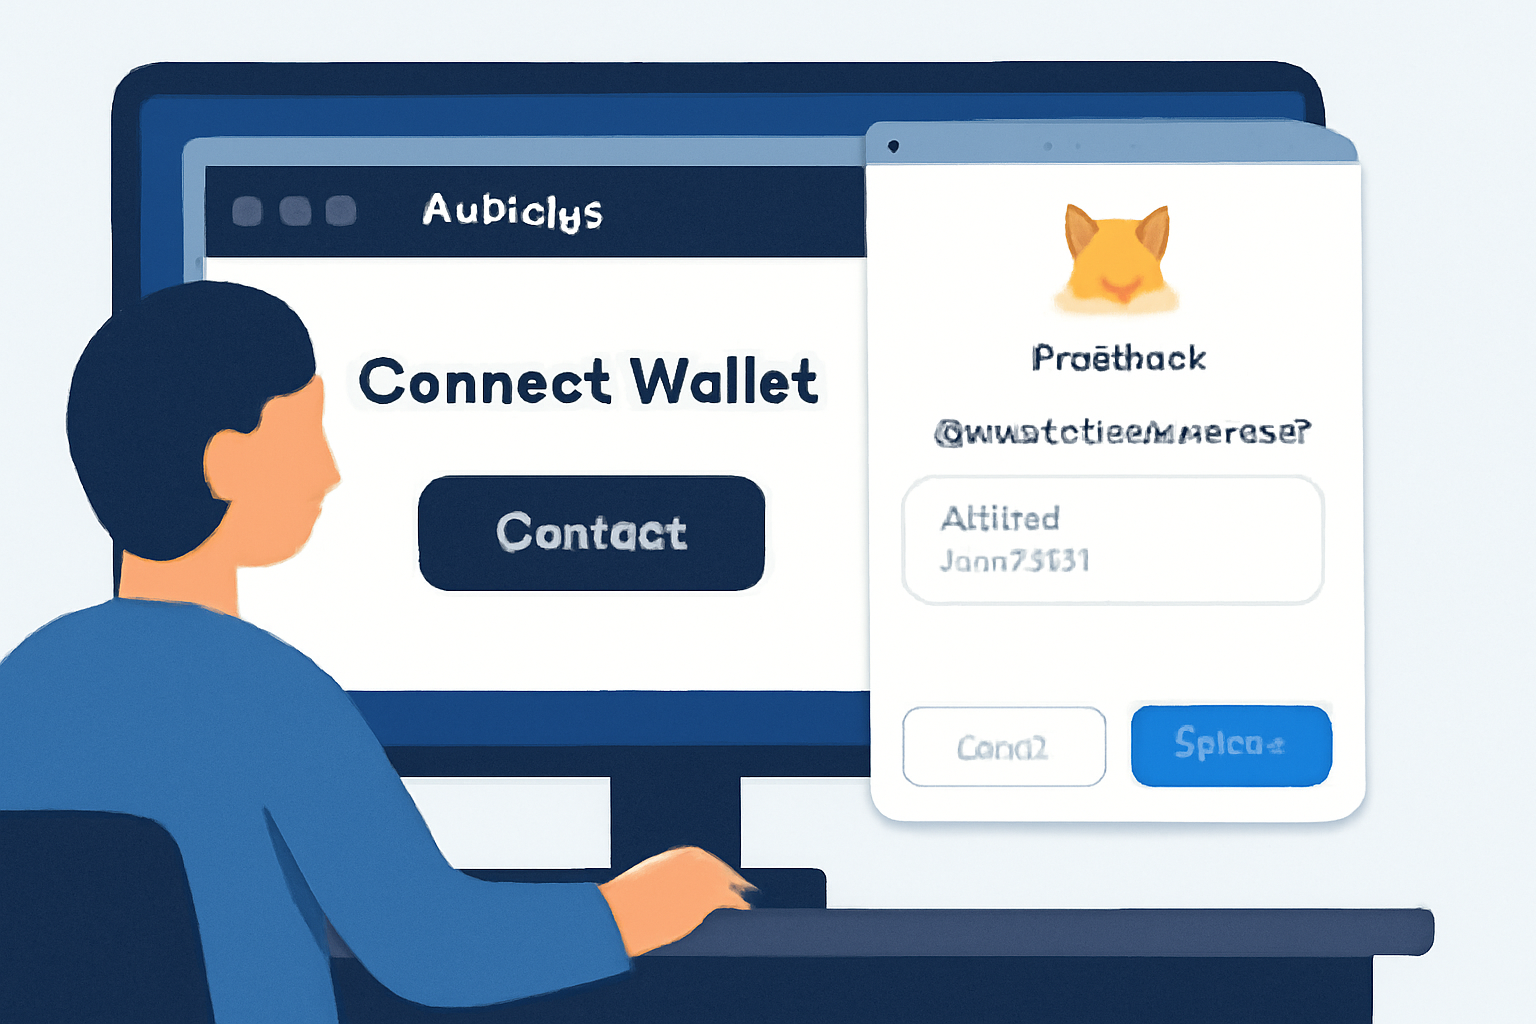
User feedback highlights deBridge’s rapid confirmation times and transparent fee structure as major advantages. However, always double-check that you’re on the official site before connecting your wallet, phishing attempts are not uncommon in the cross-chain space.
Troubleshooting and Best Practices: What Real Users Say
No bridge is entirely immune to hiccups. Some users have encountered delays during periods of network congestion or when gas prices spike unexpectedly. To minimize headaches:
- Monitor gas fees before initiating large transfers.
- Avoid peak congestion hours (typically aligned with US business hours).
- Bookmark official bridge URLs directly from trusted sources like CoinMarketCap or the project’s documentation.
If your transfer gets stuck or delayed, most bridges offer support channels, don’t hesitate to reach out with your transaction hash for assistance. The consensus among experienced users? "Start small, stay vigilant, enjoy the speed. "
Once your assets arrive on Base, you’ll immediately notice the difference in transaction speed and cost. Most users report that bridging ETH or USDC from Ethereum mainnet to Base costs a fraction of a dollar in gas, with confirmation times under a minute. This efficiency is a key reason for Base’s growing adoption among traders, NFT collectors, and DeFi participants.
Optimizing Your Base Experience: Wallet Setup and Security
Before interacting with Base dApps, ensure your wallet is configured correctly. If you’re using MetaMask, you may need to manually add the Base network. Tools like Chainlist can help automate this step. For mobile users, MetaMask and Coinbase Wallet both support seamless switching between Ethereum and Base once configured.
- Double-check network details: Only use official sources for RPC URLs and chain IDs.
- Review token contract addresses: When adding tokens bridged to Base, verify contract addresses via reputable explorers or project documentation.
Security remains paramount. Cross-chain bridges are frequent targets for exploits due to their complexity and value at stake. Always:
- Use well-audited bridges like deBridge, Celer cBridge, or the official Coinbase solution.
- Avoid clicking bridge links from social media or unsolicited messages; bookmark official URLs instead.
- If unsure about a transaction’s status, check your wallet’s activity tab or consult the bridge’s support team with your transaction hash.
Community Poll: How Was Your First Bridge to Base?
How was your first experience bridging assets to Base?
Bridging to Base promises faster transactions and lower fees, but user experiences can vary. Share how your first transfer to Base went—did you find it quick and easy, or did you run into any issues?
The onboarding experience for new users has improved significantly since Base’s launch. Visual guides embedded within most bridges and wallet apps reduce the learning curve. Still, peer feedback remains invaluable when troubleshooting or exploring new dApps on the network.
Visual Resources and Tutorials
If you prefer video walkthroughs or want additional reassurance before moving funds, several high-quality tutorials are available online. Many users cite YouTube guides as especially helpful for visualizing each step, from connecting MetaMask to confirming transactions on deBridge or Celer cBridge.
For more detailed written instructions on bridging via Coinbase’s official solution or alternative protocols like Orbiter Finance and Celer cBridge, see resources linked above. These guides often include screenshots of each interface stage, ideal for double-checking that you’re in the right place before signing any transactions.
Final Thoughts: Embracing Layer 2 With Confidence
Bridging to Base is a straightforward process once you’ve set up your wallet and chosen a reputable cross-chain protocol. The key advantages, lower fees, faster transactions, and access to innovative dApps, make the extra steps worthwhile for most crypto users in 2025. With proper precautions around security and network selection, onboarding onto Base can be both safe and efficient.
The best advice? Start small with test amounts until you’re comfortable with each step of the process. Leverage community insights and visual resources when needed, and always prioritize security by verifying URLs before connecting your wallet anywhere new.


No comments yet. Be the first to share your thoughts!