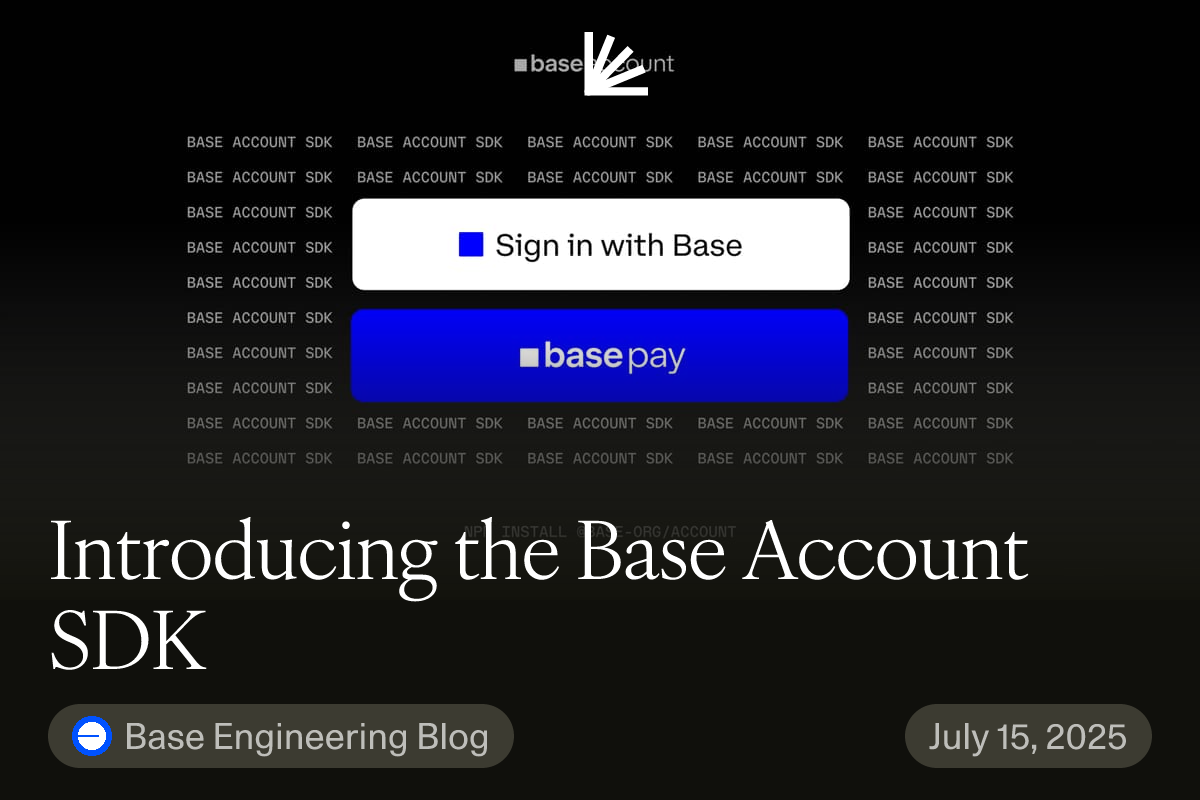
Onchain payments are rapidly becoming the backbone of decentralized commerce, but friction at checkout remains a persistent barrier for both users and developers. The Base Account SDK, built atop ERC-4337, is engineered to change this dynamic. By enabling universal sign-in, one-tap USDC payments, and advanced features like passkeys and social recovery, Base is positioning itself as the most developer-friendly entry point for onchain transactions. In this visual guide, we’ll break down how to leverage the Base Account SDK for seamless onchain checkout flows, no prior experience with account abstraction required.
Why Base Account SDK Is a Game-Changer for Onchain Checkout
The legacy onchain checkout process is notorious for its complexity: users must connect wallets, manage gas fees, and navigate unfamiliar interfaces. The Base Account SDK abstracts these hurdles by providing a programmable account layer that supports multi-chain access and sponsored gas. This means users can sign in with a single click and pay directly with USDC, no more wallet popups or manual address entry.
Key Benefits of Using Base Account SDK
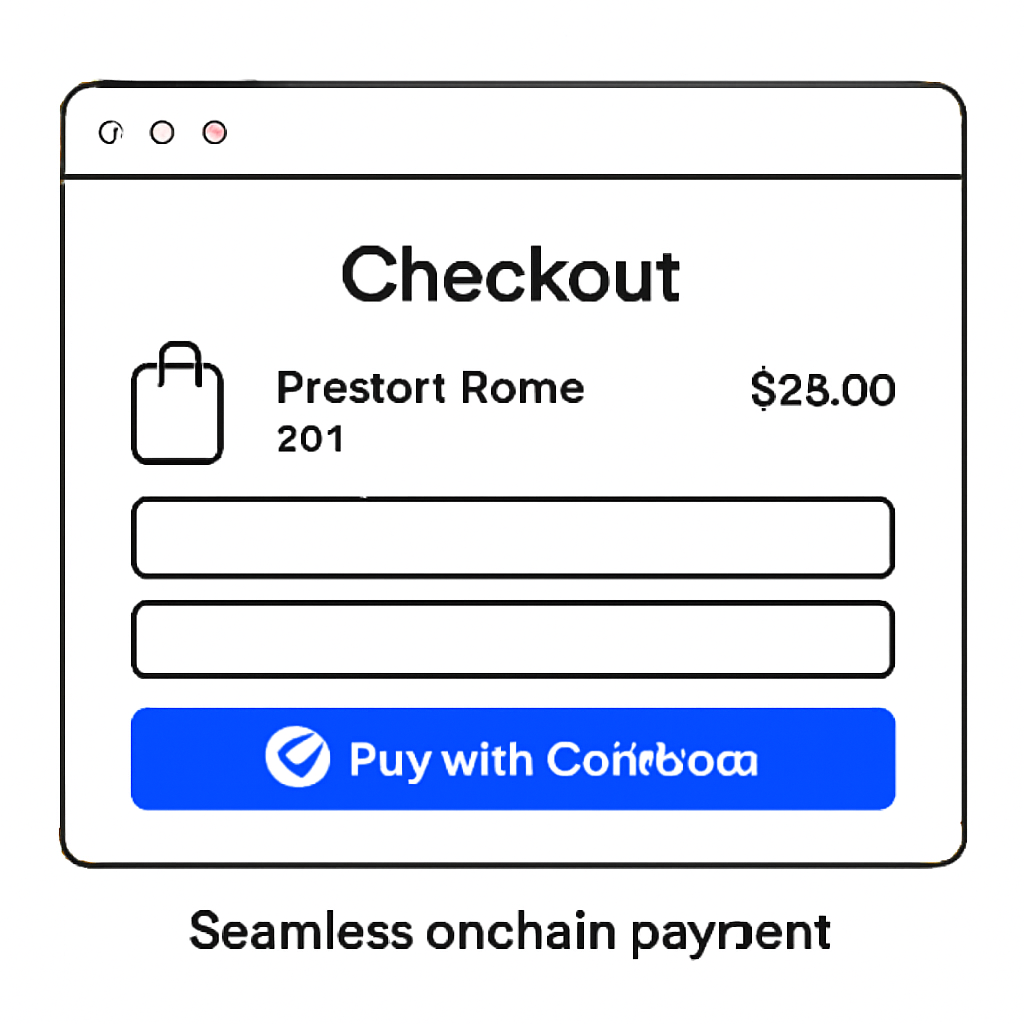
- Effortless Onchain Checkout Integration: Developers can quickly add seamless onchain payment flows using the <Checkout /> component, reducing integration complexity and time-to-market.
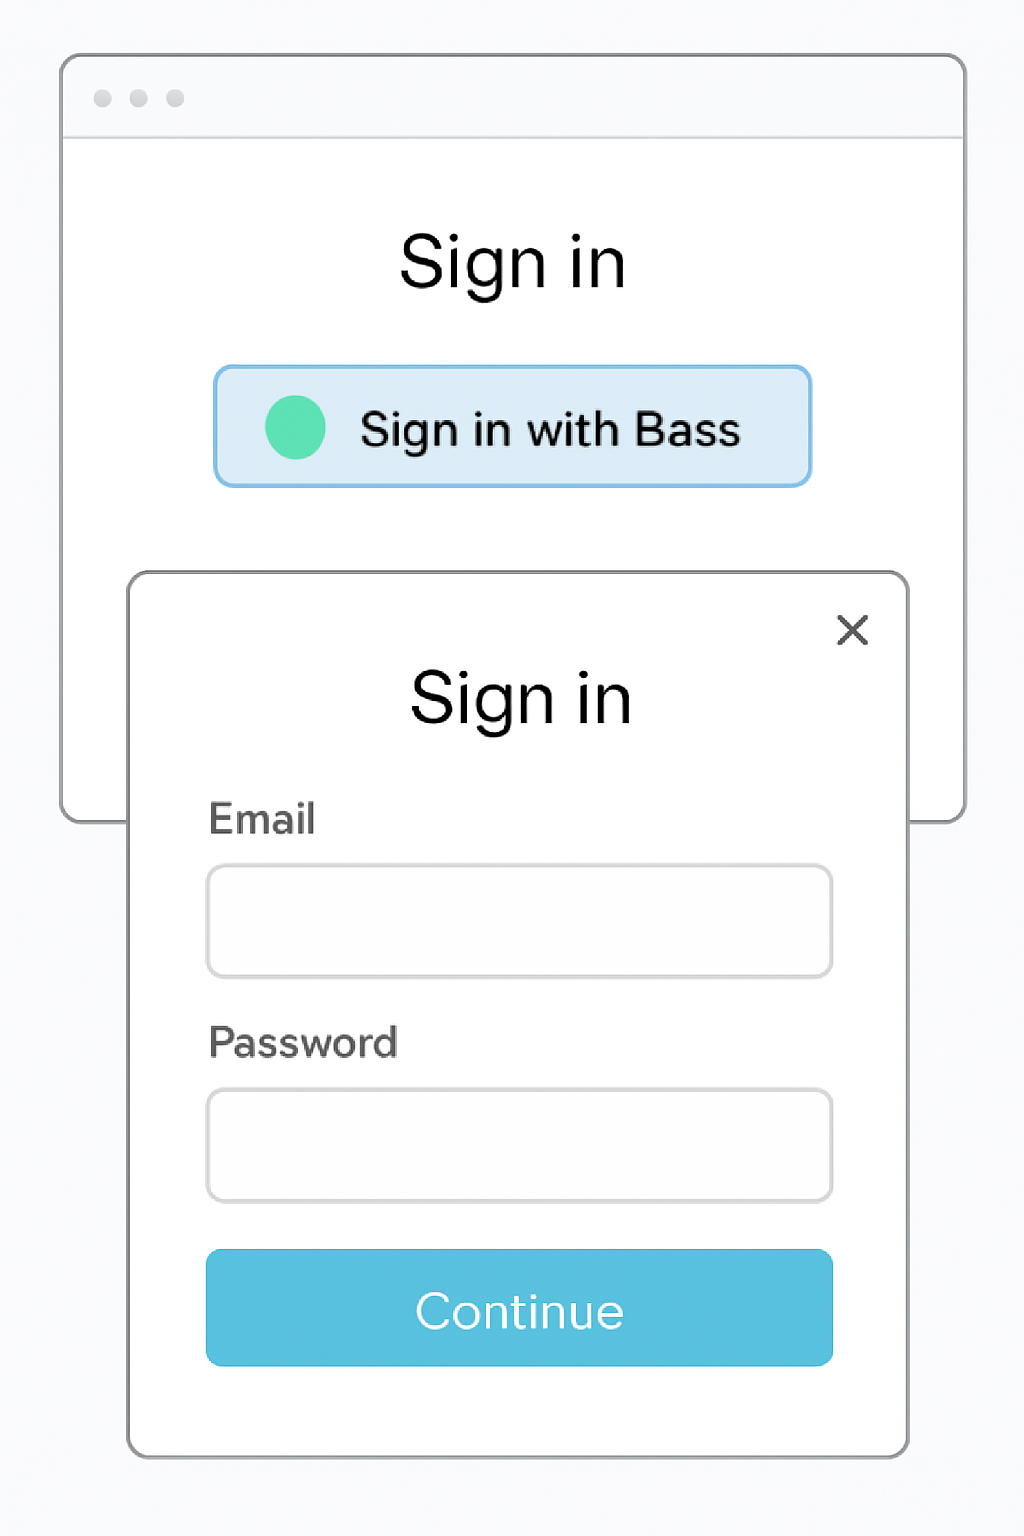
- Universal Sign-In and One-Tap USDC Payments: The SDK enables universal sign-in with Base and supports one-tap USDC payments, streamlining user onboarding and payment experiences.
- Programmable, Multi-Chain Account Layer: Built on ERC-4337, the Base Account SDK offers a programmable account abstraction layer, supporting advanced features like passkeys, social recovery, sponsored gas, and transaction batching.

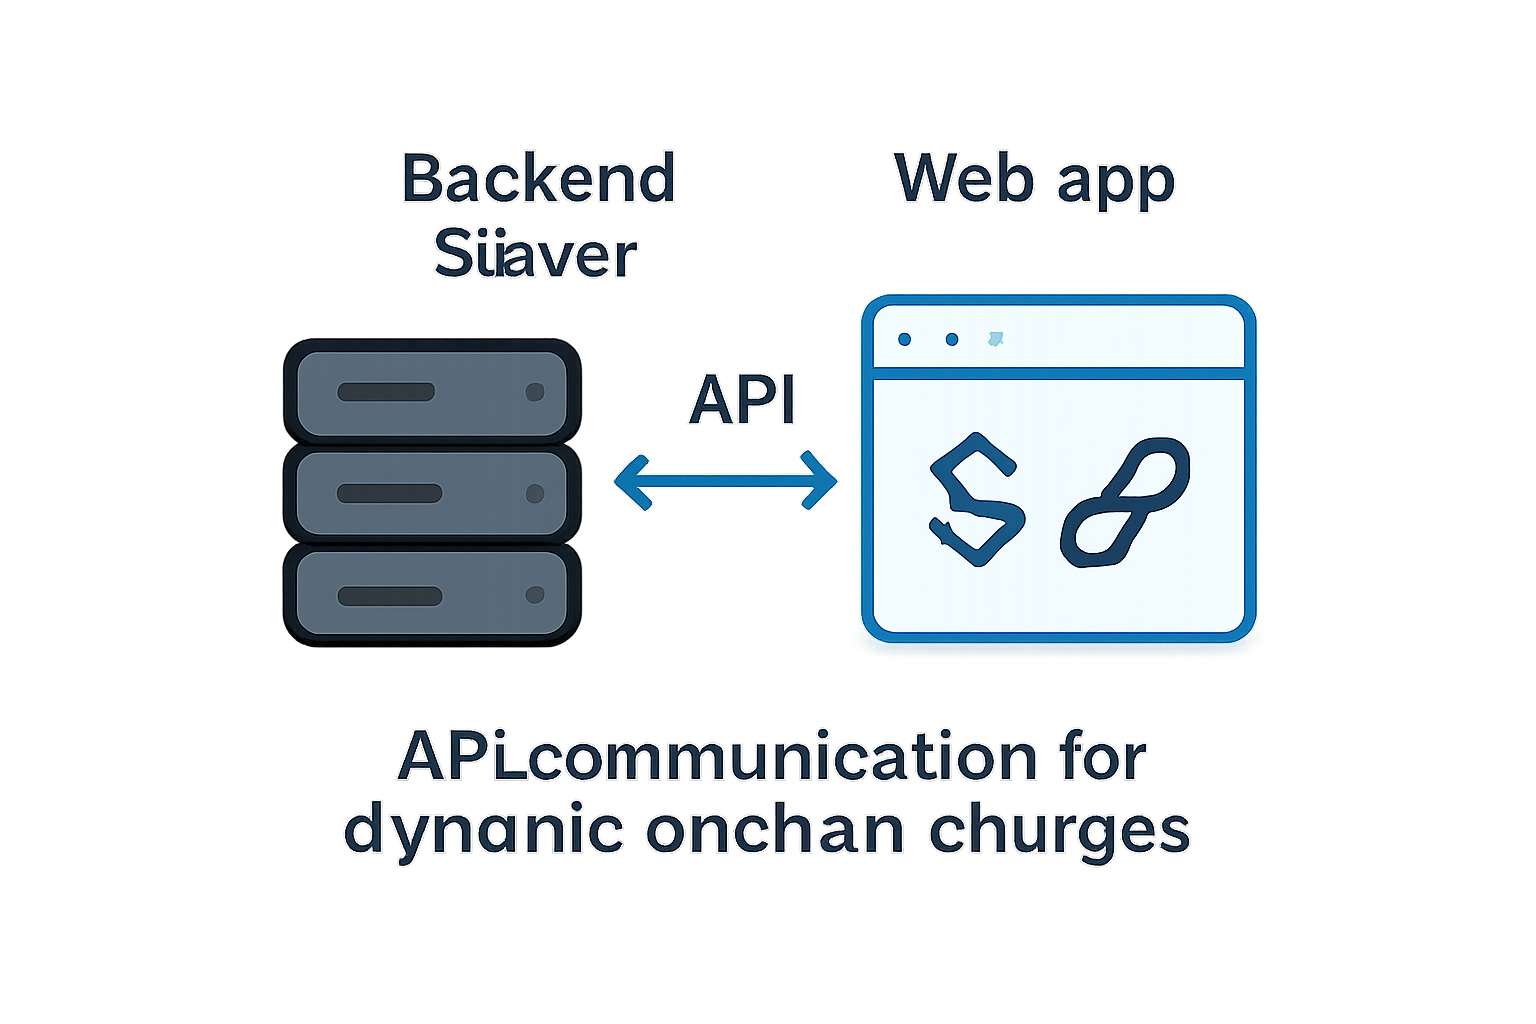
- Direct Integration with Coinbase Commerce: Developers can leverage Coinbase Commerce for product and dynamic charge management, ensuring secure, reliable, and scalable onchain payment processing.
- Enhanced Security and User Recovery Options: Features such as passkeys and social recovery provide robust security and account recovery mechanisms for end-users, reducing friction and risk.
- Sponsored Gas and Transaction Batching: The SDK supports sponsored gas and transaction batching, allowing users to interact onchain without needing to manage ETH for gas, improving accessibility and reducing friction.

For developers, integration is straightforward. The SDK’s modular design allows you to drop in pre-built UI components like and lt;Checkout/and gt;, while maintaining full control over backend logic via API hooks. For users, the experience is comparable to Web2 checkouts, fast, familiar, and frictionless.
Step-by-Step Integration: From Setup to First Checkout
Let’s walk through the integration process using a Next. js project scaffolded with wagmi. This approach ensures compatibility with modern frontend stacks while leveraging wagmi’s robust wallet management.
Integrate Base Account SDK with wagmi in Next.js: Step-by-Step

1. Initialize Your Project Environment
Run the following commands to bootstrap your workspace:
Project Initialization and SDK Installation
To begin integrating the Base Account SDK, first scaffold a new project using the wagmi template. Then, navigate into your project directory and install the necessary Base Account SDK packages:
npm create wagmi@latest base-accounts-demo
cd base-accounts-demo
npm install @base-org/account @base-org/account-ui
These commands set up your development environment with all required dependencies for utilizing Base Account SDK and its UI components.
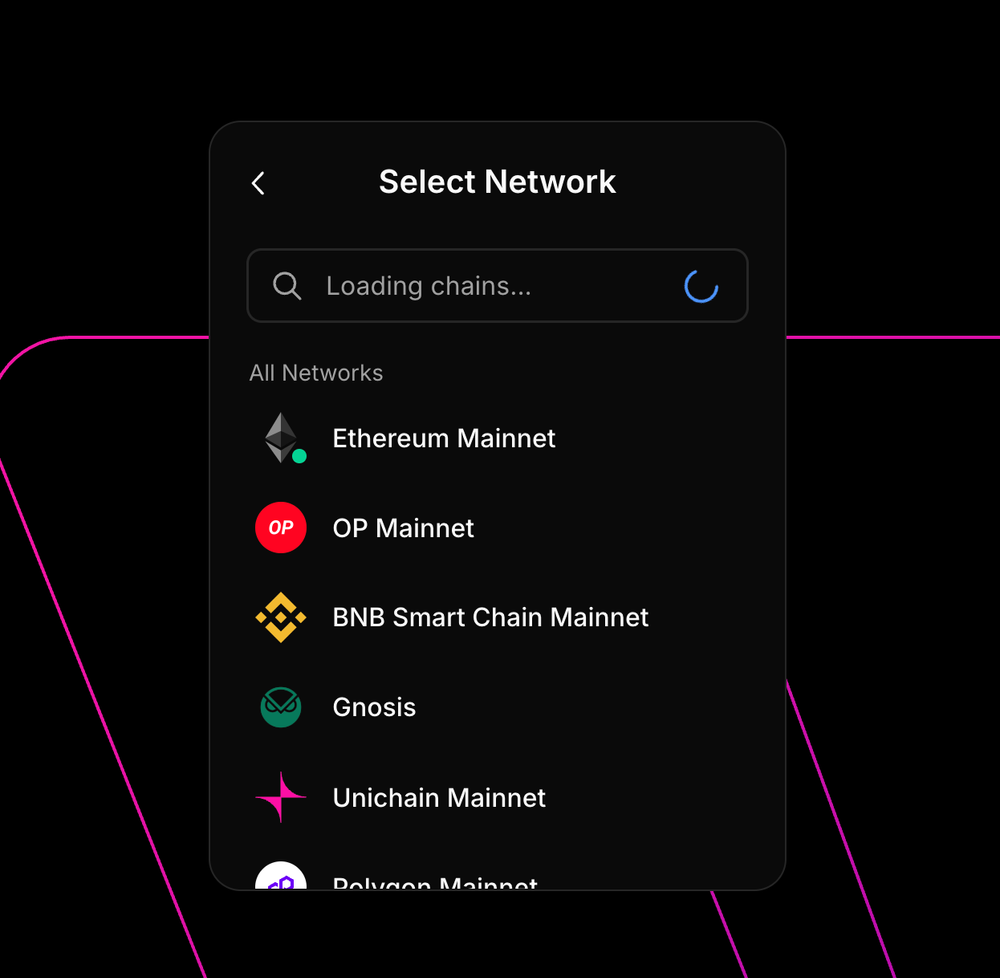
2. Configure wagmi with Base Networks
Import modules and define your configuration:
Import Required Modules and Connectors
First, import the necessary modules and connectors to set up your configuration for onchain checkout using the Base Account SDK.
import { http, createConfig } from 'wagmi';
import { baseSepolia } from 'wagmi/chains';
import { baseAccount } from '@wagmi/connectors';
// ... see full code above
These imports provide access to the required network, connector, and configuration utilities. You'll use them to initialize your checkout flow in the next steps.
This enables “Sign in with Base” as an authentication connector, a critical step for universal onboarding.
Implementing Effortless Onchain Checkout
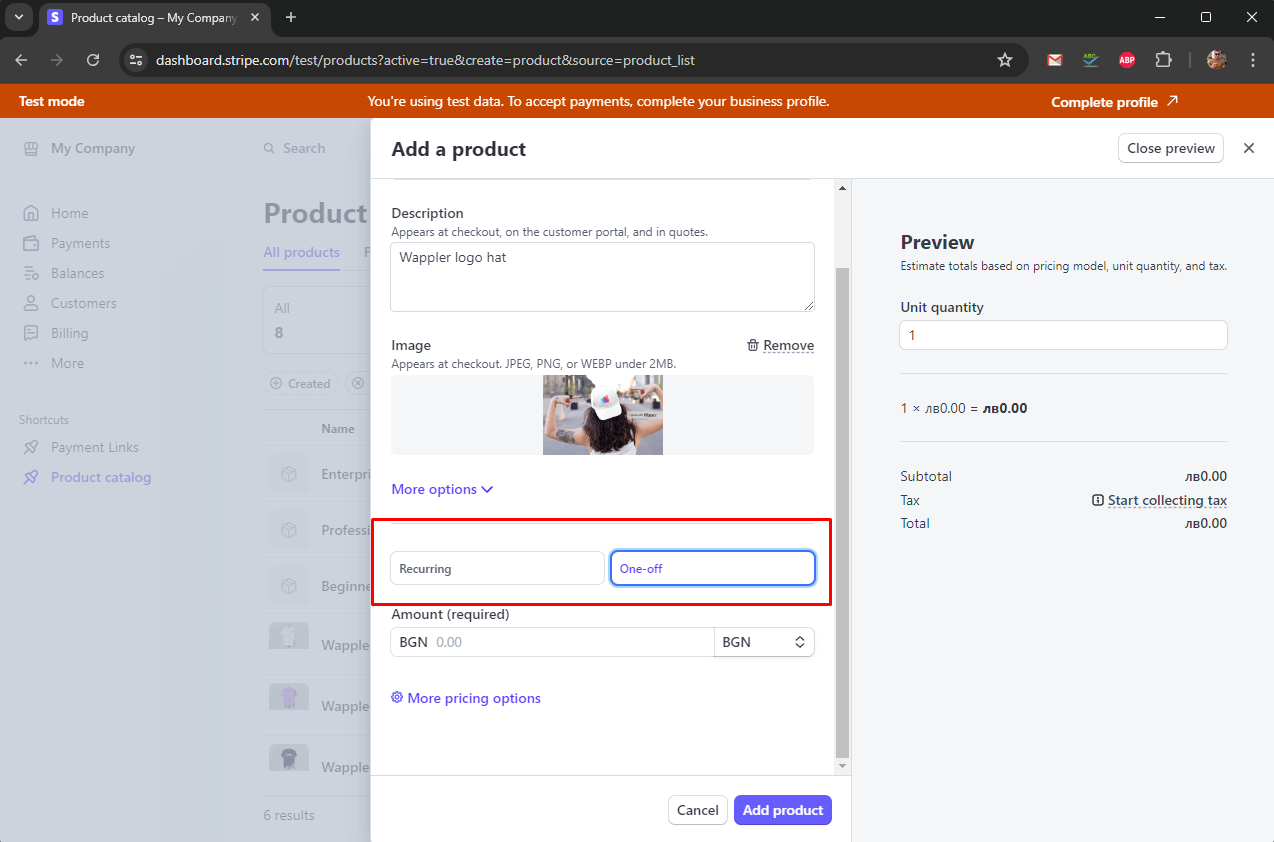
The heart of frictionless commerce on Base is the and lt;Checkout/and gt; component. Once your backend is ready (for dynamic charges) or you’ve created products in Coinbase Commerce (for static checkouts), embedding the payment UI is as simple as:
Integrating Coinbase OnchainKit Checkout in React
To integrate the Coinbase OnchainKit checkout into your React application, import the necessary components and use them as shown below. Replace `'your-product-id'` with the actual product ID you wish to offer for purchase.
import { Checkout, CheckoutButton } from '@coinbase/onchainkit/checkout';
This setup renders a Coinbase-branded checkout button that initiates the onchain purchase flow when clicked.
This delivers a branded one-tap payment experience directly within your dApp or site.
Sponsoring Gas Fees and Advanced UX Features
The programmable nature of accounts built on ERC-4337 unlocks additional capabilities like gas sponsorship (where you pay fees for your users) and batched transactions (multiple actions in one signature). These features are essential for mainstream adoption, users expect payments to "just work" without technical distractions.


No comments yet. Be the first to share your thoughts!