
Bridging assets across chains is finally getting the user experience it deserves. The new Base-Solana bridge, powered by Symbiosis, offers a streamlined path for anyone seeking to move tokens between Base and Solana without technical headaches or unnecessary risk exposure. For those looking to tap into liquidity, yield, or memecoin action on both networks, this cross-chain bridge is a strategic unlock.
Why Bridge Between Base and Solana?
Base has emerged as a high-throughput, low-fee L2 ecosystem with a rapidly growing memecoin and DeFi scene. Solana, meanwhile, continues to dominate on speed and cost for native trading and NFT activity. Moving assets between these two is no longer just a technical exercise - it's about unlocking opportunity across ecosystems. Whether you're arbitraging price differences, chasing new launches, or hedging portfolio exposure, efficient bridging is now an essential skill.
The Five-Step Process: How the New Base-Solana Bridge Works
The process is refreshingly direct but requires attention to detail at each stage. Here’s how to use the new cross-chain bridge:
Bridge Assets Between Base and Solana: A Step-by-Step Guide
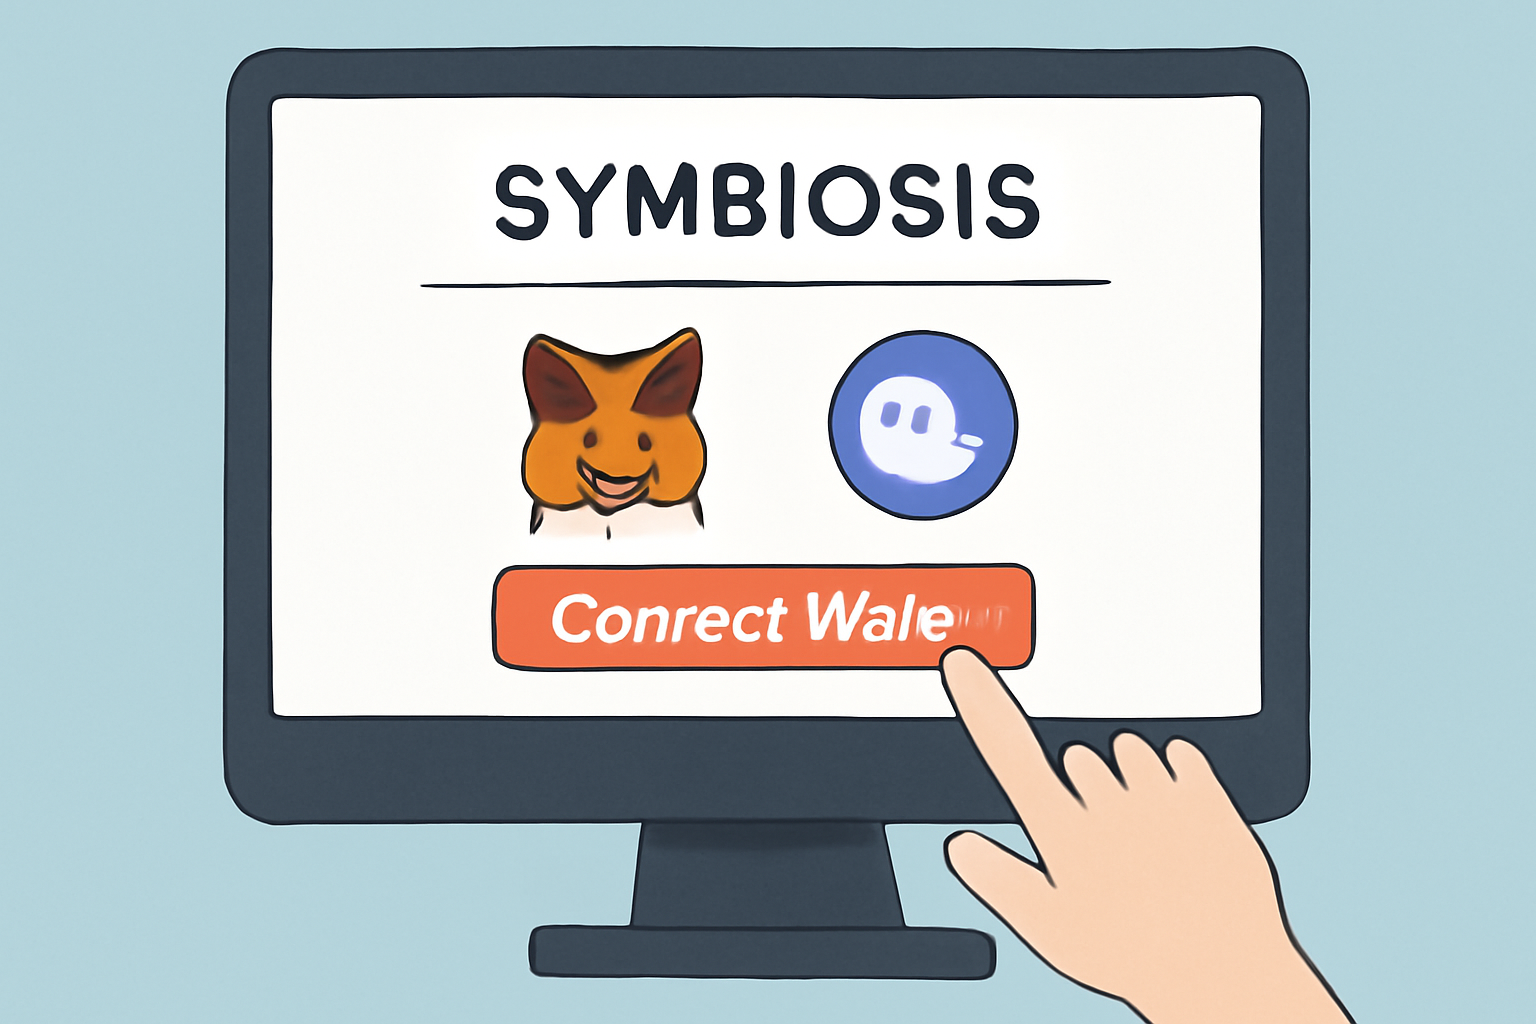

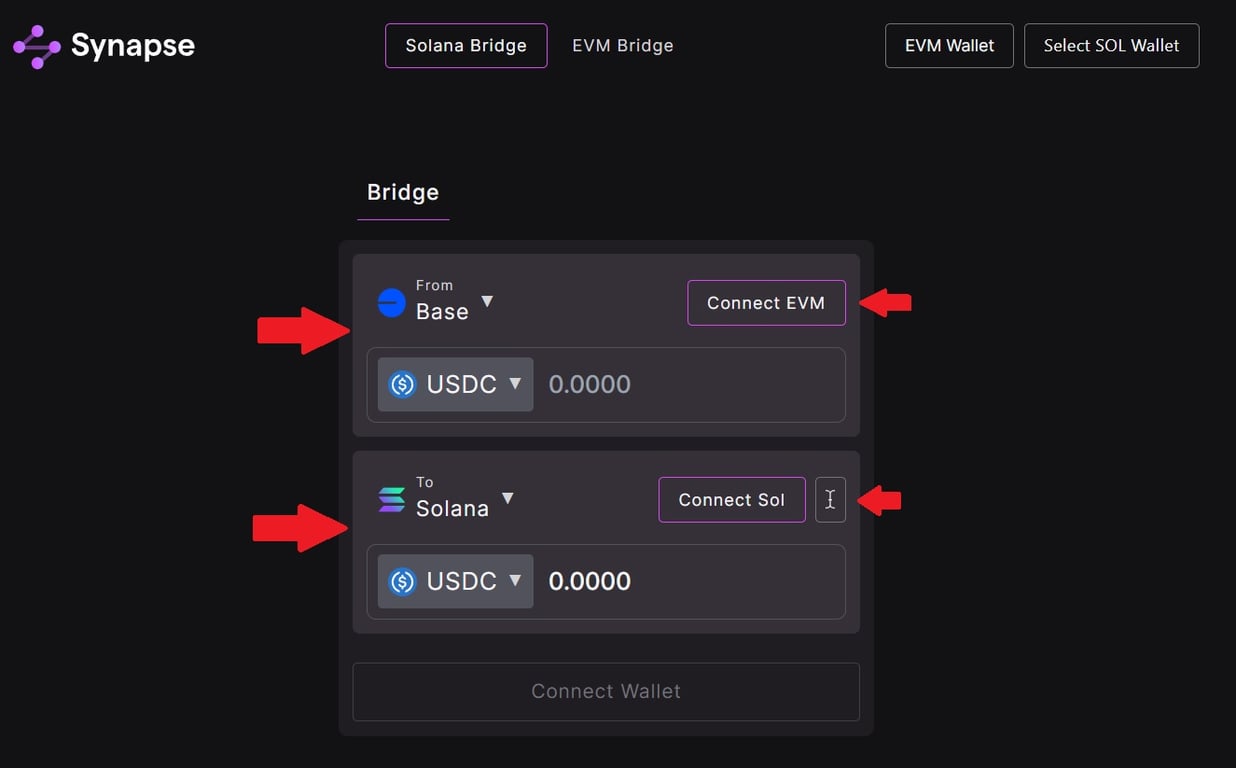
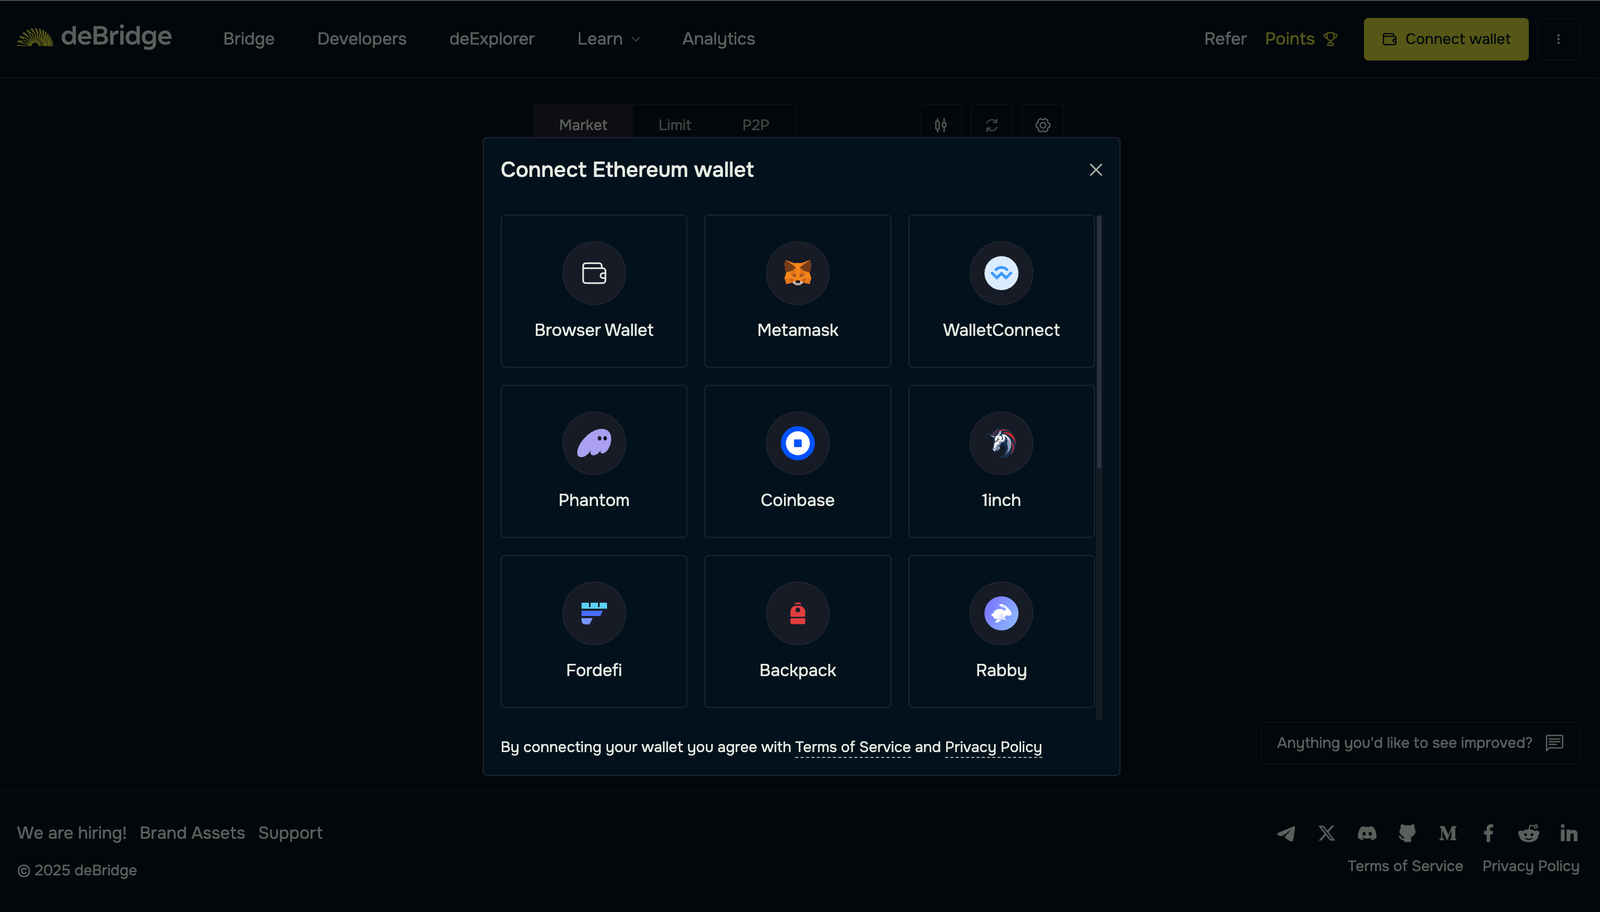
- Connect Both Base and Solana Wallets to the Bridge App: Start by accessing the Symbiosis WebApp. Connect your MetaMask (for Base) and Phantom (for Solana), or compatible alternatives like Solflare. The app will prompt you for each network as needed.
- Select the Asset and Amount to Bridge: Choose your token (ETH, USDC, or supported ERC-20s) from your Base balance. Pay attention to minimums and estimated returns - what you see is what you’ll get on Solana.
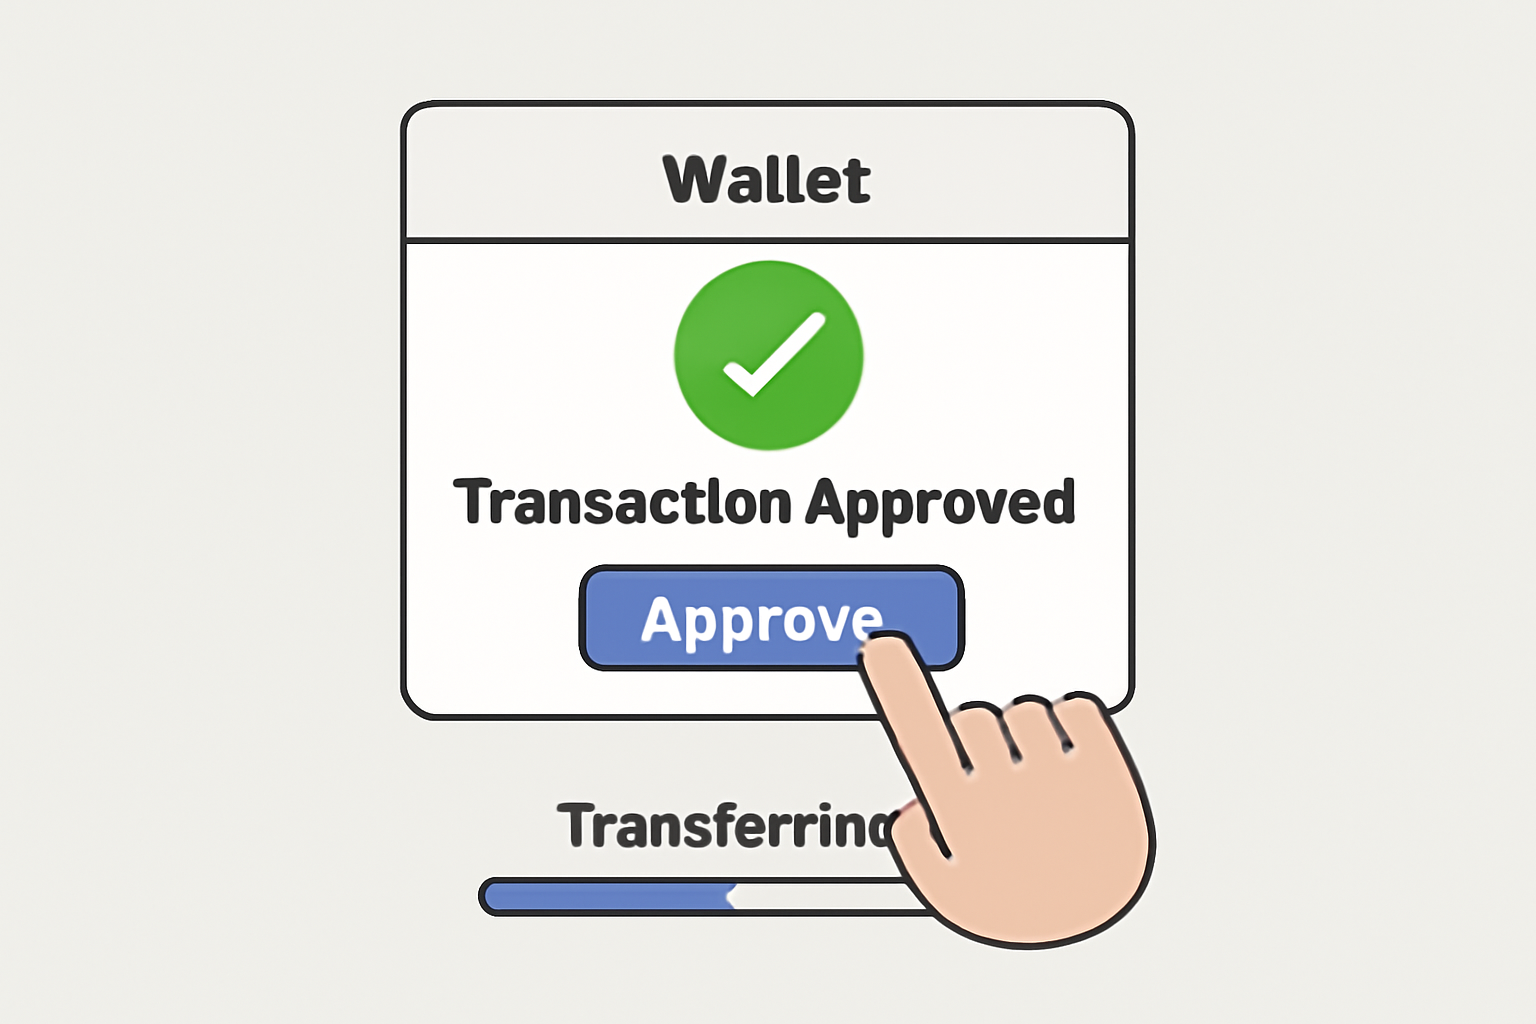
- Initiate the Cross-Chain Transfer and Confirm Transactions on Both Networks: After reviewing transaction details (including fees), approve in your wallet(s). You may need to confirm actions on both MetaMask and Phantom as part of the process.
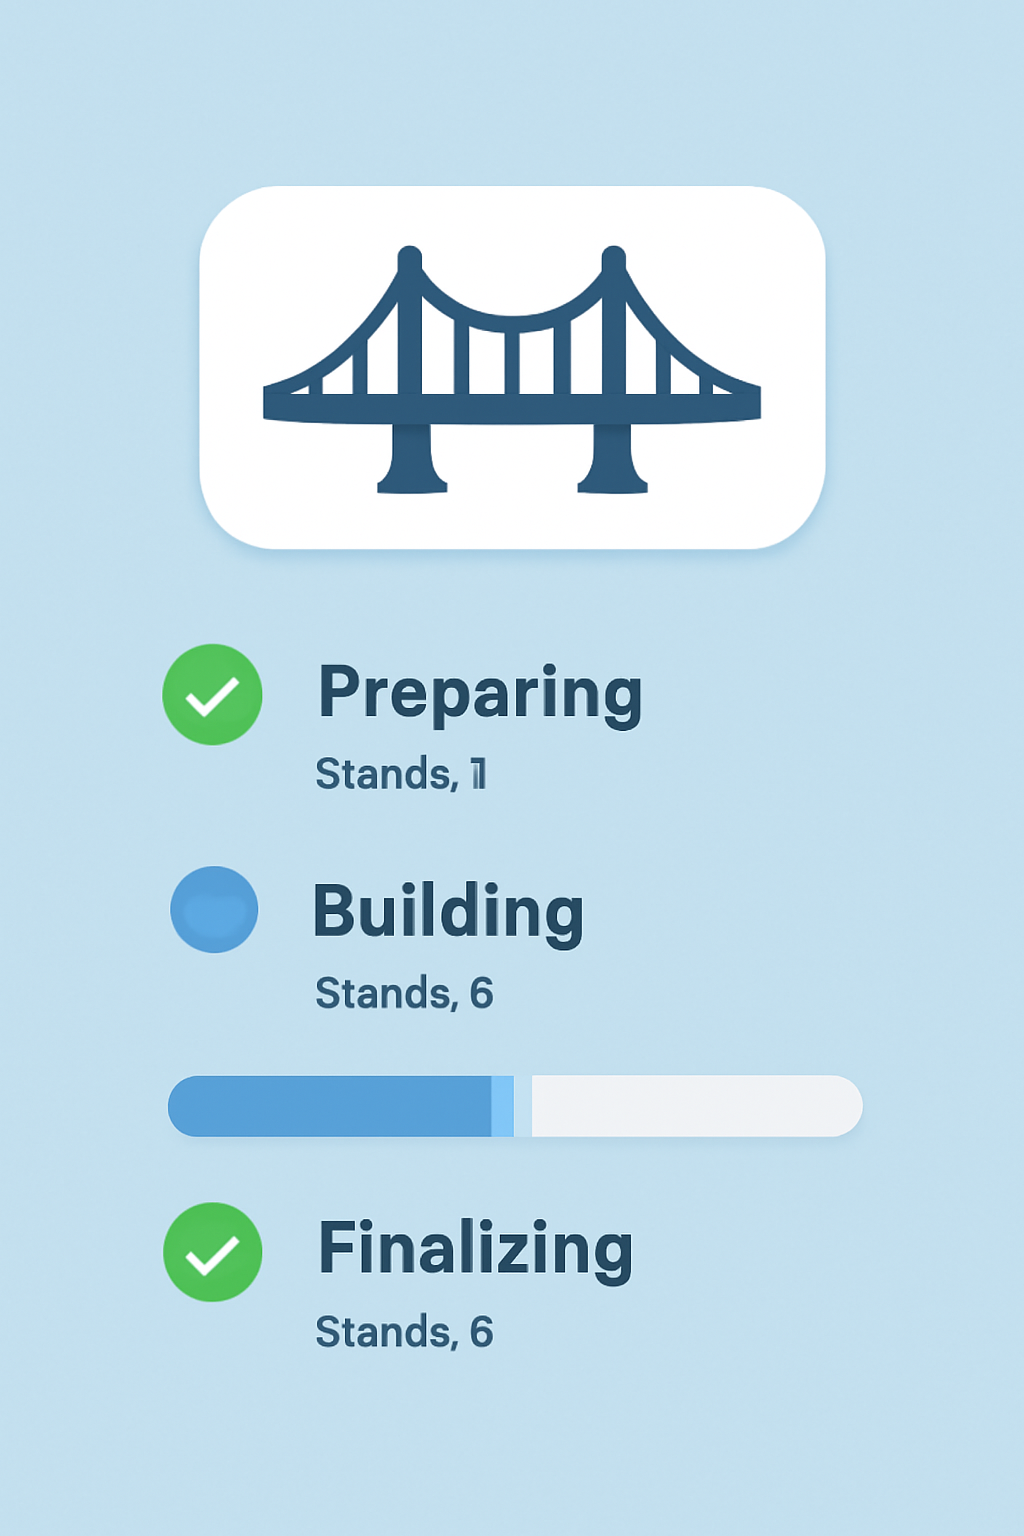
- Monitor Live Progress and Status Updates via the Bridge Interface: The Symbiosis interface provides real-time updates so you can track every step - from swap execution to relay on Solana.
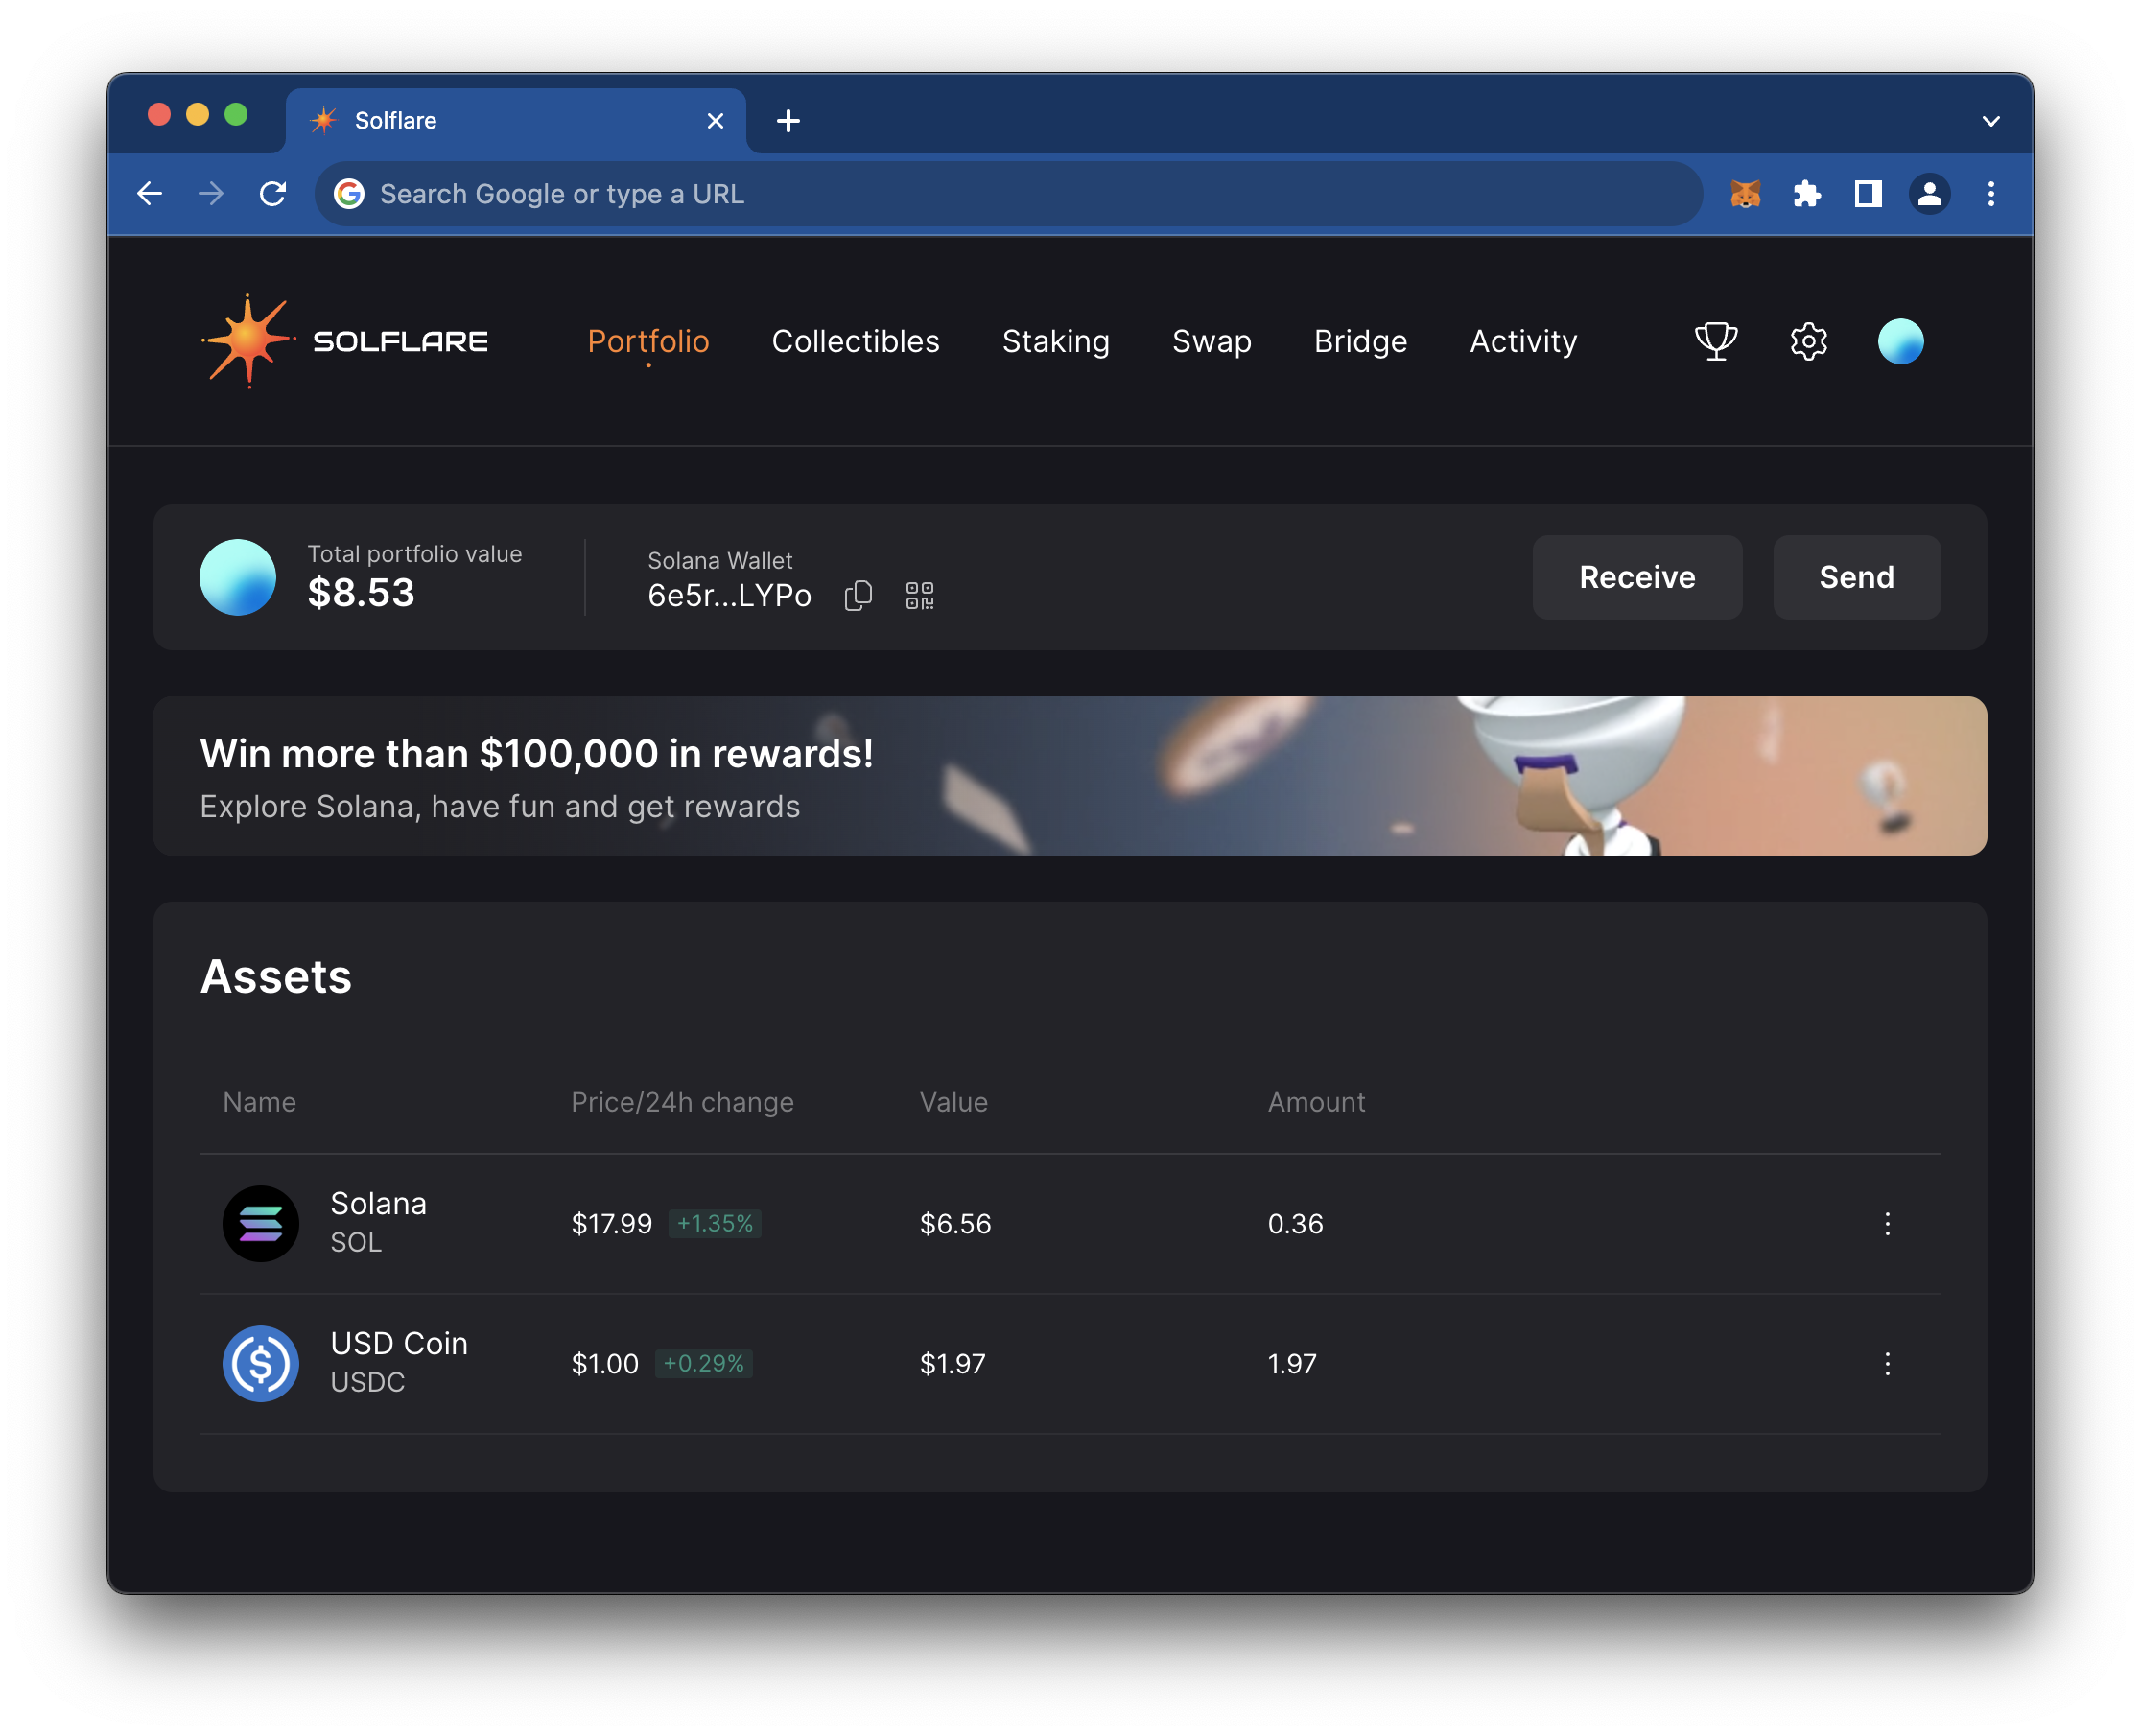
- Verify Receipt of Assets on the Destination Chain and Review Transaction Details: Once complete, check your Phantom wallet for incoming tokens. Always review final transaction hashes for full transparency.
Strategic Considerations Before You Bridge
This bridge isn’t just about convenience; it’s about capital efficiency in volatile markets. Some key points before you move funds:
- Supported Tokens Only: Not every asset can be bridged natively - stick with ETH, USDC, or popular ERC-20s listed by Symbiosis for seamless transfers.
- Transaction Timing: Most swaps finalize within minutes but expect delays during periods of network congestion. Always check fee estimates before confirming.
- Security First: Symbiosis abstracts away much of the complexity but always double-check wallet addresses before confirming any transfer - especially if sending funds to a third party.
A Live Look: Demoing Cross-Chain Transfers With Basecamp Bridge
The best way to understand this workflow is seeing it in action. Below you'll find a live demo walking through each step - from connecting wallets through verifying asset arrival on Solana via Phantom wallet. This is as close as it gets to hands-on experience without risking funds yourself.
As the cross-chain landscape matures, the Base-Solana bridge stands out for its clarity and user empowerment. Let’s break down each critical step to ensure you’re not just moving assets, but doing so with maximum confidence and efficiency.
1. Connect Both Base and Solana Wallets to the Bridge App
Begin by opening the Symbiosis WebApp. The interface will prompt you to connect a wallet for each network: typically MetaMask for Base and Phantom (or Solflare) for Solana. This dual-connection ensures your assets are accessible on both sides, eliminating last-minute surprises or address mismatches.
2. Select the Asset and Amount to Bridge
Within the app, select which token you want to bridge, ETH, USDC, or any supported ERC-20. The UI displays available balances, minimum transfer amounts, and projected returns on Solana. Make sure your choice aligns with your portfolio strategy; some tokens may offer deeper liquidity or faster settlement times than others.
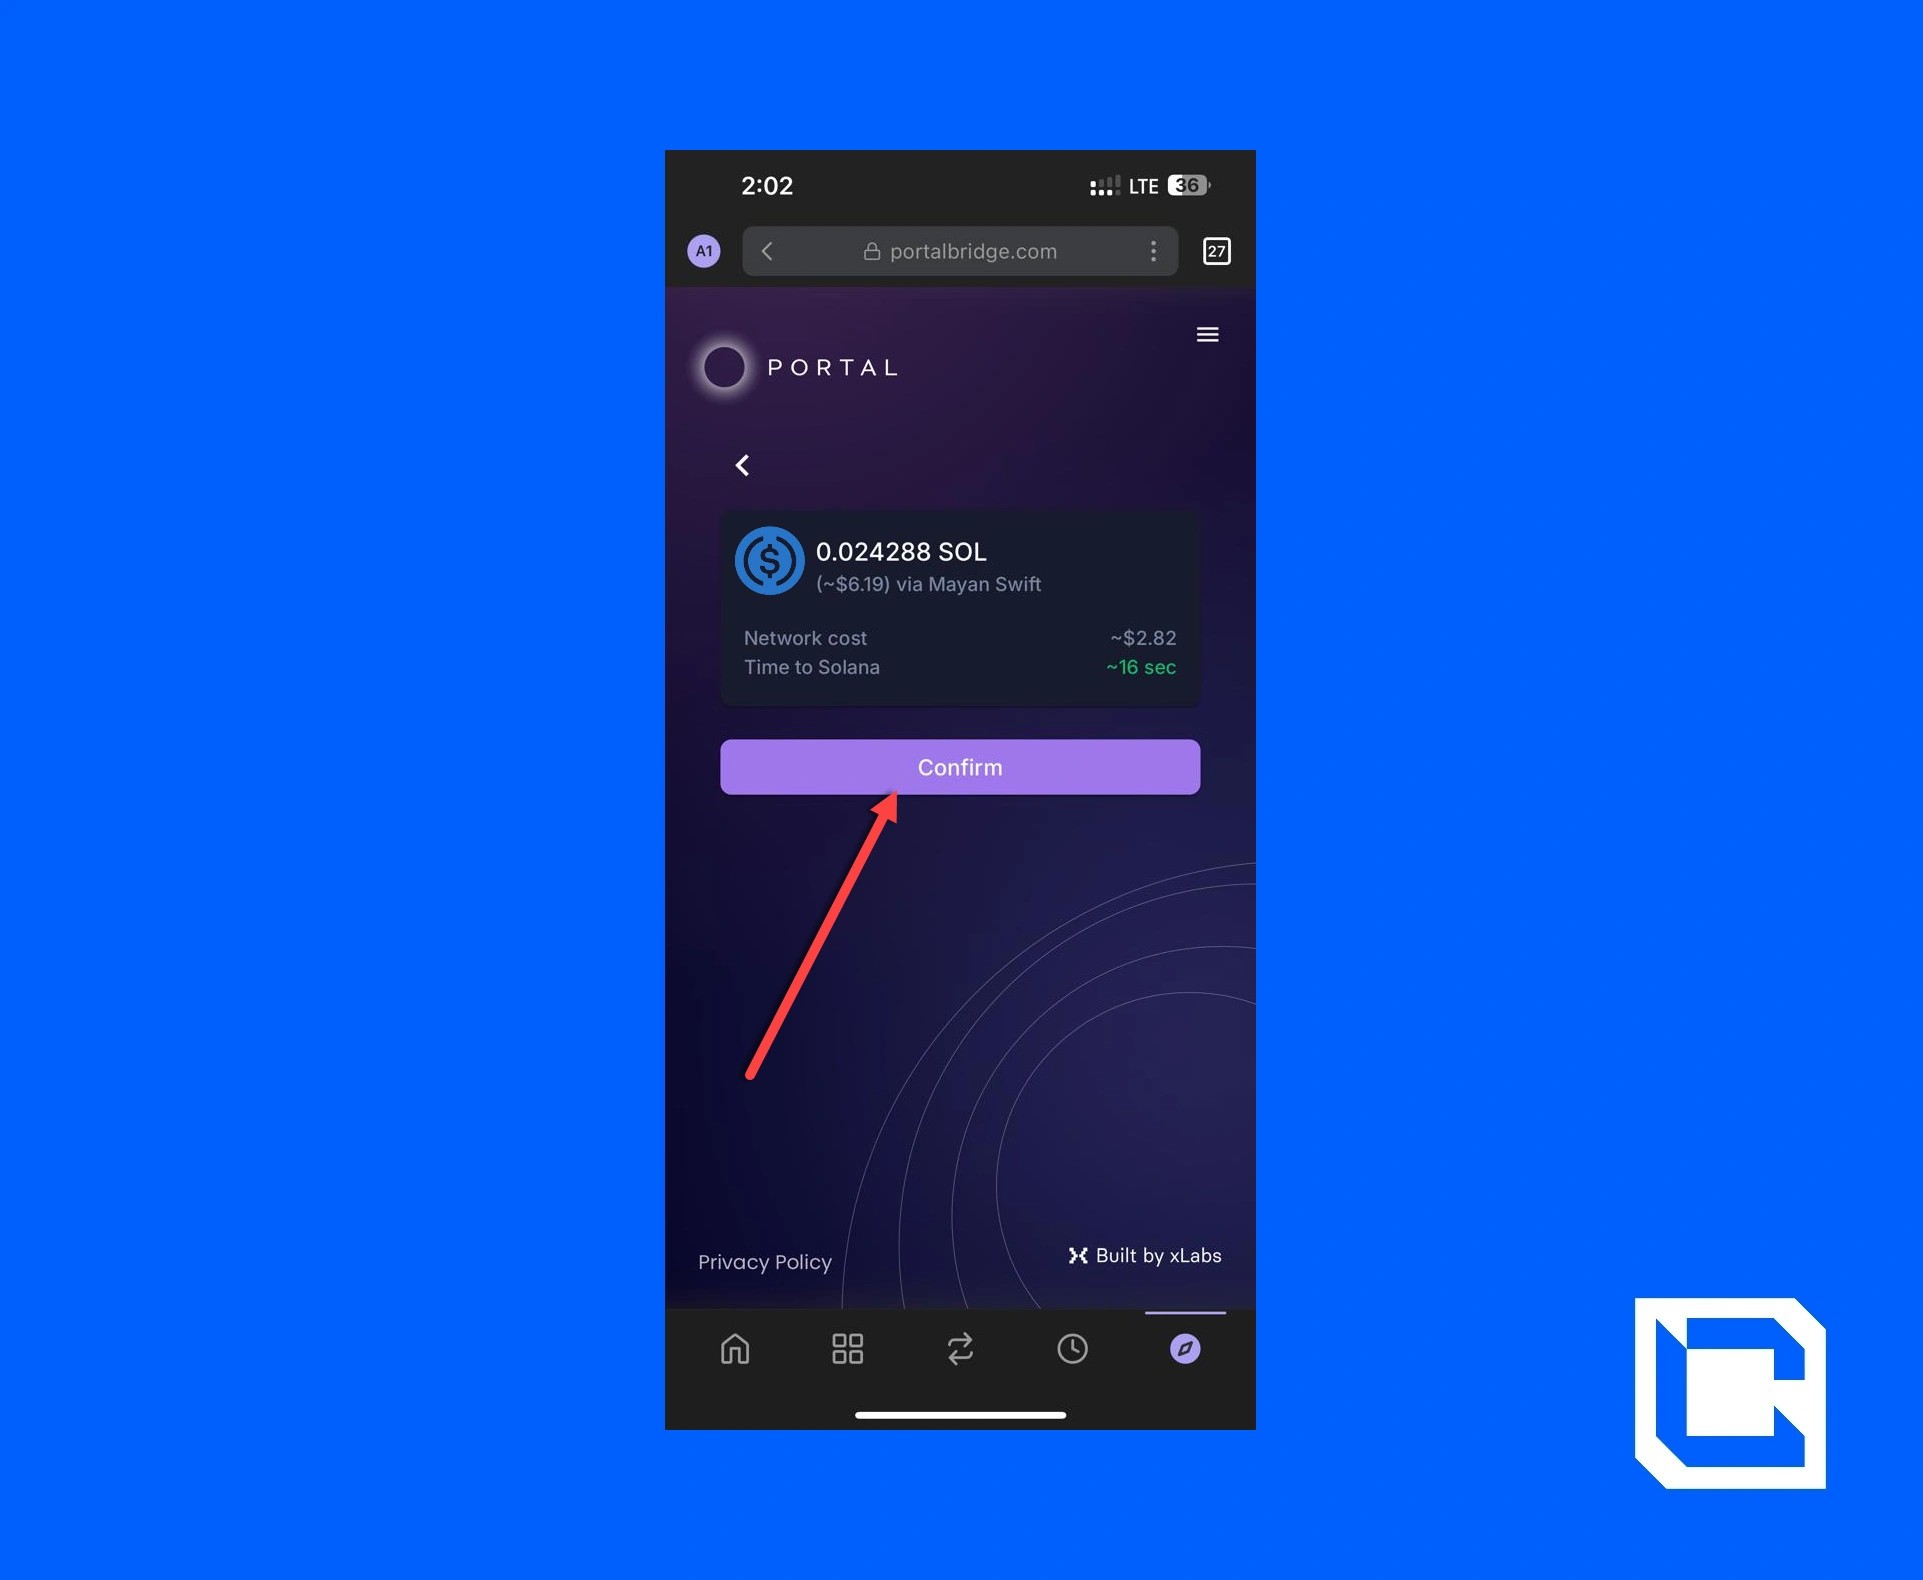
3. Initiate the Cross-Chain Transfer and Confirm Transactions on Both Networks
Click ‘Swap’ after reviewing all transaction details, including estimated fees and destination address. You’ll need to approve transactions in both MetaMask (Base) and Phantom (Solana). This dual confirmation is a key security layer: it prevents accidental sends or exposure to incorrect addresses. Stay vigilant during this step; always double-check that both wallets display the correct transaction summary before signing.
4. Monitor Live Progress and Status Updates via the Bridge Interface
The Symbiosis dashboard doesn’t leave you guessing. As soon as your transfer initiates, you’ll see real-time status updates: pending signatures, swap execution, relay progress, and finalization on Solana. These visual cues help manage expectations, especially useful during periods of high network activity when delays can occur.
5. Verify Receipt of Assets on the Destination Chain and Review Transaction Details
Once complete, open your Phantom wallet to confirm receipt of tokens on Solana. For full transparency, cross-reference transaction hashes provided by Symbiosis with those visible in your wallet’s history or on-chain explorers. This final verification isn’t just best practice, it’s essential for tracking cost basis and managing risk across chains.
Step-by-Step: Bridging Assets from Base to Solana
- Connect Both Base and Solana Wallets to the Bridge AppStart by accessing the Symbiosis WebApp. Connect your Base-compatible wallet (like MetaMask) and your Solana wallet (such as Phantom or Solflare) to the bridge interface for seamless cross-chain access.
- Select the Asset and Amount to BridgeChoose the token you want to transfer (supported options include ETH, USDC, or popular ERC-20s) and specify the amount. Symbiosis supports native SOL, ensuring you receive native tokens on Solana.
- Initiate the Cross-Chain Transfer and Confirm Transactions on Both NetworksClick to start the transfer. You'll be prompted to approve the transaction in your Base wallet (e.g., MetaMask) and, if required, confirm on your Solana wallet. Carefully review all details before confirming.
- Monitor Live Progress and Status Updates via the Bridge InterfaceTrack the progress of your transfer in real-time. The Symbiosis interface provides live updates, so you can see each stage of the bridging process, including swaps and network confirmations.
- Verify Receipt of Assets on the Destination Chain and Review Transaction DetailsOnce the transfer completes, check your Solana wallet for the received assets. Review transaction details and confirmations on the bridge app to ensure everything processed correctly.
What Sets This Bridge Apart?
The integration of native wallets (MetaMask for Base, Phantom/Solflare for Solana), support for core assets like ETH and USDC, plus live monitoring features make this bridge especially robust compared to earlier-generation cross-chain tools.
No wrapping required: You receive native tokens directly.
Straightforward UX: The process is linear, no hidden steps or technical jargon.
Security focus: Dual confirmations mean fewer chances for error or loss.
Practical Tips For Power Users
- Avoid peak congestion: Fees can spike during volatile market moves; track network status before initiating large transfers.
- Bridge only what you need: Keep some funds liquid on each chain in case of unexpected delays or opportunities.
- Document every transaction: Export transaction hashes after each bridge event, this is invaluable for reconciling DeFi activity at tax time or when troubleshooting support queries.
If you’re actively trading memecoins or DeFi positions across Base and Solana, mastering this workflow will save time, and potentially basis points, on every move.[h2 class="subheading"]Ready to Move Cross-Chain?
The new Base-Solana bridge delivers a frictionless experience once reserved for early adopters willing to navigate clunky interfaces or opaque smart contracts. Now anyone can leverage liquidity pools, chase yield farms, or simply diversify holdings across two of crypto’s most innovative ecosystems, all from a single dashboard.
If you’re ready to take advantage of emerging opportunities as they arise between these chains, bookmark this workflow, and revisit it whenever new assets are added by Symbiosis or market conditions shift.
The days of siloed capital are over; strategic mobility is just a few clicks away.


No comments yet. Be the first to share your thoughts!