Bridging assets from Coinbase to the Base network is one of the most efficient ways to tap into Ethereum’s Layer 2 ecosystem. With Base, users enjoy lower fees, faster transactions, and seamless integration with Coinbase’s familiar tools. In this guide, I’ll walk you through the process step by step, highlight current bridge fees, and provide visual aids for clarity. Whether you’re aiming to experiment with Base memecoins or simply want to move ETH more affordably, this tutorial has you covered.
Why Bridge from Coinbase to Base?
Base is built using Optimism’s OP Stack and operates as a secure Layer 2 on Ethereum. Its direct connection with Coinbase means millions of users can access decentralized apps (dApps) without leaving their comfort zone. The main benefits include:
- Lower Fees: Transactions on Base are significantly cheaper compared to Ethereum mainnet.
- Speed: Confirmations are much faster thanks to off-chain processing.
- Simplicity: Bridging is supported natively in Coinbase Wallet and by third-party bridges like Transporter.

What You Need Before You Start
Before you bridge assets from Coinbase to Base, gather these essentials:
Checklist: Requirements for Bridging from Coinbase to Base
-
Ethereum (ETH) or Supported ERC-20 Tokens in your Coinbase or self-custody wallet. Only assets on Ethereum mainnet can currently be bridged to Base.
-
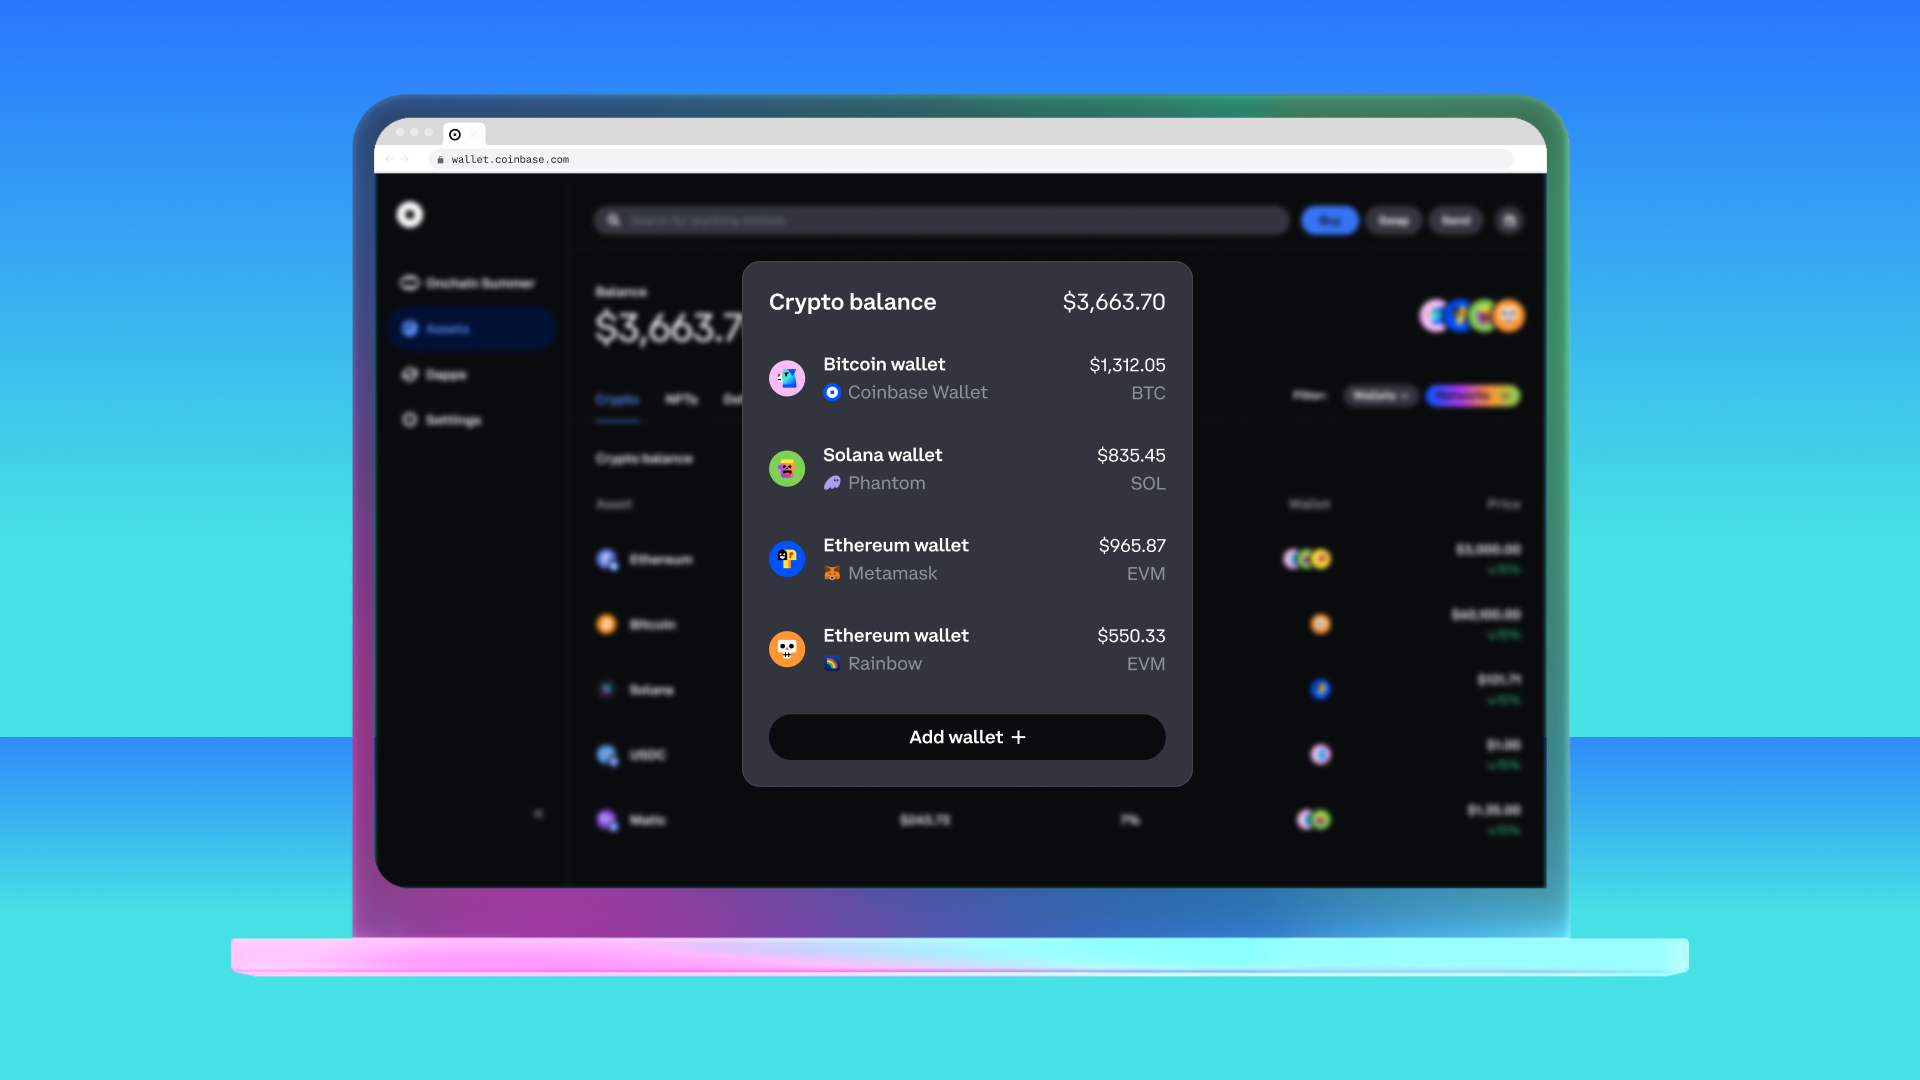
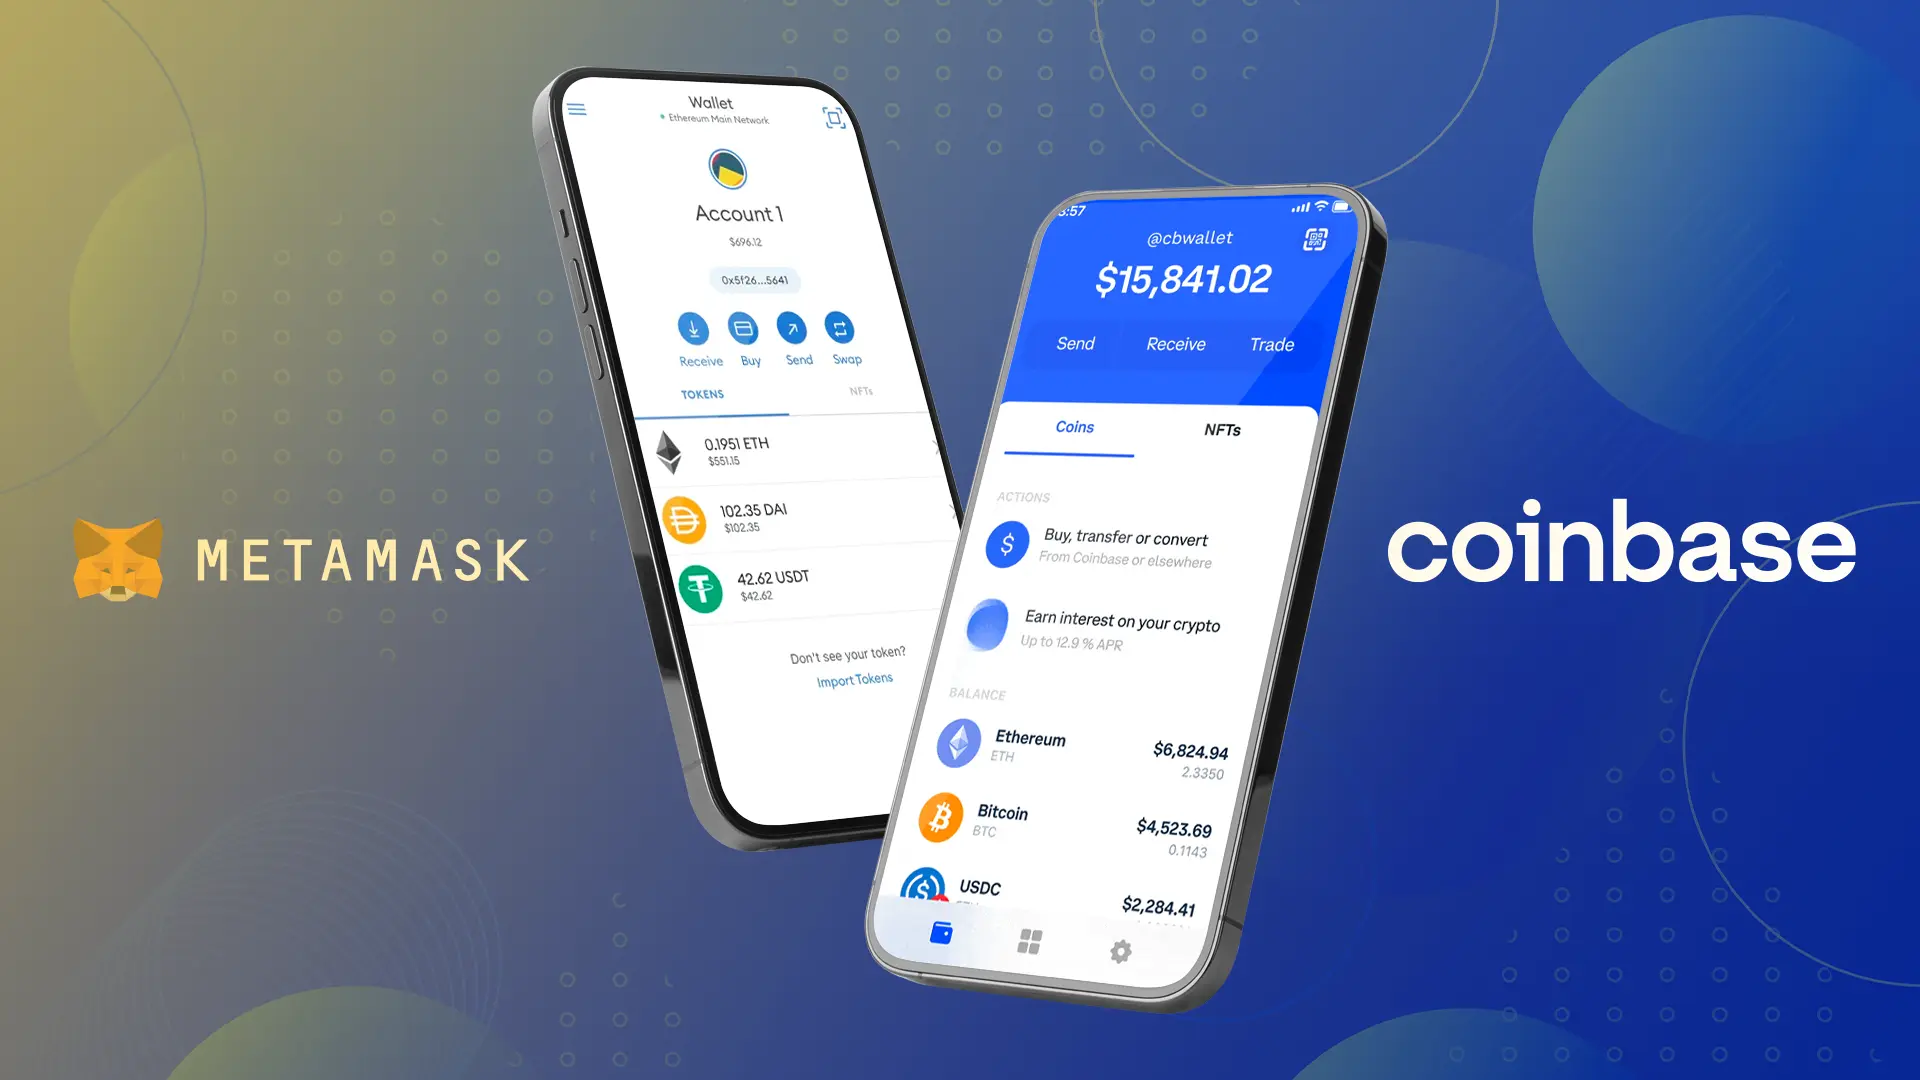
Coinbase Wallet App or another EVM-compatible wallet (e.g., MetaMask, Trust Wallet) connected to Ethereum mainnet. The Coinbase Wallet app offers direct Base bridging support.
-
Sufficient ETH for Gas Fees on Ethereum mainnet. Bridging requires ETH to pay transaction fees, which vary based on network congestion.
-
Access to a Supported Bridge such as Base Bridge, Transporter, or other reputable third-party bridges. Always use official or widely recognized platforms.
-
Up-to-Date App or Extension: Ensure your wallet app or browser extension is updated to the latest version for security and compatibility.
-

Secure Internet Connection: Use a private, secure network—avoid public Wi-Fi when managing crypto transfers.
Note: Currently, only bridging from Ethereum (L1) to Base is supported directly in the Coinbase Wallet app. Bridging back from Base to Ethereum will be available by mid-August (source). If you’re using other wallets or want advanced options, tools like Transporter or Portal are also available.
Step-by-Step: How to Bridge ETH or ERC-20 Tokens from Coinbase to Base
How to Bridge ETH/USDC from Coinbase Wallet to Base: Step-by-Step


The process is straightforward when using the official Coinbase Wallet app:
- Open your Ethereum wallet: On your mobile device or browser extension, navigate to your ETH balance.
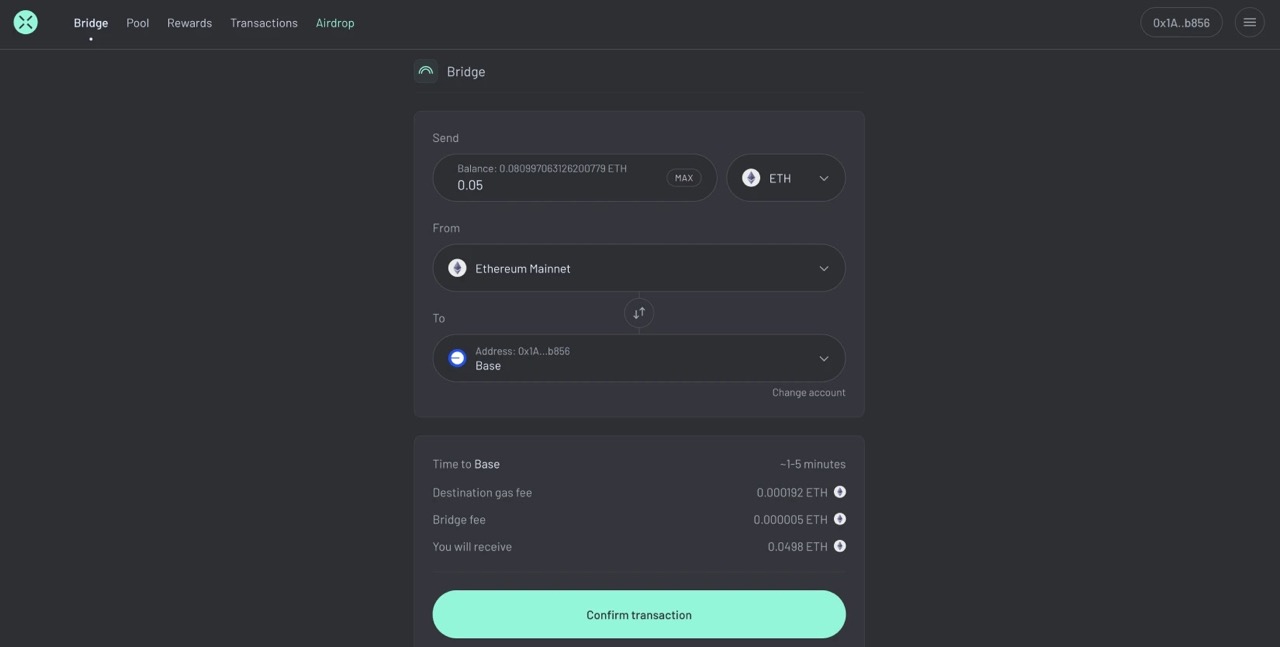
- Select “Bridge” or “Send”: Choose the option that lets you transfer funds between networks.
- Select “Base” as your destination network: The app will prompt you for network selection, pick Base.
- Enter amount and confirm: Type in how much ETH (or supported ERC-20 token) you wish to bridge. Review estimated fees before confirming.
- Wait for confirmation: Transactions typically settle within minutes thanks to Layer 2 speed.
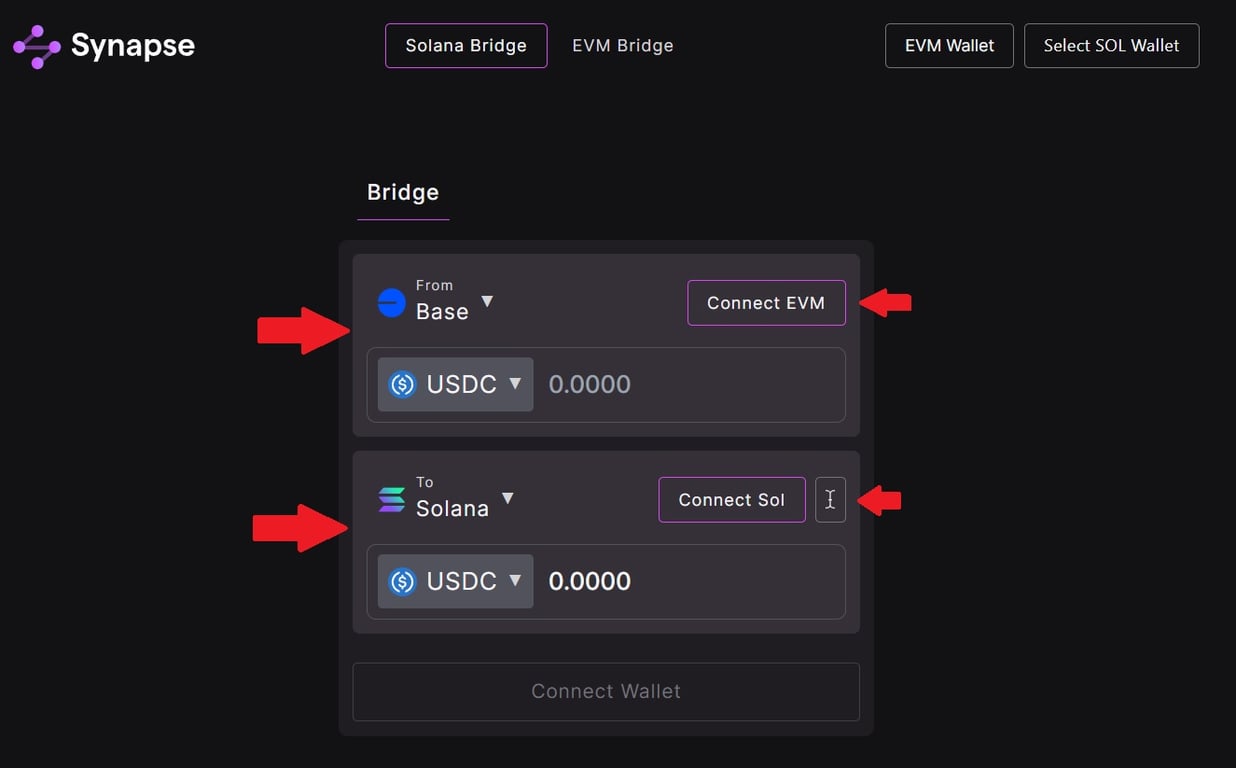
If you prefer third-party solutions or need more flexibility (like bridging other tokens), platforms such as Transporter make it easy, just connect your wallet and follow their prompts (see details here).
Understanding Bridge Fees and Costs on Base Network
The main appeal of bridging assets onto Base is its low transaction cost structure. Here’s what users should expect regarding fees:
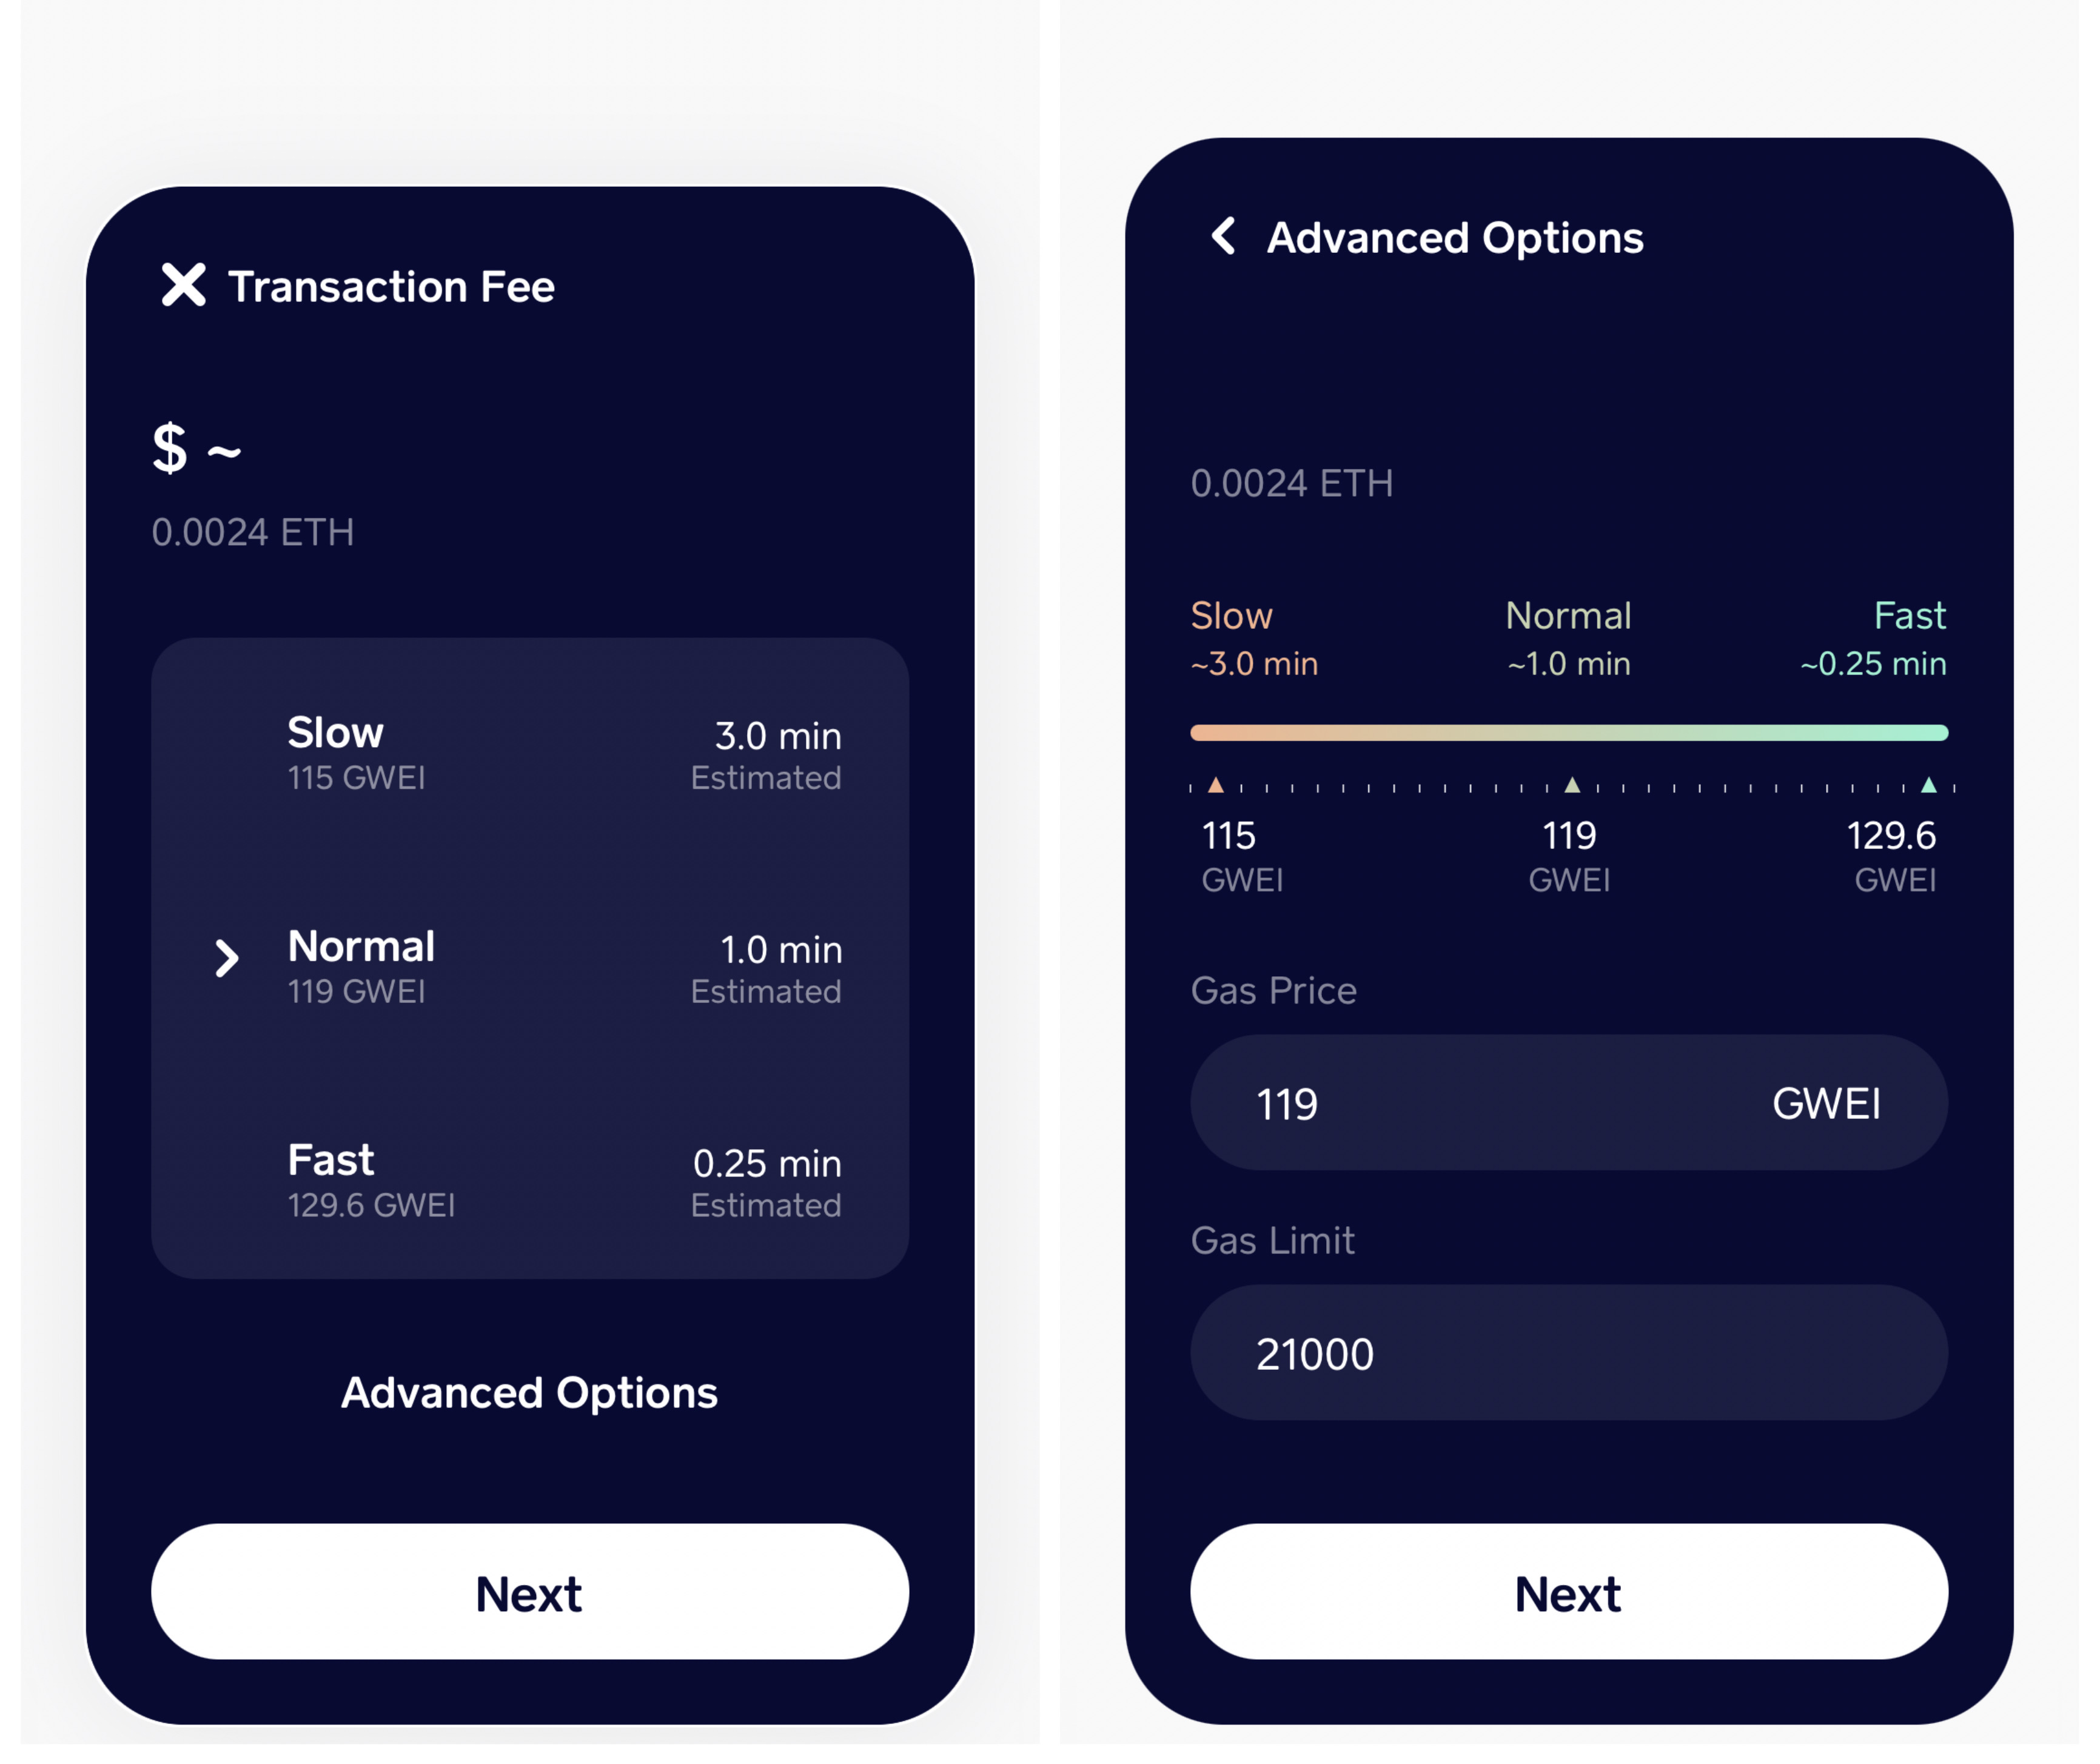
- L1 Gas Fee: Paid on Ethereum mainnet when initiating the bridge, typically higher than L2 fees but required only once per transfer.
- L2 Transaction Fee: Minimal fee paid on Base for processing transactions after funds arrive, often just a few cents depending on network congestion.
- No additional platform/service fee if using official bridges via Coinbase Wallet; third-party bridges may charge small service fees so review before proceeding (Coinbase source, Defiway guide).
Once your assets have arrived on Base, you’ll notice the difference in speed and cost immediately. Transactions that might have cost several dollars on Ethereum mainnet now settle for a fraction of that price, making it ideal for trading, minting NFTs, or experimenting with memecoins and DeFi protocols native to Base.
What Happens After Bridging? Using Your Funds on Base
With your ETH or ERC-20 tokens successfully bridged, you’re ready to explore the growing Base ecosystem. Here are some popular next steps:
Top dApps and Activities to Try on Base
-
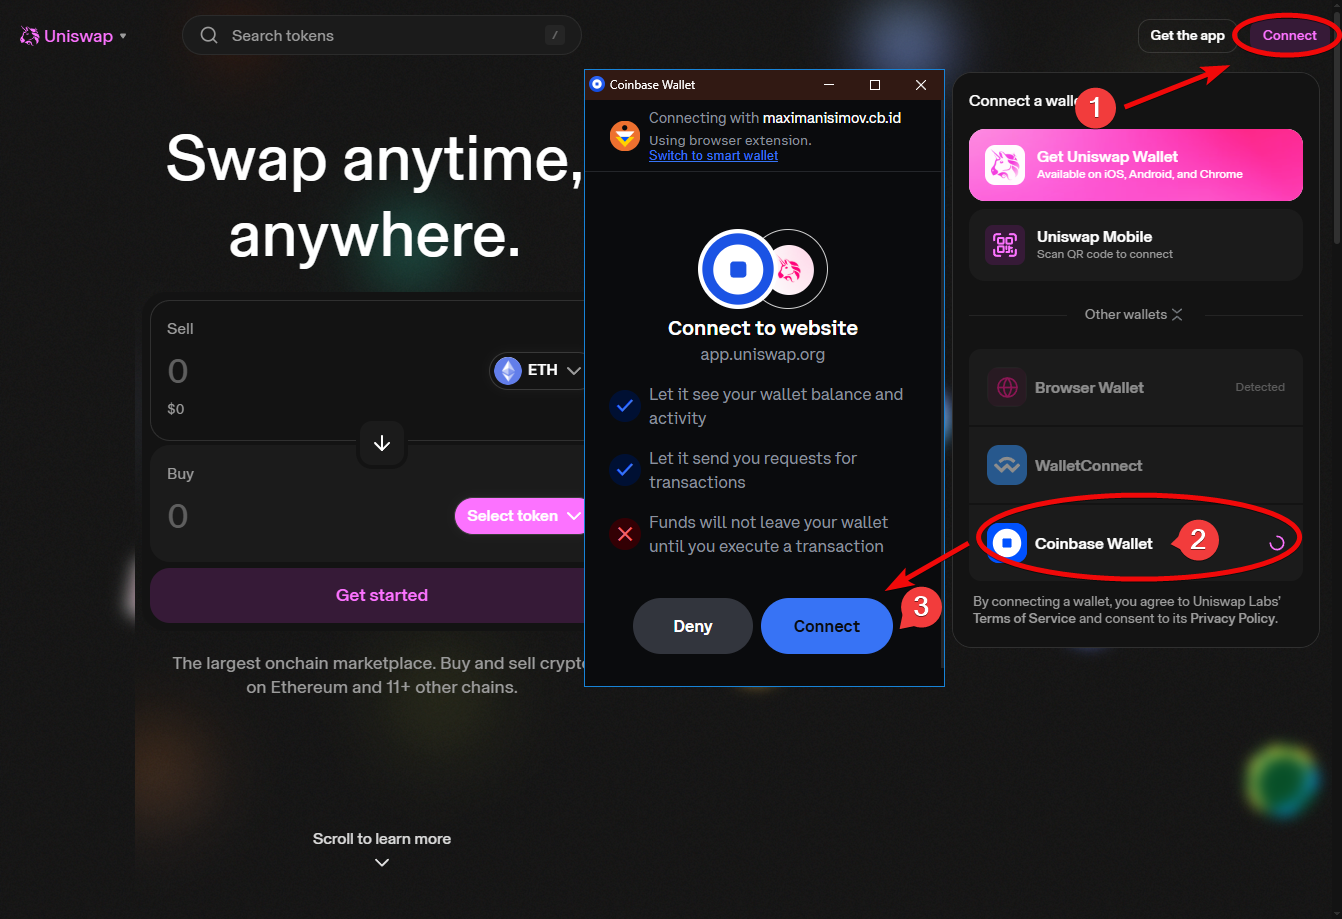
Uniswap on Base: Swap tokens quickly and affordably using Uniswap‘s decentralized exchange, now live on the Base network.
-

Friend.tech: Join the social DeFi platform Friend.tech, where you can buy and sell shares in creators and interact with exclusive communities.
-
Aave on Base: Supply, borrow, and earn interest on crypto assets via Aave‘s lending protocol, optimized for Base’s low fees.
-
BaseSwap: Trade, provide liquidity, and farm yields on BaseSwap, a native decentralized exchange built specifically for Base.
-
Galxe Quests: Complete Galxe quests and earn on-chain rewards, NFT badges, and discover new Base dApps through interactive campaigns.
-
Onchain NFTs with Zora: Mint, collect, and trade NFTs directly on Base using Zora, a leading NFT platform supporting creators and collectors.
-
Rocket Pool on Base: Stake ETH and participate in decentralized staking pools with Rocket Pool, now available on Base for lower fees.
-
BaseBridge: Seamlessly bridge assets between Ethereum and Base using BaseBridge, the official bridge supported by Coinbase.
You can swap tokens directly within Coinbase Wallet or use decentralized exchanges (DEXes) built for Base. Many users also participate in liquidity pools or hunt for the latest memecoins, all with significantly lower network fees than Ethereum mainnet.
Tips for Smooth Transfers and Troubleshooting
- Double-check network selection: Always ensure you’re sending assets from Ethereum (not another chain) and that your destination is set to Base.
- Monitor bridge status: If a transfer seems delayed, check bridge explorer tools or official support channels before panicking. Most issues resolve automatically within minutes.
- Stay updated: Coinbase Wallet plans to enable bridging back from Base to Ethereum by mid-August. Keep an eye out for app updates if you need two-way transfers (Coinbase source).
If you’re new to Layer 2s, remember: bridging is a one-time process per asset. Once your funds are on Base, you can transact at high speed and low cost until you wish to move them back.
Coinbase to Base Bridge Fees Breakdown 🚀
| Fee Type | What It Covers | Estimated Cost (USD) | |
|---|---|---|---|
| Gas Fee | ⛽ | Covers the Ethereum network transaction when moving assets to Base. Paid to Ethereum validators. | $2 – $5 (varies with ETH network congestion) |
| Transaction Fee | ⚡ | Fee for processing the bridge transaction on Base. Paid to Base network operators. | <$0.10 (typically very low on Base) |
| Service Fee | 🏦 | Any additional fee charged by Coinbase or third-party bridge services for facilitating the transfer. | $0 (Coinbase currently does not charge extra service fees for bridging) |
Frequently Asked Questions About Bridging to Base
If you’re ready to get started but want more visuals or a community perspective, check out this quick video walkthrough:
The rise of Layer 2 networks like Base marks a shift toward more affordable and accessible blockchain experiences. By learning how to bridge from Coinbase efficiently, and understanding the real costs, you’ll be well-positioned to take advantage of everything this new ecosystem has to offer. Happy bridging!