Bridging to Base has quickly become one of the hottest moves in crypto—whether you’re chasing lower fees, fresh memecoins, or just want to explore new dApps. But the process can feel intimidating, especially if you’re coming from different networks like Ethereum mainnet, Solana, or Arbitrum. This guide breaks down exactly how to bridge to Base safely and efficiently, with actionable steps and real-world tips.
Why Bridge to Base?
The Base chain, built on Optimism’s OP Stack and incubated by Coinbase, offers a unique blend of speed, low fees, and deep liquidity. For many users, bridging assets here means access to new DeFi protocols and vibrant meme communities before they hit the mainstream. If you’re looking for a fast-growing ecosystem with robust security inherited from Ethereum L1, Base is worth exploring.
Key Bridges: From Ethereum, Solana & Arbitrum
Your starting point matters when choosing a bridge. Here’s a quick overview:
Comparison of Bridges to Base from Ethereum, Solana, and Arbitrum
| Source Network | Popular Bridge(s) | Estimated Transfer Time | Supported Assets | Typical Fees | User Experience |
|---|---|---|---|---|---|
| Ethereum Mainnet | Base Bridge, Hop, Orbiter | 5-20 min | ETH, ERC-20 tokens | Low (gas fees apply) | Seamless, direct integration |
| Solana | Wormhole, Allbridge | ~10 min | SOL, SPL tokens, wrapped assets | Moderate (bridge + Solana fees) | Requires token wrapping, extra steps |
| Arbitrum | Orbiter, Hop, Base Bridge | 2-10 min | ETH, ERC-20 tokens | Very low (L2 fees) | Fast, simple, L2-to-L2 transfer |
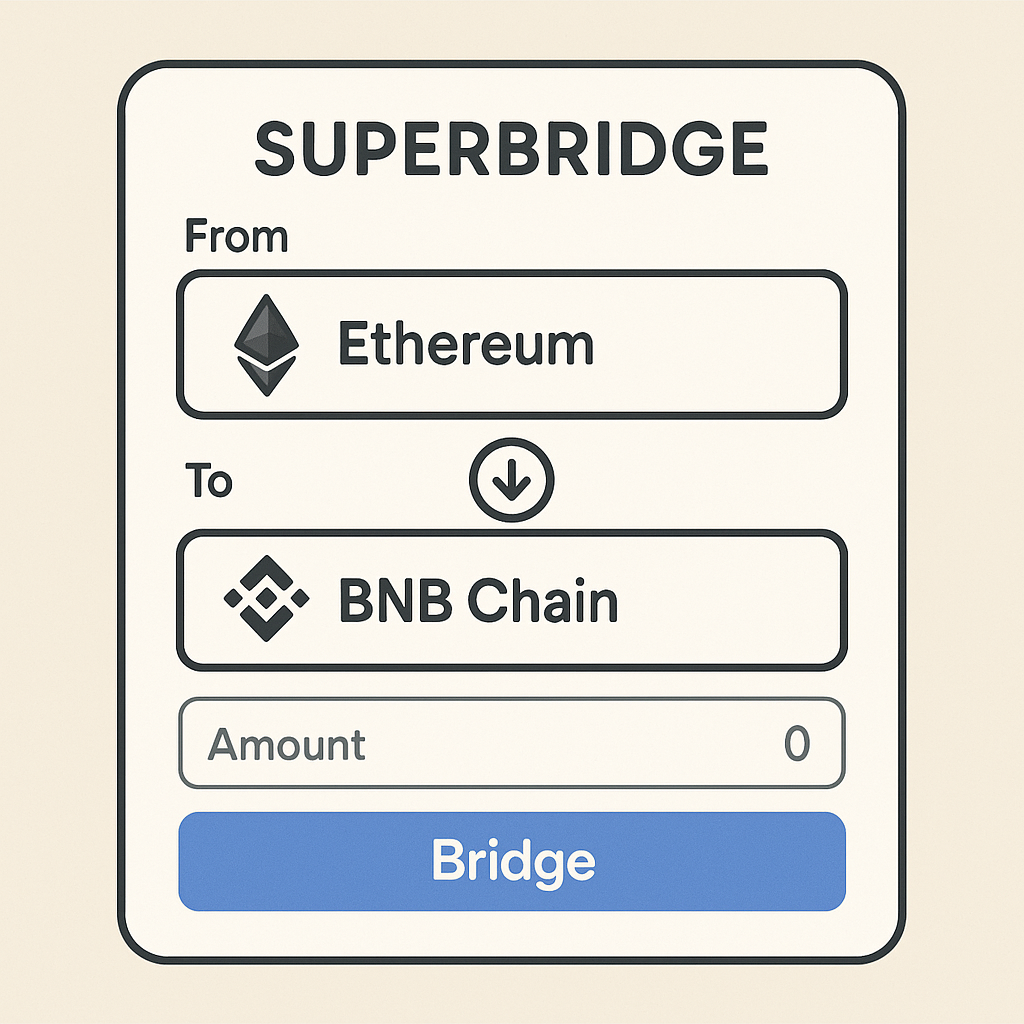
- Ethereum Mainnet → Base: Use the official Superbridge for seamless ETH and ERC-20 transfers.
- Arbitrum → Base: Multi-chain bridges like Symbiosis Finance allow you to move tokens such as USDC or ARB across L2s in one go.
- Solana → Base: Cross-chain protocols (like deBridge) handle SPL-to-ERC conversions—just be mindful of extra steps due to Solana’s unique architecture.
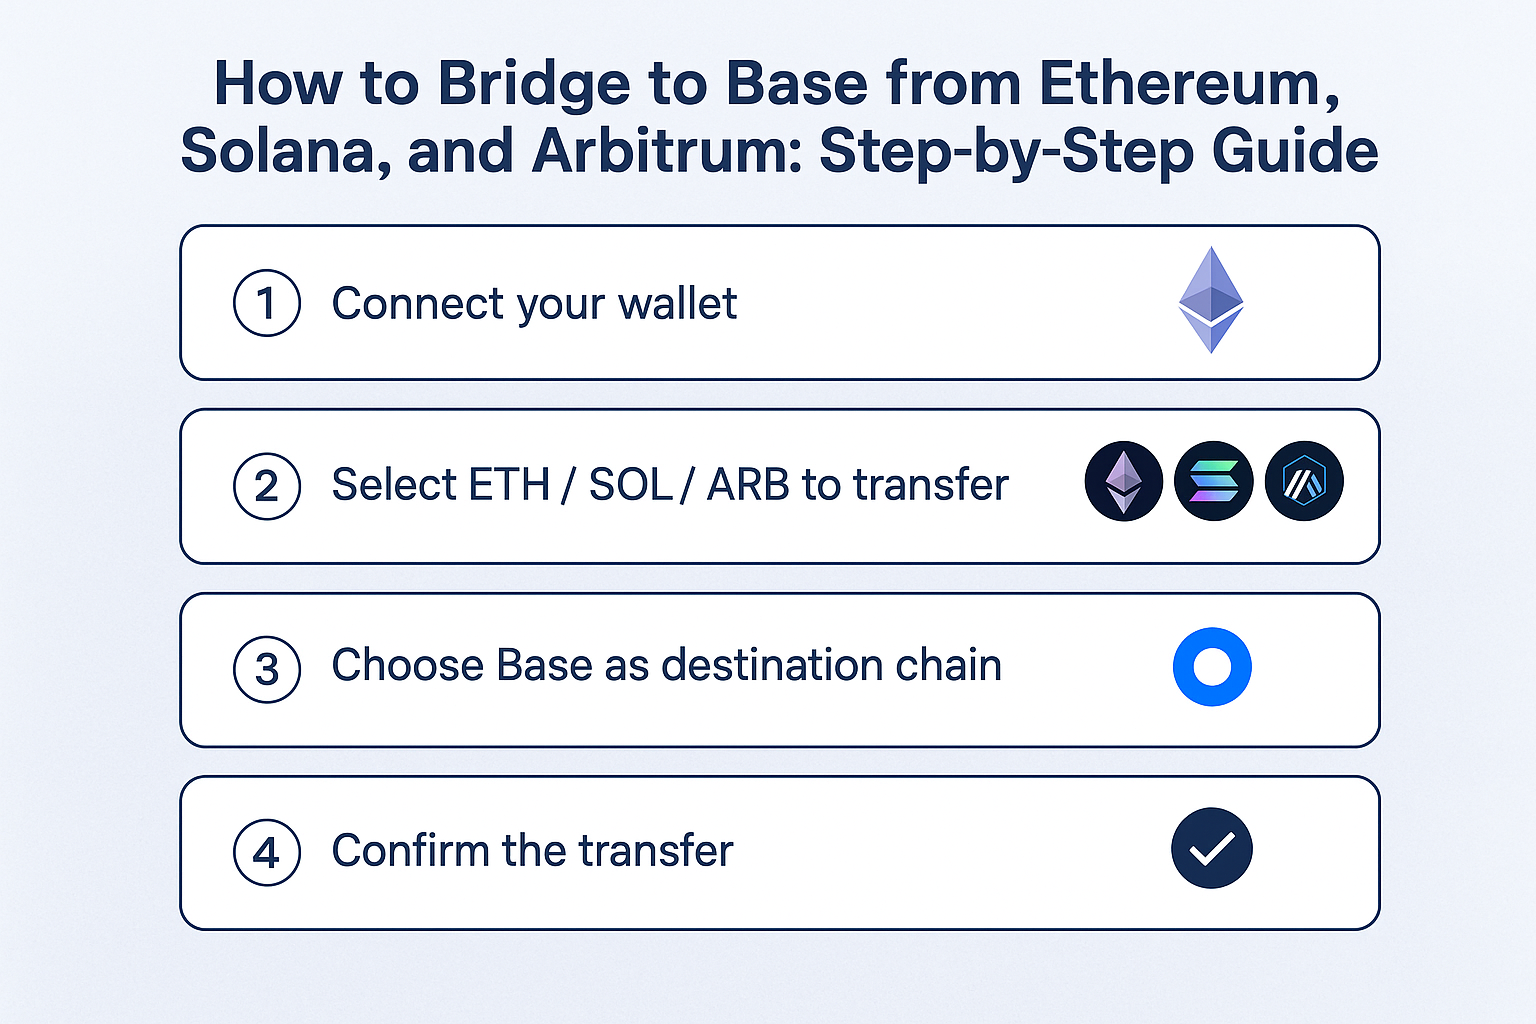
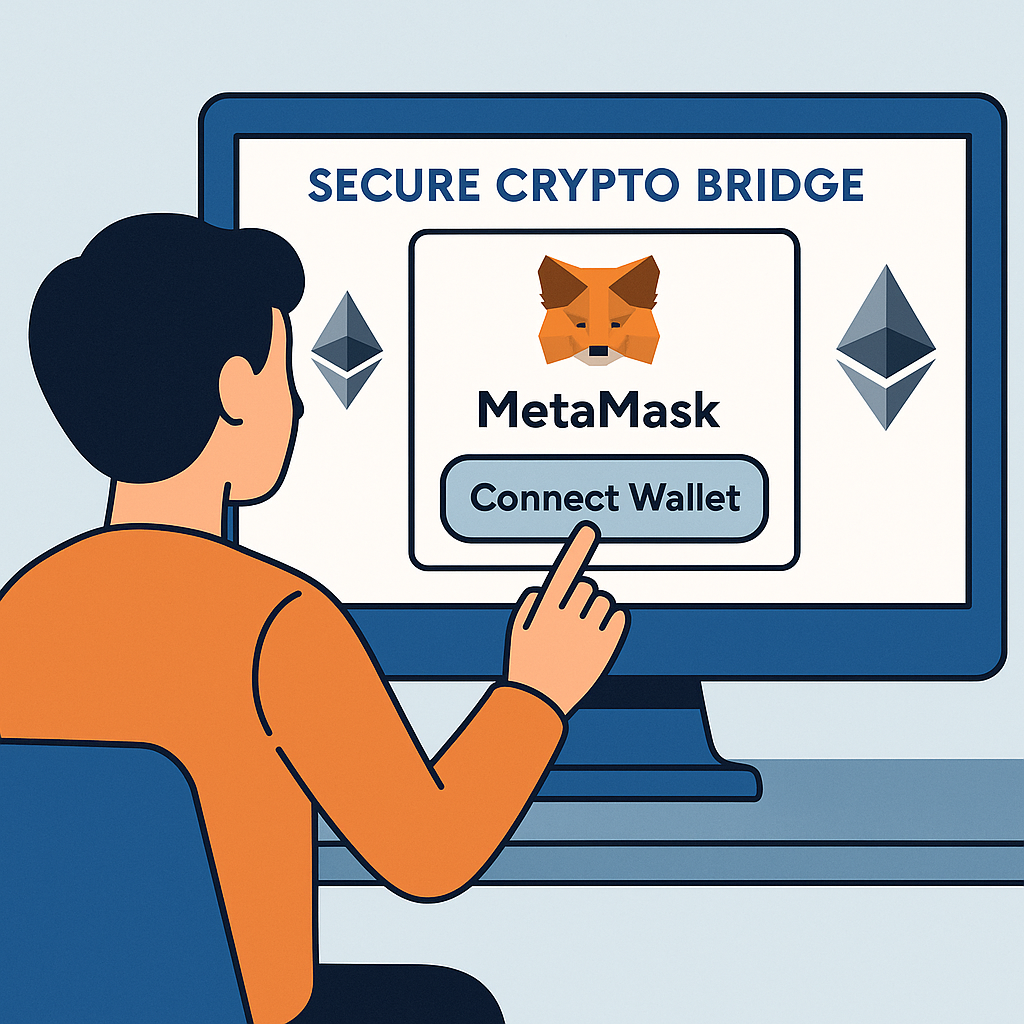
Step-by-Step: Bridging From Ethereum Mainnet
If you’re starting on Ethereum mainnet (L1), here’s how the process works using the official tools:
Bridging ETH or ERC-20 Tokens from Ethereum to Base with Superbridge
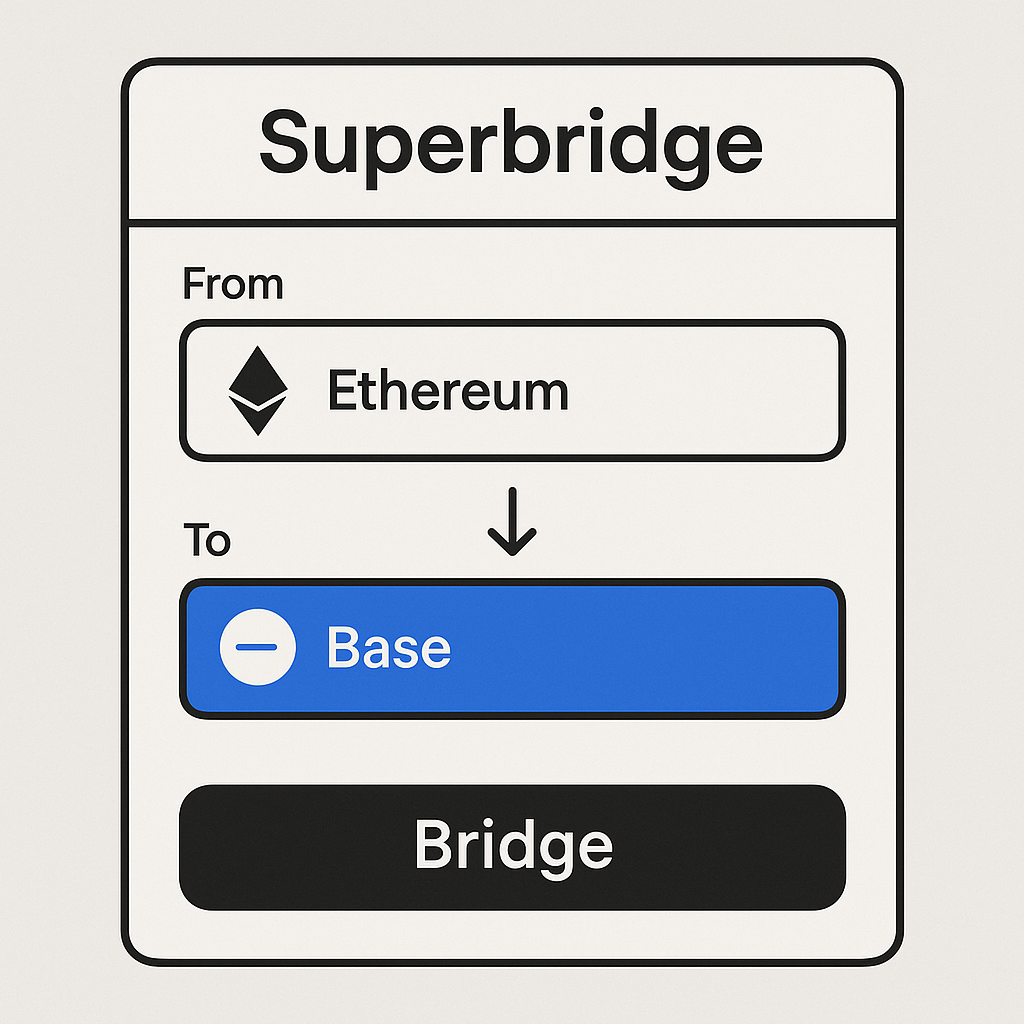
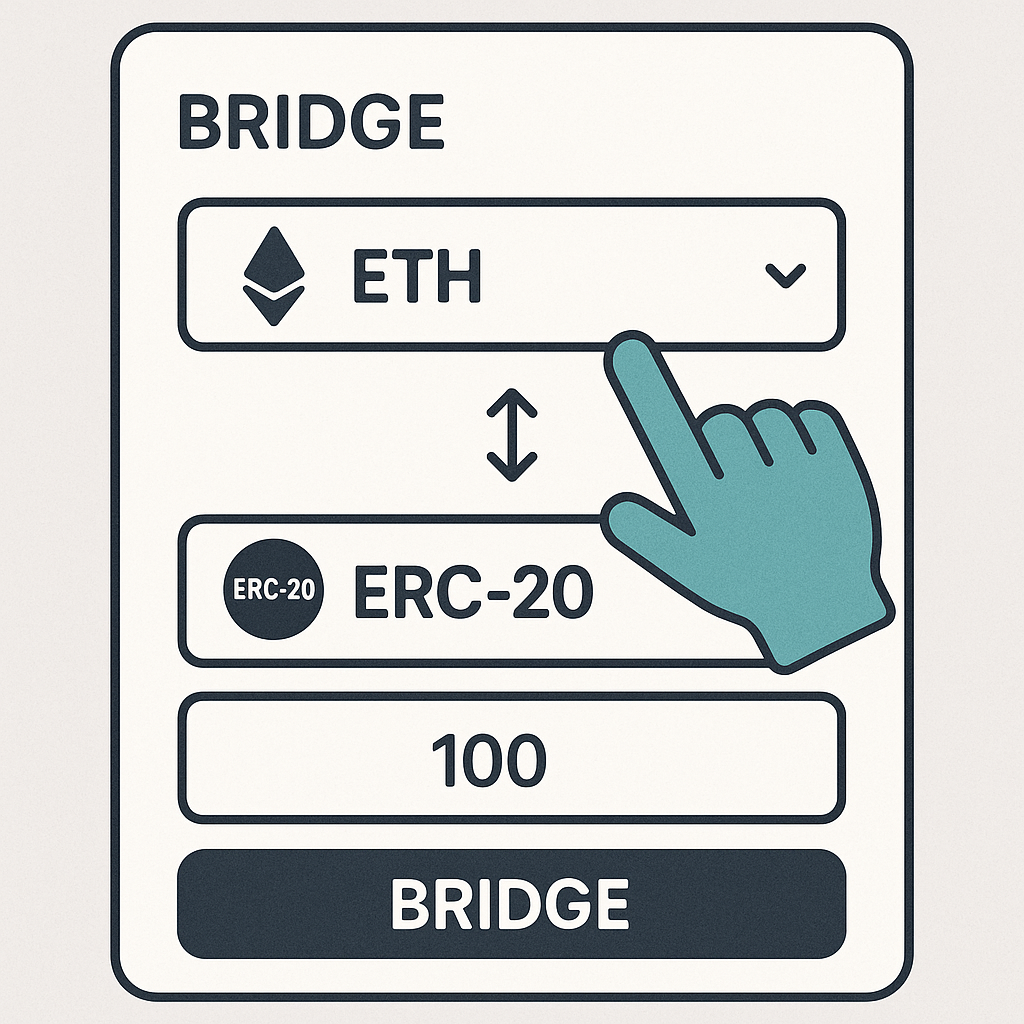
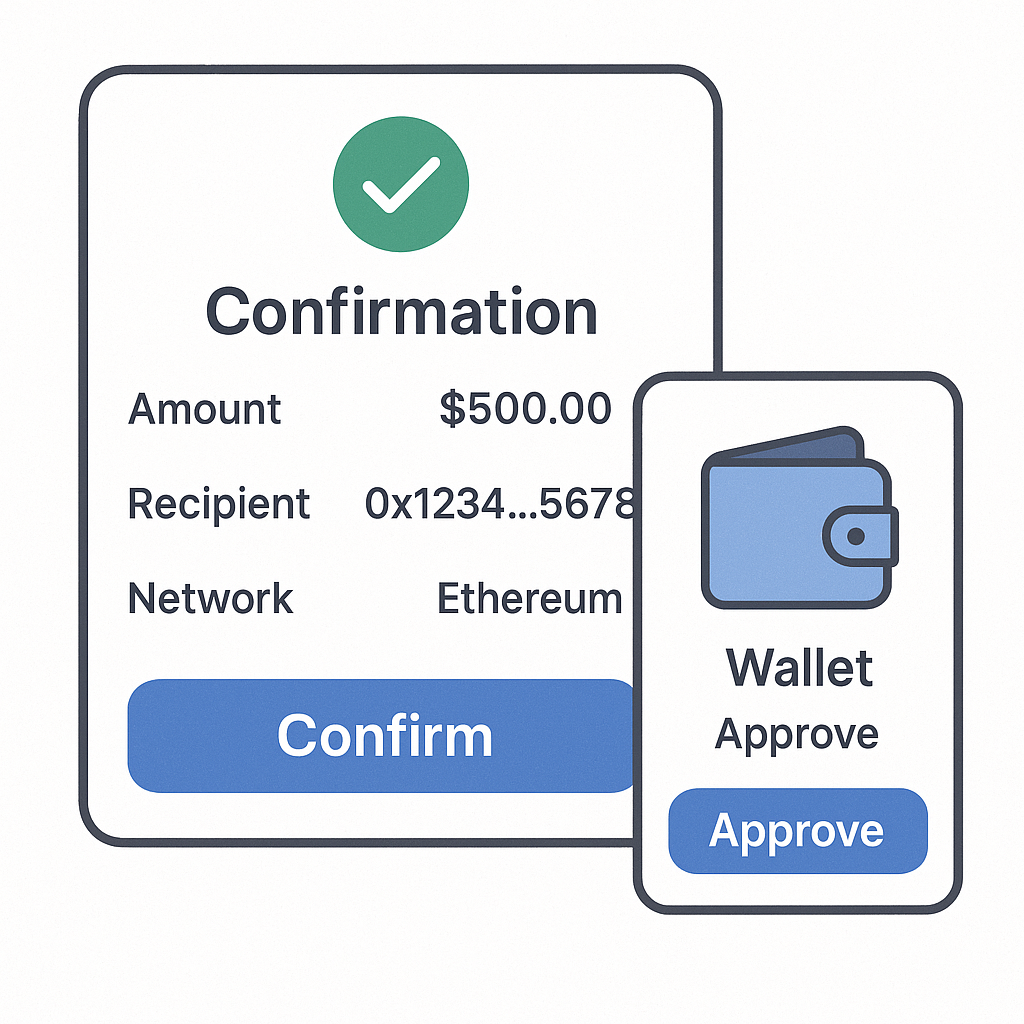
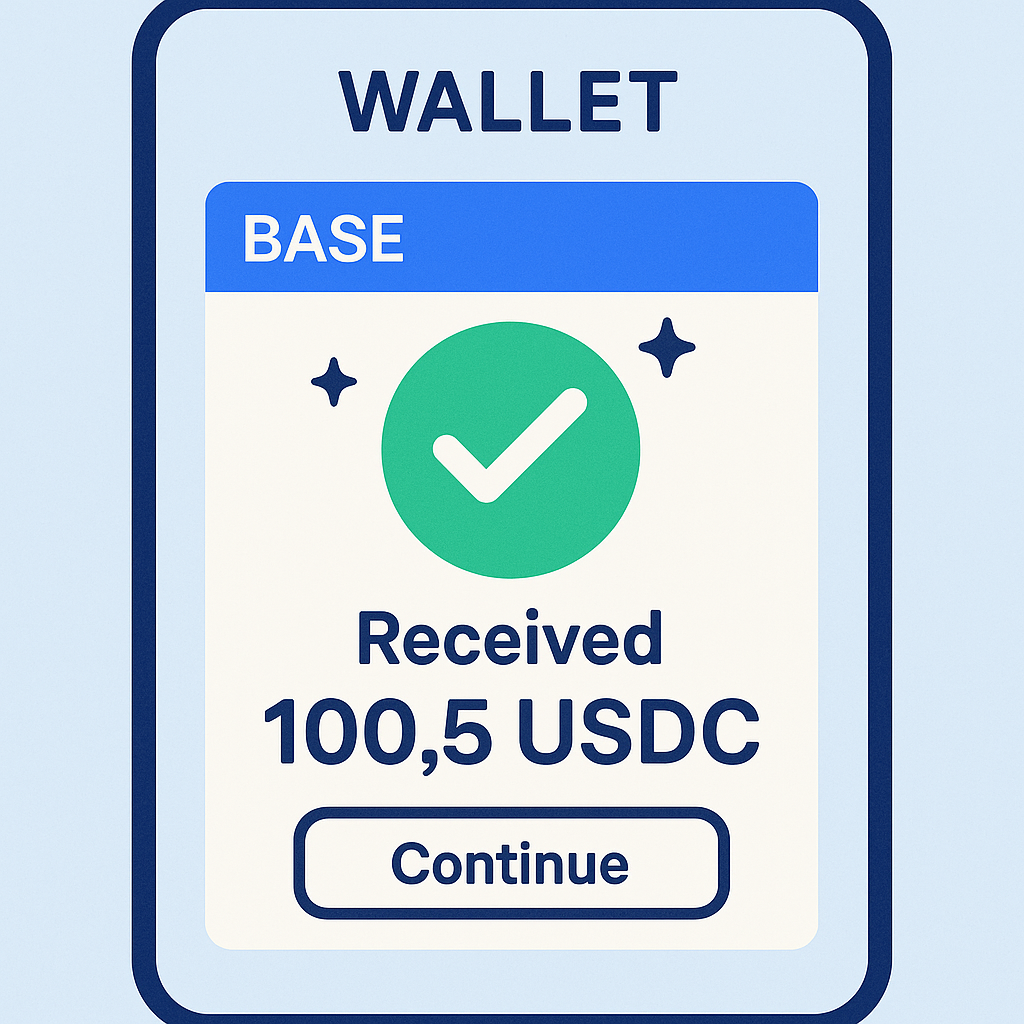
This method is straightforward but does require gas fees on both networks. Double-check wallet addresses before confirming any transaction—the irreversible nature of blockchain means mistakes can be costly.
The Community Speaks
The crypto community is constantly sharing tips about efficient bridging routes. It’s wise to check recent threads for updates on fees and supported tokens before making any move.
Navigating From Solana & Arbitrum
Moving assets from non-EVM chains like Solana introduces extra complexity due to incompatible token standards. However, solutions like deBridge are making this easier by allowing swaps and bridges in one transaction. For users on Arbitrum, tools such as Symbiosis Finance streamline cross-L2 transfers—just connect your wallet, select source/destination networks (e.g., Arbitrum → Base), choose your token (USDC/ARB), enter the amount, approve permissions, and initiate the transfer.
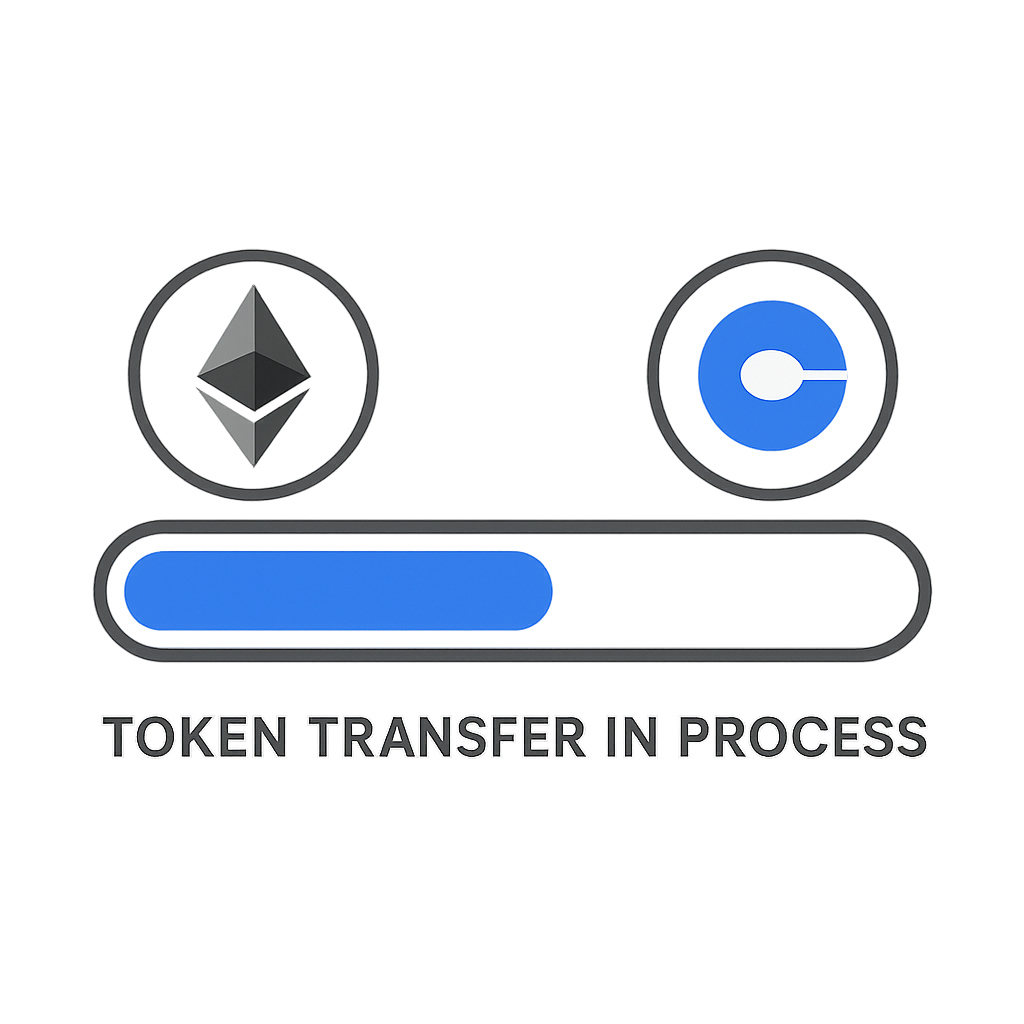
Once your funds arrive on Base, you’ll notice the difference in speed and transaction costs right away. The user experience is noticeably smoother than on most L1s or other L2s, making it ideal for active trading, minting NFTs, or jumping into the latest Base-native DeFi projects. Still, it’s important to be vigilant: always verify that you’re using reputable bridges and double-check contract addresses on official sources.
Bridging Tips: Security & Efficiency
Bridging isn’t just about moving assets—it’s about doing so safely. Here are some best practices to ensure a smooth journey:
Remember that bridging can take anywhere from a few minutes to over an hour depending on network congestion and the protocols used. Keep an eye on gas fees (especially if starting from Ethereum mainnet), and consider bridging during off-peak hours for lower costs.
What Happens After Bridging?
With your assets now on Base, you can start exploring its growing ecosystem. Whether you’re looking for new DeFi opportunities, NFT mints, or the next viral memecoin, the chain’s low fees make experimentation accessible. Many users also bridge stablecoins like USDC or DAI first—these are widely supported across dApps and pools.
Comparing Bridge Options
Not all bridges are created equal—some offer faster settlement times, while others provide broader token support or built-in swapping capabilities. Here’s a quick comparison:
Comparison of Bridge Speed, Costs, and Supported Tokens for Ethereum→Base, Arbitrum→Base, and Solana→Base
| Bridge Route | Bridge Name | Speed | Estimated Cost | Supported Tokens |
|---|---|---|---|---|
| Ethereum → Base | Superbridge | Fast (minutes) ⚡ | Low (~$2-$5) | ETH, USDC, WETH, DAI |
| Arbitrum → Base | Symbiosis | Fast (minutes) ⚡ | Low (~$1-$3) | ETH, USDC |
| Solana → Base | deBridge | Moderate (5-15 min) ⏳ | Medium (~$5-$10) | SOL, USDC, USDT |
If you’re unsure which route is best for your specific token or starting point, community forums and Discord channels remain invaluable resources. Real-time feedback helps avoid pitfalls like unsupported tokens or excessive slippage.
Stay Updated & Participate
The world of cross-chain bridging evolves quickly—new protocols emerge and security standards improve regularly. Participating in governance forums and following project updates ensures you won’t miss critical changes to bridge routes or fee structures.
If you’re an active participant in DeFi or NFT communities, consider sharing your own experiences with different bridges—community knowledge is one of the strongest defenses against scams and inefficiencies.
Quick Reference Checklist
Bridging to Base unlocks access to a thriving ecosystem with unique opportunities not found elsewhere. By following these steps—and staying plugged into community insights—you can move assets with confidence and start exploring everything Base has to offer.


No comments yet. Be the first to share your thoughts!