There’s a certain thrill in discovering a new token before it hits the mainstream—especially on Base chain, Ethereum’s fast-growing Layer 2. But for newcomers and seasoned degens alike, the process can feel like navigating a maze: DEXes, contract addresses, security pitfalls, and more. Let’s break down how to buy tokens on Base safely and confidently, with practical tips and insights from the community.
Why Base Chain Is Attracting New Token Hunters
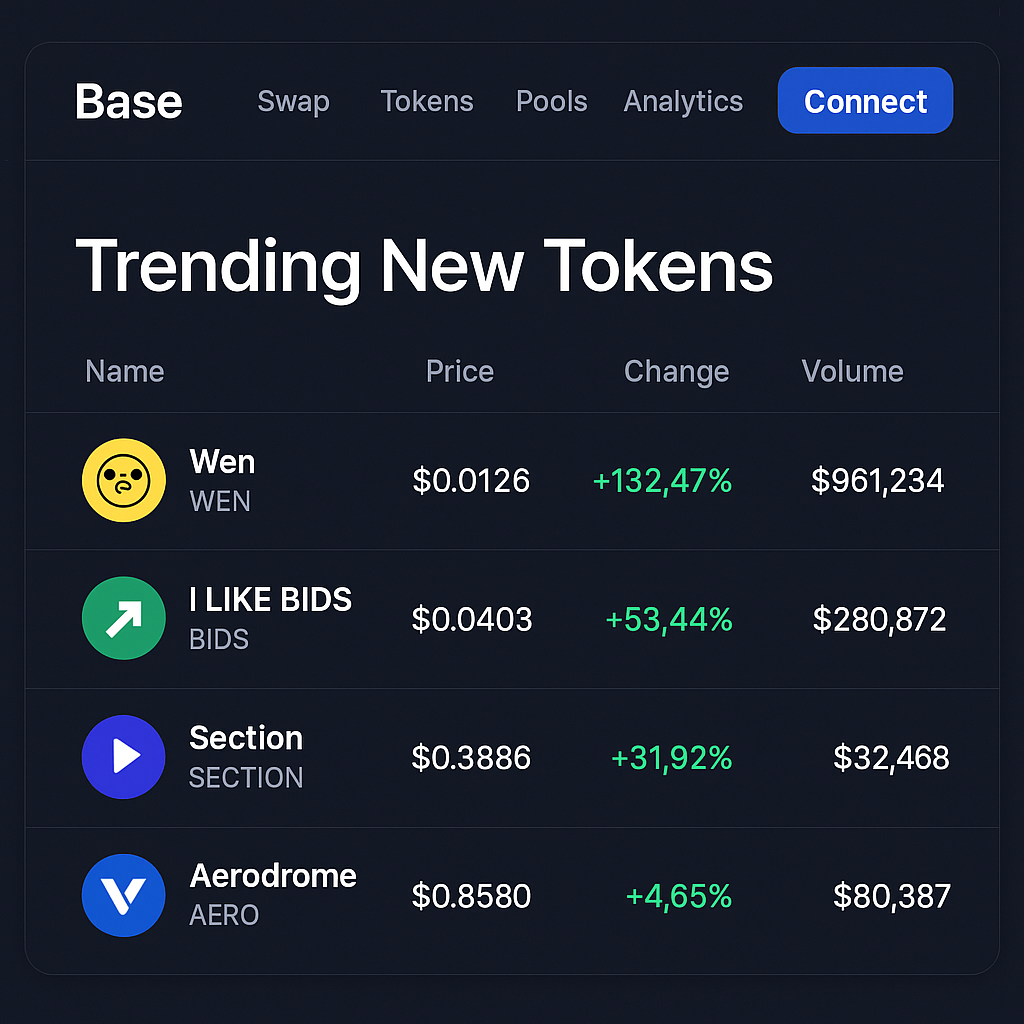
Base is quickly becoming a magnet for fresh projects—think meme coins, experimental protocols, and creative DeFi launches. Its low fees and friendly developer environment mean that tokens appear here first, often before they migrate elsewhere. For many, catching these early waves is part of the fun (and risk) of crypto.
The catch? With opportunity comes risk. Rug pulls, fake contracts, and FOMO-fueled mistakes are common. That’s why understanding the basics of buying new tokens on Base matters more than ever.
Step-by-Step: How to Buy New Tokens on Base
How to Buy Tokens on Base with MetaMask and a DEX


Before you ape into that trending meme coin or promising DeFi project, you’ll need to follow a few essential steps:
Essential Steps to Buy New Tokens on Base Chain
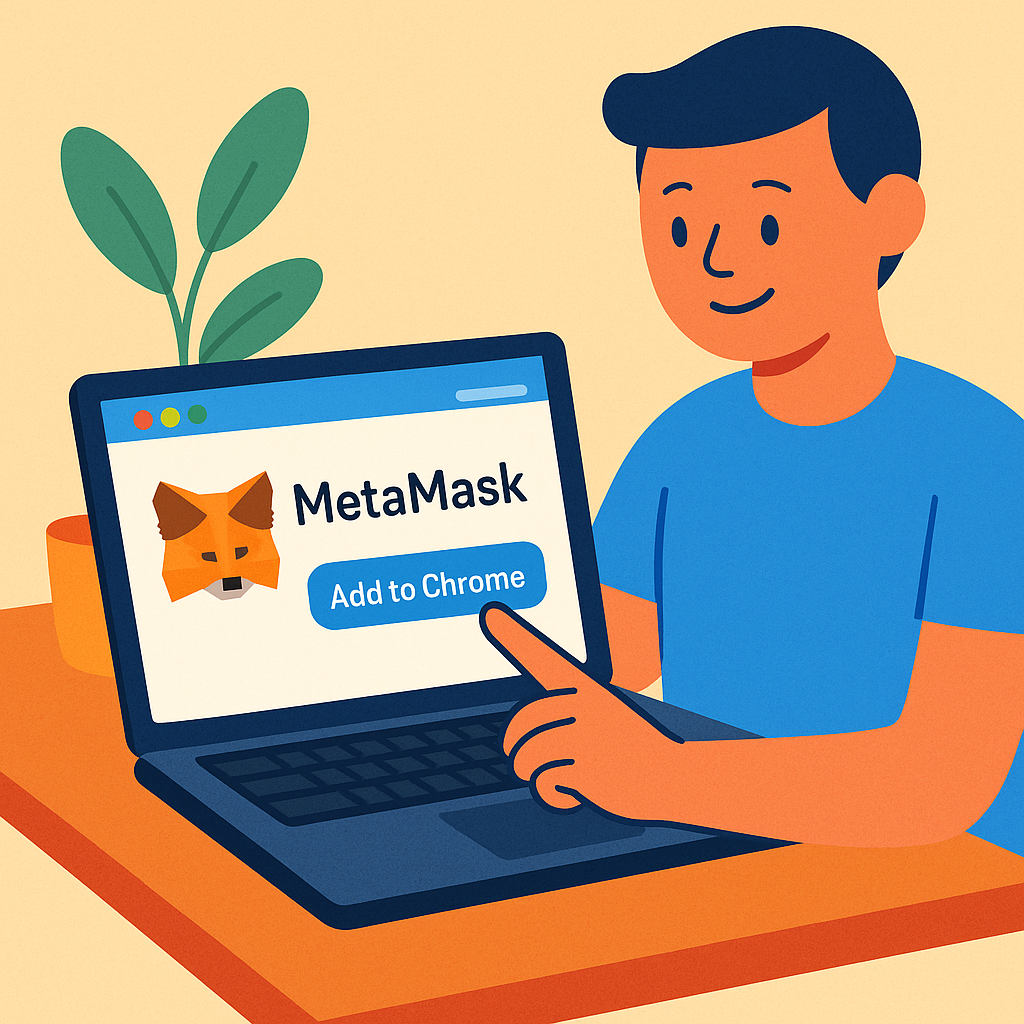
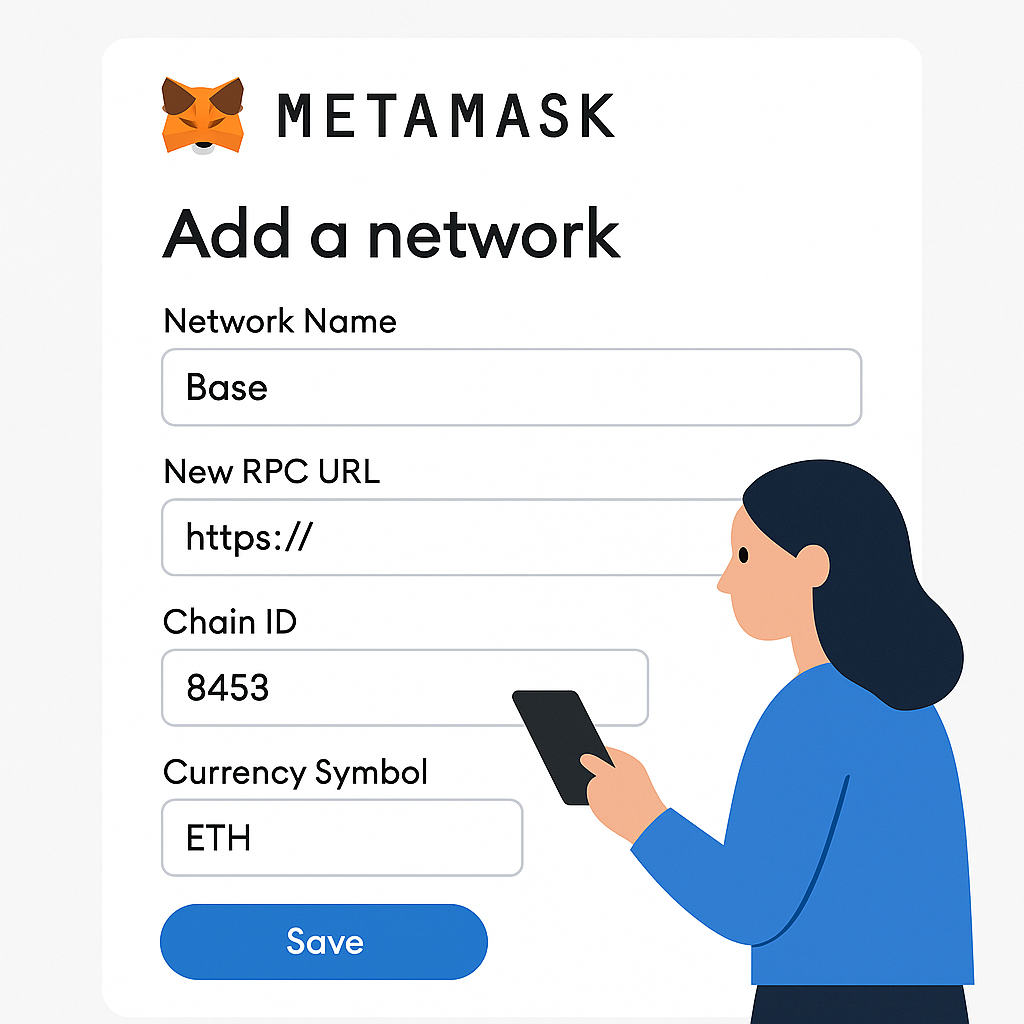
- Set up a compatible wallet such as MetaMask or Coinbase Wallet and add the Base network to your wallet settings.

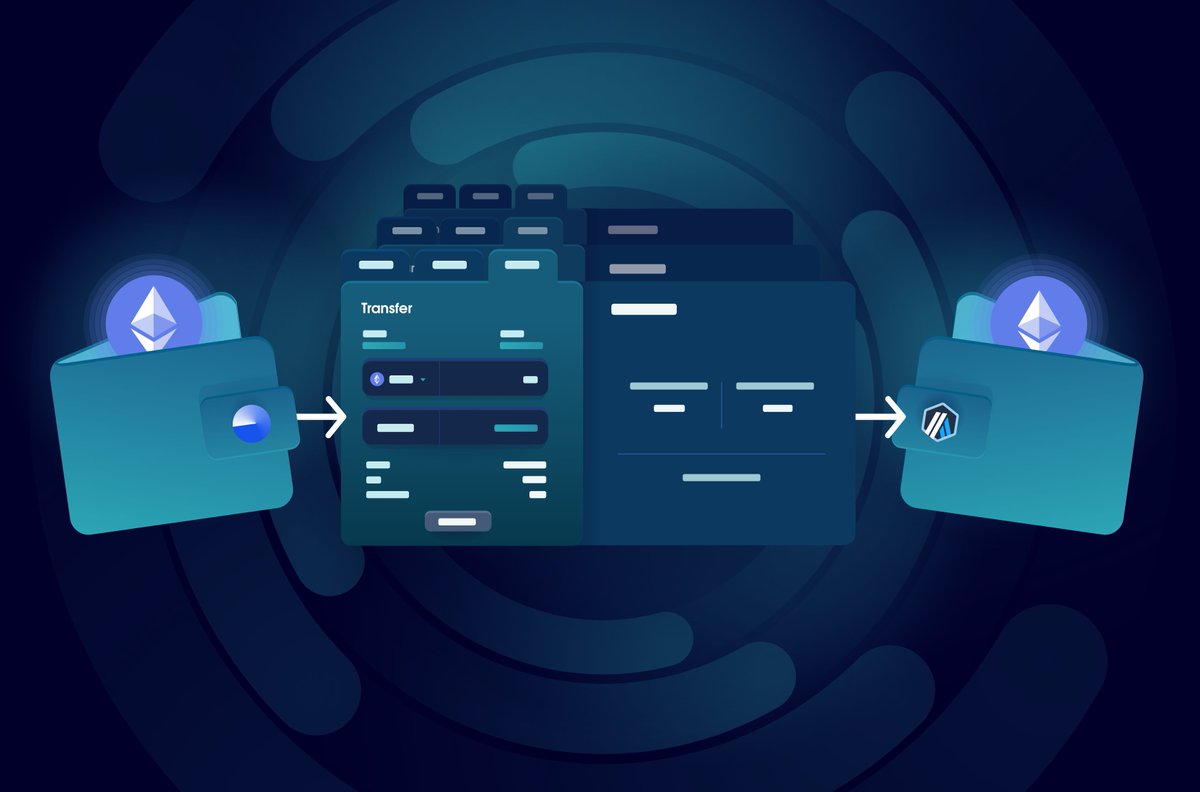
- Fund your wallet with ETH on Base by bridging assets using the official Base Bridge or a trusted cross-chain bridge like Orbiter Finance.
- Find the official contract address of the new token from reputable sources such as the project's official Twitter, website, or trusted aggregators like BaseScan.
- Swap ETH for the new token by entering the verified contract address on the DEX and confirming the transaction details before proceeding.
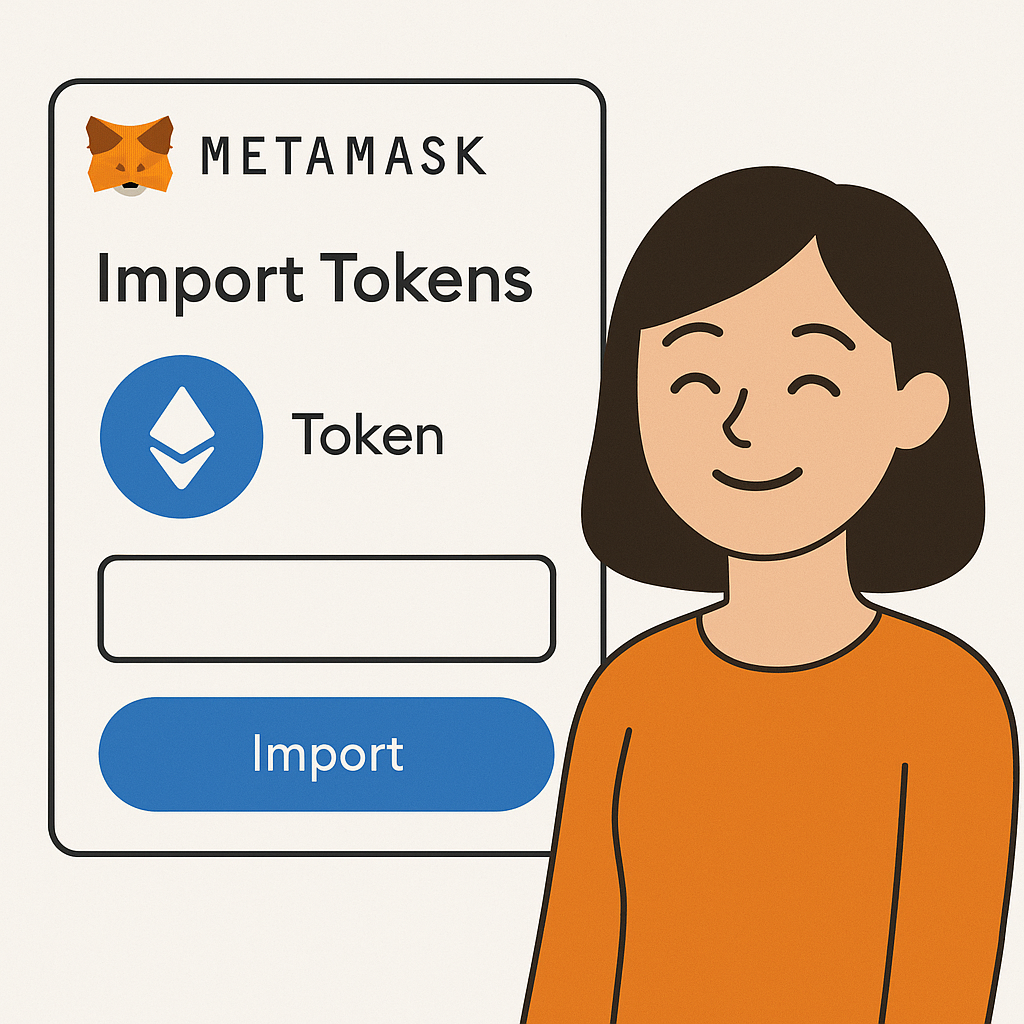
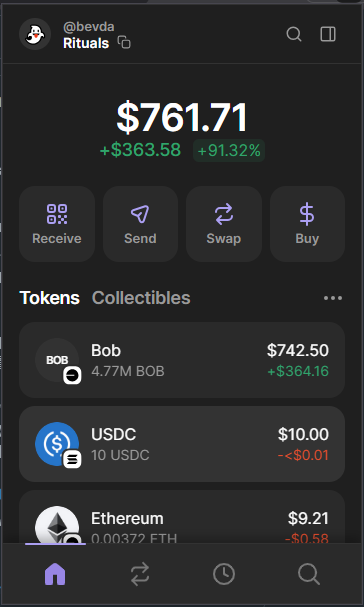
- Review your wallet to ensure the new token is visible. You may need to manually add the token using its contract address if it doesn't appear automatically.
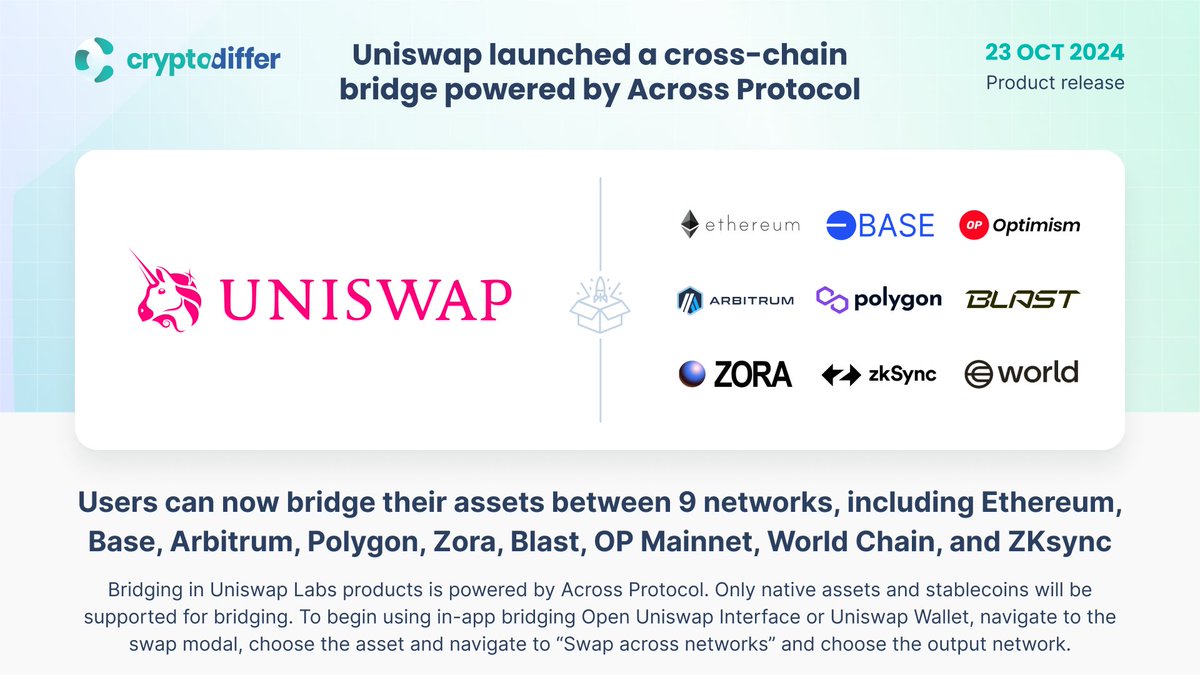
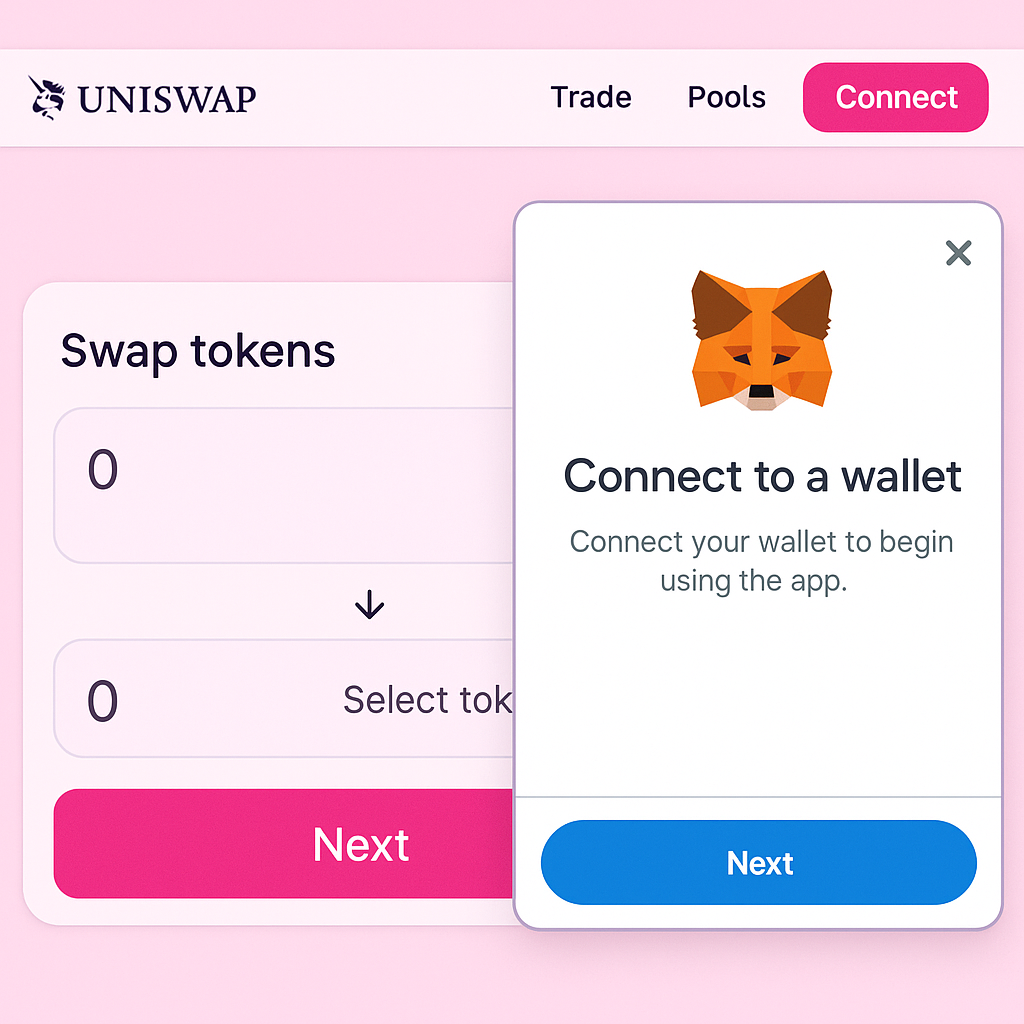
The most popular route is using MetaMask or another EVM-compatible wallet connected to the Base network. You’ll typically swap ETH (on Base) for your chosen token using a decentralized exchange (DEX) like Uniswap or Aerodrome.
Pro tip: Always double-check that you’re interacting with the official contract address—never trust random links in Telegram or Twitter threads! Scammers often create copycat contracts designed to trick eager buyers.
DEXes and Contract Address Verification
The heart of any token purchase on Base is the DEX—the decentralized exchange where trades happen peer-to-peer. Uniswap and Aerodrome are leading choices here. But even seasoned users can fall victim to fake contracts if they skip verification steps.
- Find the correct contract address: Official project sites or trusted aggregators are your best sources. Avoid copying from random tweets or chat groups!
- Add the token manually: Paste the contract address into your wallet’s "Add Token" feature so you can see your balance after purchase.
- Look for community discussion: Active Telegram chats or Twitter threads often highlight red flags—or confirm legitimacy—fast.
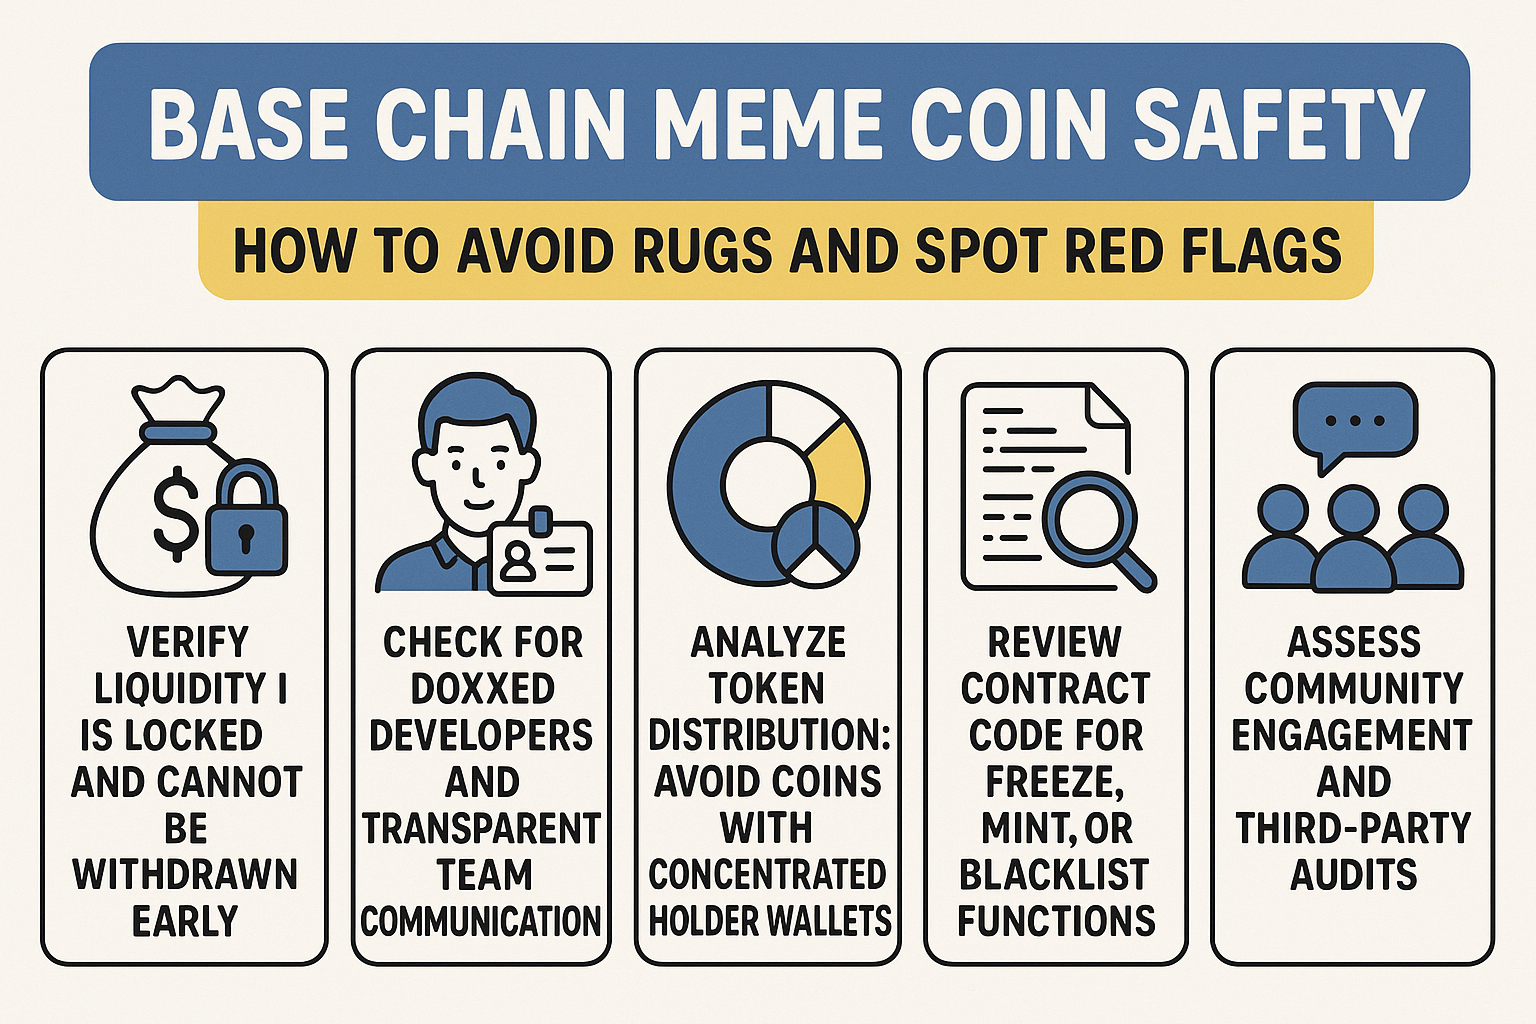
If it feels too good to be true—or if someone is rushing you—it probably is. Take your time, double-check everything, and never invest more than you’re willing to lose.

No comments yet. Be the first to share your thoughts!