Ethereum’s Layer 2 ecosystem is evolving rapidly, and Base—Coinbase’s optimistic rollup—has quickly become a hub for low-cost transactions, thriving DeFi protocols, and an explosion of Base-native tokens. But before you can explore Base’s unique landscape of applications and memecoins, you’ll need to move assets onto the network. This process is called bridging. For many users, bridging is the gateway to lower fees and fresh opportunities. However, it can also be intimidating due to the variety of bridge providers, token standards, and security considerations.

Why Bridge to Base? The Case for Layer 2 Migration
Base stands out as one of the most accessible Layer 2s thanks to its deep integration with Coinbase products and its rapidly growing ecosystem. Users are drawn by ultra-low gas fees, fast confirmation times, and access to exclusive Base-native tokens like $DEGEN and $TOSHI. In addition, many popular dApps—such as Friend.tech, Aerodrome, and BasePaint—now operate exclusively or preferentially on Base.
If you’re seeking cheaper swaps, new yield farms, or simply want to participate in the latest memecoin mania without paying Mainnet prices, bridging onto Base is essential. But which bridge should you use? And what are the risks?
Navigating Your Bridge Options: Security vs. Speed vs. Cost
The first decision point is choosing a bridge provider. There are two main approaches:
- The Official Base Bridge: Developed by Coinbase, this uses native cross-chain messaging between Ethereum Mainnet and Base. It’s considered the most secure but has limited token support (primarily ETH) and a withdrawal delay due to fraud proofs.
- Third-Party Bridges: Protocols like Orbiter Finance, Synapse Protocol, and Jumper Exchange provide faster transfers with broader token support (USDC, WETH, DAI, etc.), but introduce additional smart contract risk.
Top 5 Trusted Bridges to Base Network
-

Orbiter Finance offers fast, cost-effective bridging from Ethereum and major L2s to Base, with a strong reputation for security and transparency.
-

Synapse Protocol supports multi-chain asset transfers to Base, leveraging robust smart contract audits and a large liquidity pool for seamless bridging.
-
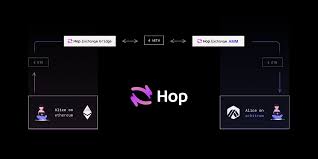
Hop Protocol specializes in optimistic rollup bridging, providing efficient, low-slippage transfers from Ethereum and other L2s to Base.
-
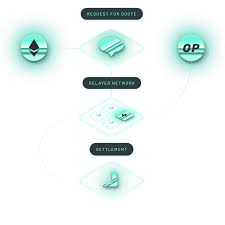
Across Protocol utilizes fast relayer networks and a unique dispute mechanism, ensuring secure and speedy bridging to Base from Ethereum and supported L2s.
-
LayerZero Stargate offers omnichain interoperability with deep liquidity and a proven track record, enabling reliable asset movement to Base.
The choice often comes down to your priorities: if you’re moving large sums or prioritizing maximum security (e.g., for DAO treasuries), stick with the official bridge despite its slower withdrawal times. For smaller amounts or speedier movement between chains (especially during rapid trading opportunities), third-party bridges are generally safe if you use established protocols with robust audits.
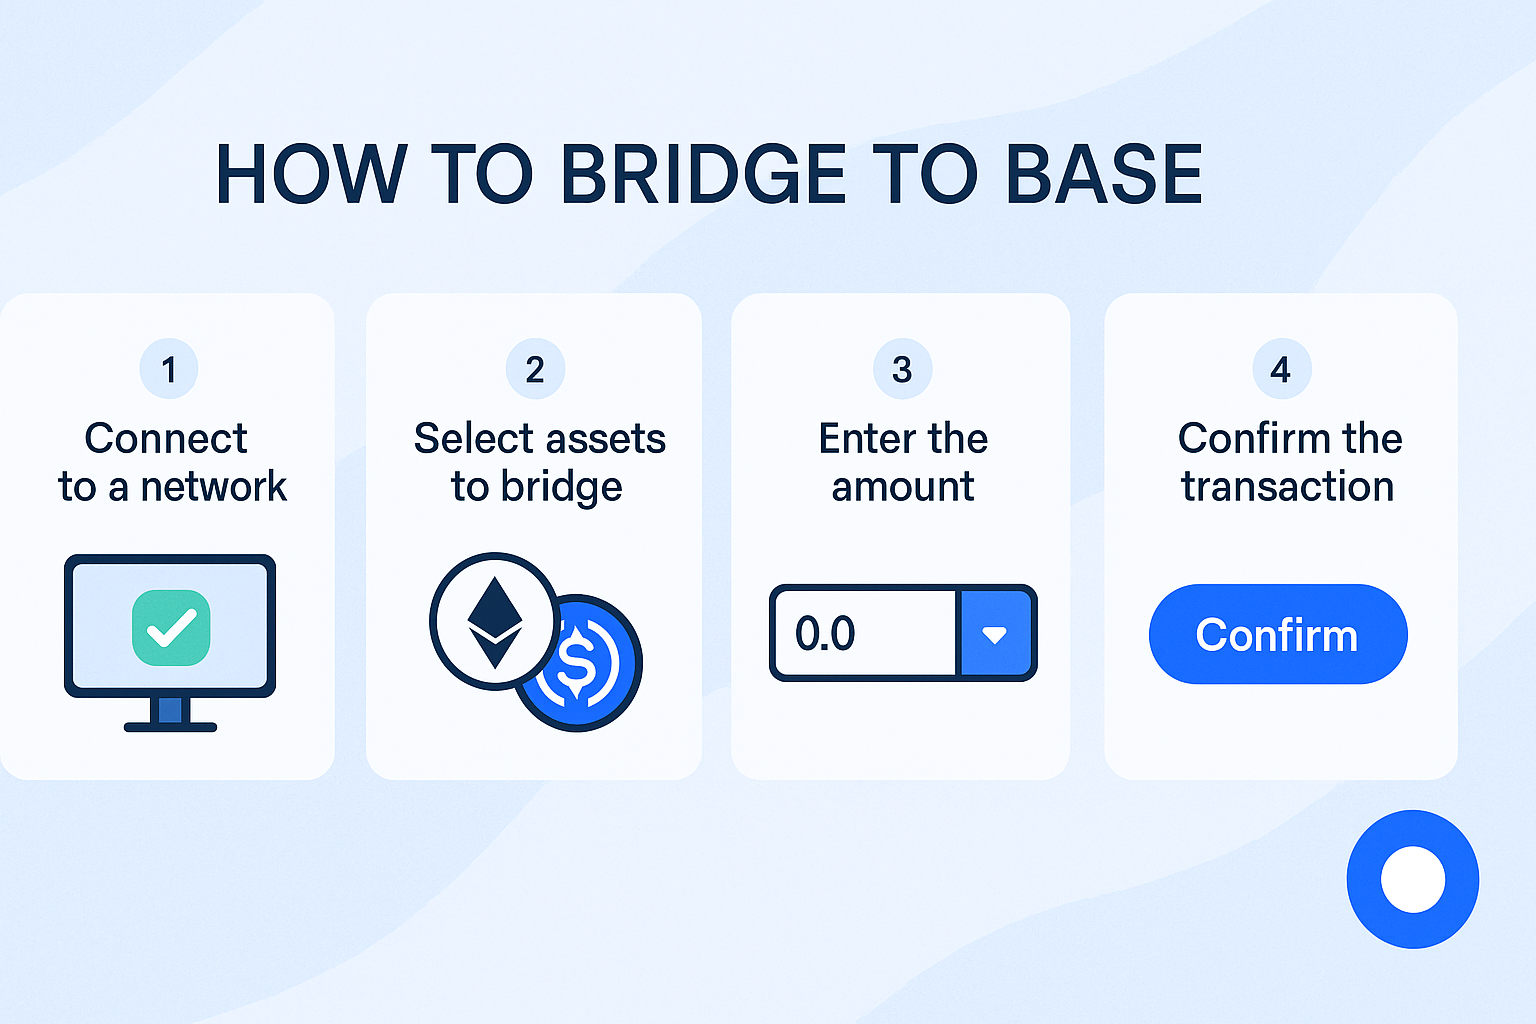
A Step-by-Step Walkthrough: Bridging ETH from Ethereum Mainnet to Base
The actual process of bridging is straightforward if you follow best practices. Here’s how to do it safely:
- Select your bridge provider. For this walkthrough we’ll use the official bridge at bridge.base.org.
- Connect your wallet. Use MetaMask or another supported Web3 wallet; ensure it holds enough ETH for both transfer and gas fees.
- Select your asset. The official bridge currently supports only ETH; for USDC or other tokens use Synapse or Jumper instead.
- Enter the amount.
- Review estimated gas costs & confirm details carefully.
- Initiate transfer & sign transaction in your wallet.
- (Optional) Track your transaction status via Etherscan (Mainnet side) or Basescan (Base side). Funds typically appear after a few minutes on L2; withdrawals back to Mainnet take up to seven days for security reasons.
This process also applies when using third-party bridges—just be sure you’re on the legitimate site (double-check URLs!) since phishing attempts are rampant in crypto bridging circles. Always verify contract addresses via sources like Basescan or project documentation before approving any transactions.
Main Risks When Bridging—and How To Avoid Them
No matter which route you choose, there are some universal risks:
- User error: Sending unsupported tokens or using incorrect contract addresses can result in permanent loss of funds.
- Bridge exploits: Third-party bridges have been targets for high-profile hacks; only use audited protocols with a track record of uptime and transparency (a full list is available on sites like L2Beat’s bridges section).
- Lack of support for certain tokens: Not all tokens can be bridged natively; some require wrapping/minting synthetic versions which may not be accepted everywhere on Base yet.
- Mainnet congestion: During periods of high Ethereum activity (e.g., NFT mints), gas fees can spike dramatically—even when bridging out to L2s like Base.
- Spoofed UI/phishing attacks: Always verify URLs directly through official project links rather than search engines or social media ads!
If this all feels overwhelming at first glance—that’s normal. Even experienced DeFi users double-check every step when moving funds across chains! The key is understanding both your options and their trade-offs before committing assets.
Once your assets arrive on Base, you’ll notice the difference: transaction fees drop to a fraction of a cent, and confirmation times are nearly instant. This opens up a playground for exploring new protocols, yield strategies, and memecoin launches without the friction of mainnet’s high costs. But before you dive into Base-native DeFi or NFT projects, it’s essential to verify that your wallet is connected to the correct network and that your tokens have arrived safely. Most wallets like MetaMask will auto-detect Base after bridging, but if not, you can add it manually using Chainlist.
What To Do After Bridging: Maximizing Your Base Experience
With ETH or other tokens on Base, your options multiply. Here are some immediate next steps:
- Swap for Base-native tokens: Use DEXs like BaseSwap or Uniswap (now live on Base) to access trending coins such as $DEGEN or $TOSHI.
- Provide liquidity: Platforms like Aerodrome offer incentives for LPs; check APYs and risks before committing capital.
- Participate in dApps: Social platforms like Friend.tech, NFT marketplaces, and experimental DeFi protocols are flourishing on Base.
- Monitor gas usage: Even though fees are low, heavy users (e.g., NFT minters or high-frequency traders) should keep an eye on wallet balances to avoid failed transactions due to insufficient gas.
Official vs. Third-Party Bridges for Moving Assets onto Base
| Bridge Type | Security | Speed | Supported Tokens |
|---|---|---|---|
| Official Bridge (Base Bridge) | High (Audited, managed by Base team) 🔒 | Moderate (typically 10-30 minutes) ⏳ | ETH, select major ERC-20 tokens |
| Third-Party Bridges (e.g., Hop, Synapse, Orbiter) | Varies (depends on provider, may have additional risks) ⚠️ | Fast (often under 5 minutes) ⚡ | Broader range, including stablecoins and altcoins |
The ecosystem is still young. New bridges and dApps launch weekly—so stay updated via trusted sources like @Base Twitter, community forums, and aggregators such as L2Beat. Remember that bridging is often the riskiest part of any cross-chain move; once funds are on Base, interacting with reputable apps is relatively safer but still demands caution.
Tips for Advanced Users: Optimizing Bridge Fees & Speed
If you’re bridging frequently or managing larger portfolios, consider these advanced tactics:
- Avoid peak hours: Monitor Ethereum gas trackers (Etherscan Gas Tracker) to bridge during off-peak times.
- Batched transactions: Some bridges allow batching multiple transfers into one transaction—reducing fees if moving several assets at once.
- L2-to-L2 bridging: If you already have funds on other Layer 2s (like Arbitrum or Optimism), use cross-L2 bridges such as Jumper Exchange for faster routing directly onto Base—often with lower total costs than mainnet routes.
- Avoid unnecessary swaps: Swap into desired tokens after arriving on Base instead of bridging multiple assets separately; this minimizes exposure to bridge fees and slippage.
The future of cross-chain mobility is bright—and likely to become even more seamless as protocols adopt standards like ERC-4337 account abstraction or native USDC support across L2s. For now, staying vigilant about security and double-checking every transaction remains your best defense against loss. If you’re ever unsure about a step in the process—or want real-time help—the official Base Discord community offers active support channels where experienced users can guide you through troubleshooting issues.
Which bridge provider do you trust most for moving assets onto Base?
There are several options for bridging assets onto Base. Let us know which provider you trust the most!
The bottom line? Bridging onto Base unlocks access to a fast-growing universe of DeFi opportunities at a fraction of mainnet’s cost—but only if you approach it methodically. With careful provider selection, attention to security details, and ongoing vigilance against phishing threats, you’ll be well-positioned to capitalize on everything Layer 2 innovation has to offer.
If you’re ready to take the plunge—or just want to explore what’s possible—now is the ideal time to experience firsthand how Layer 2 scaling is reshaping Ethereum’s future through networks like Base.